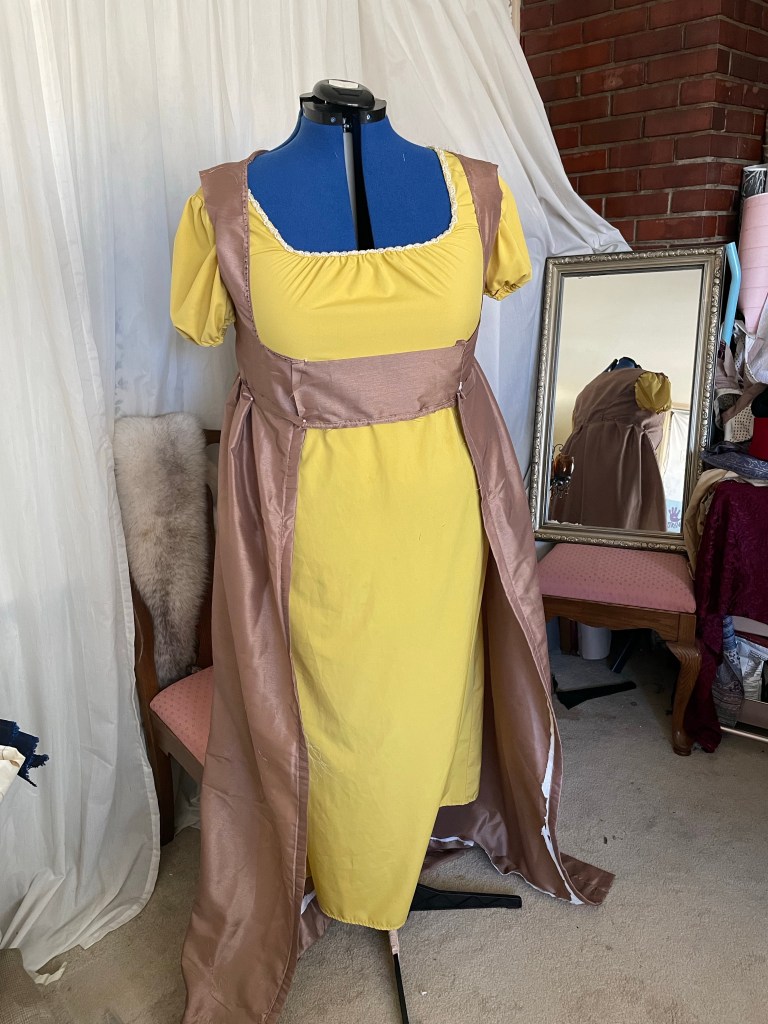
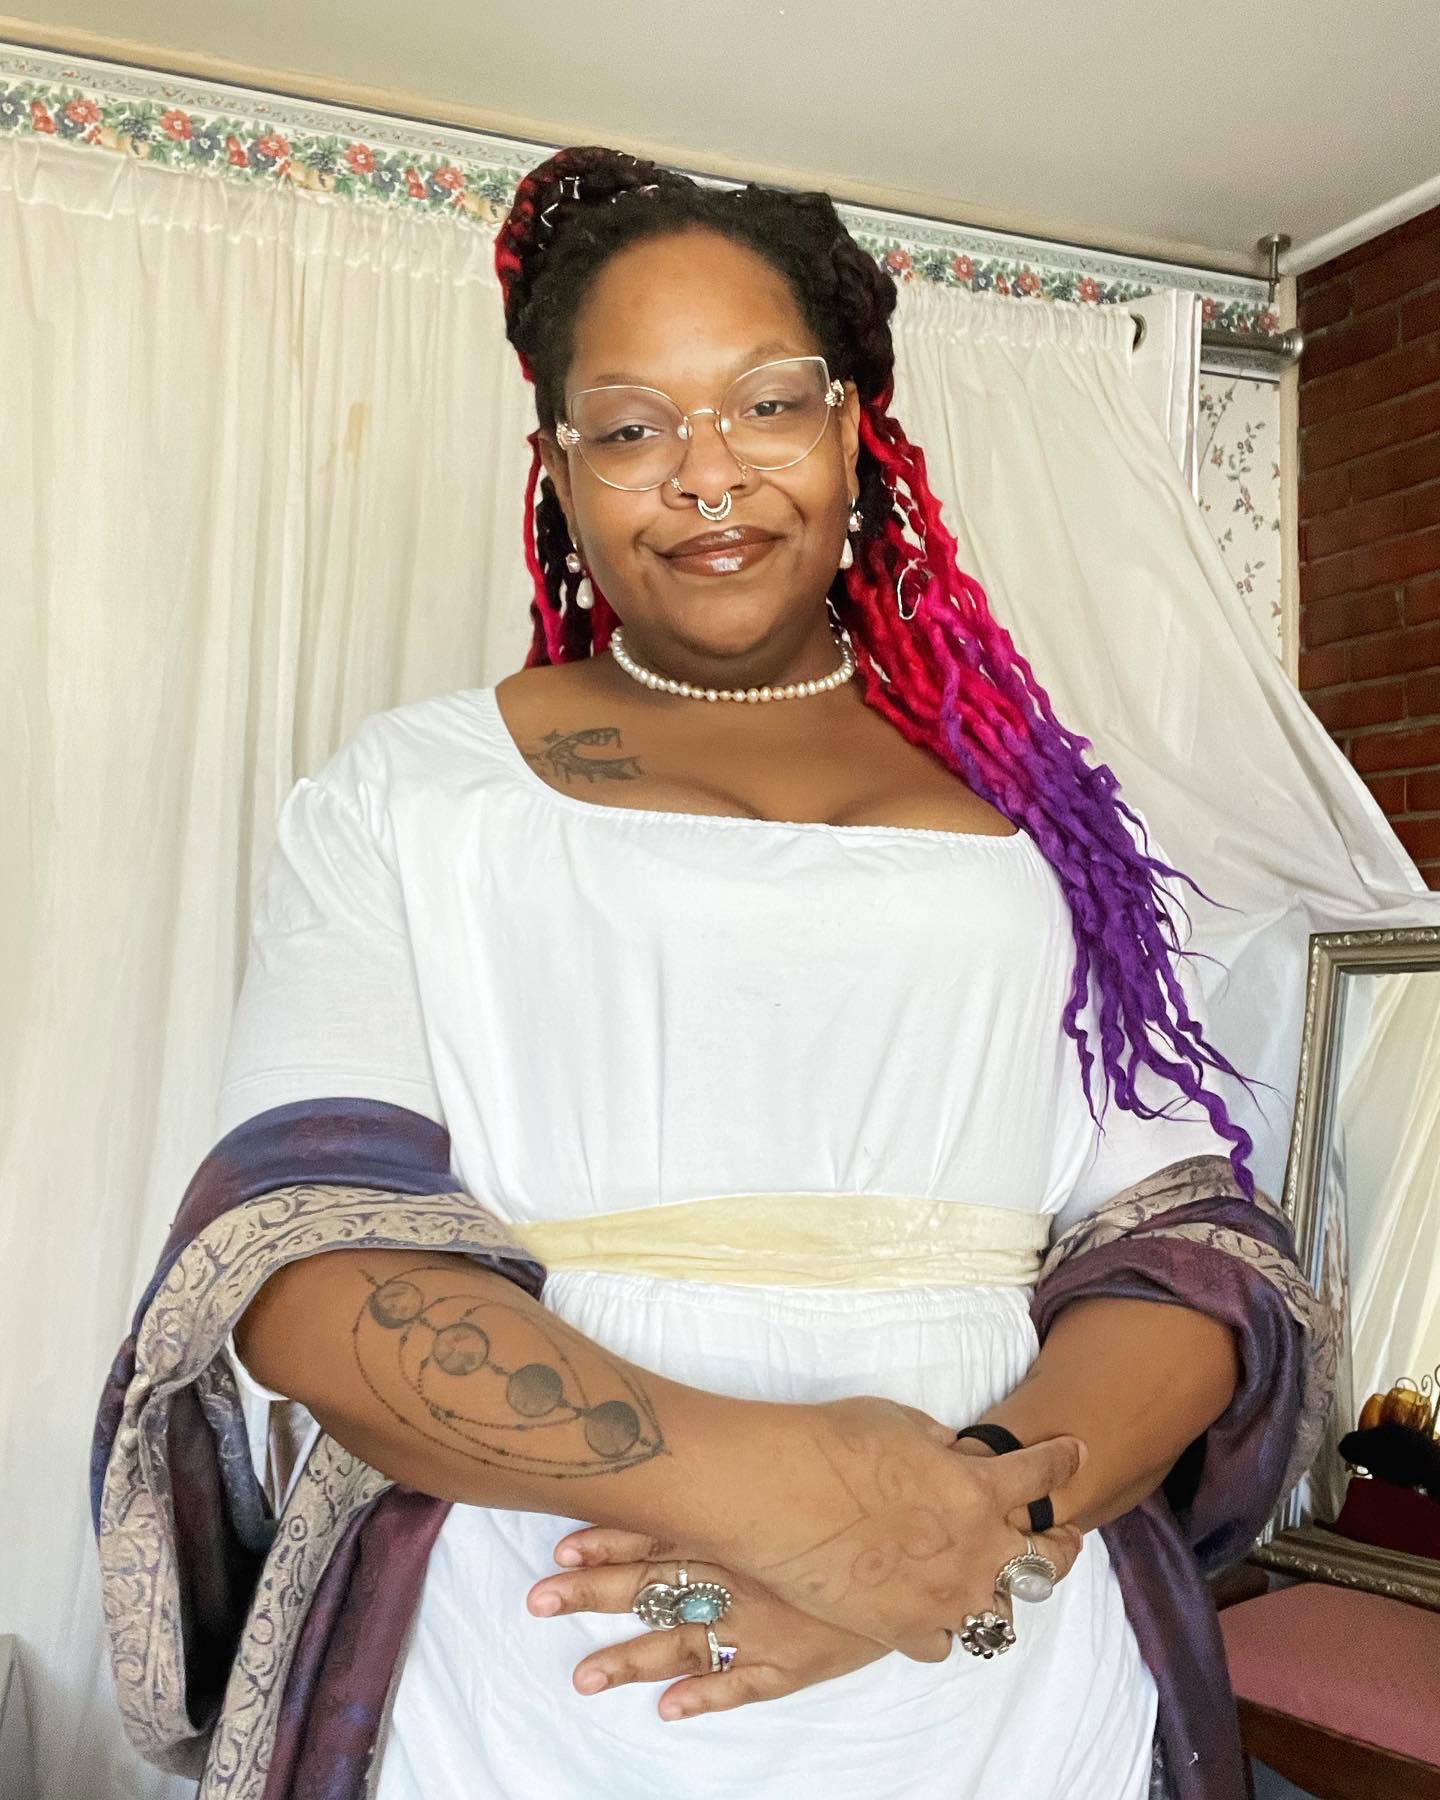
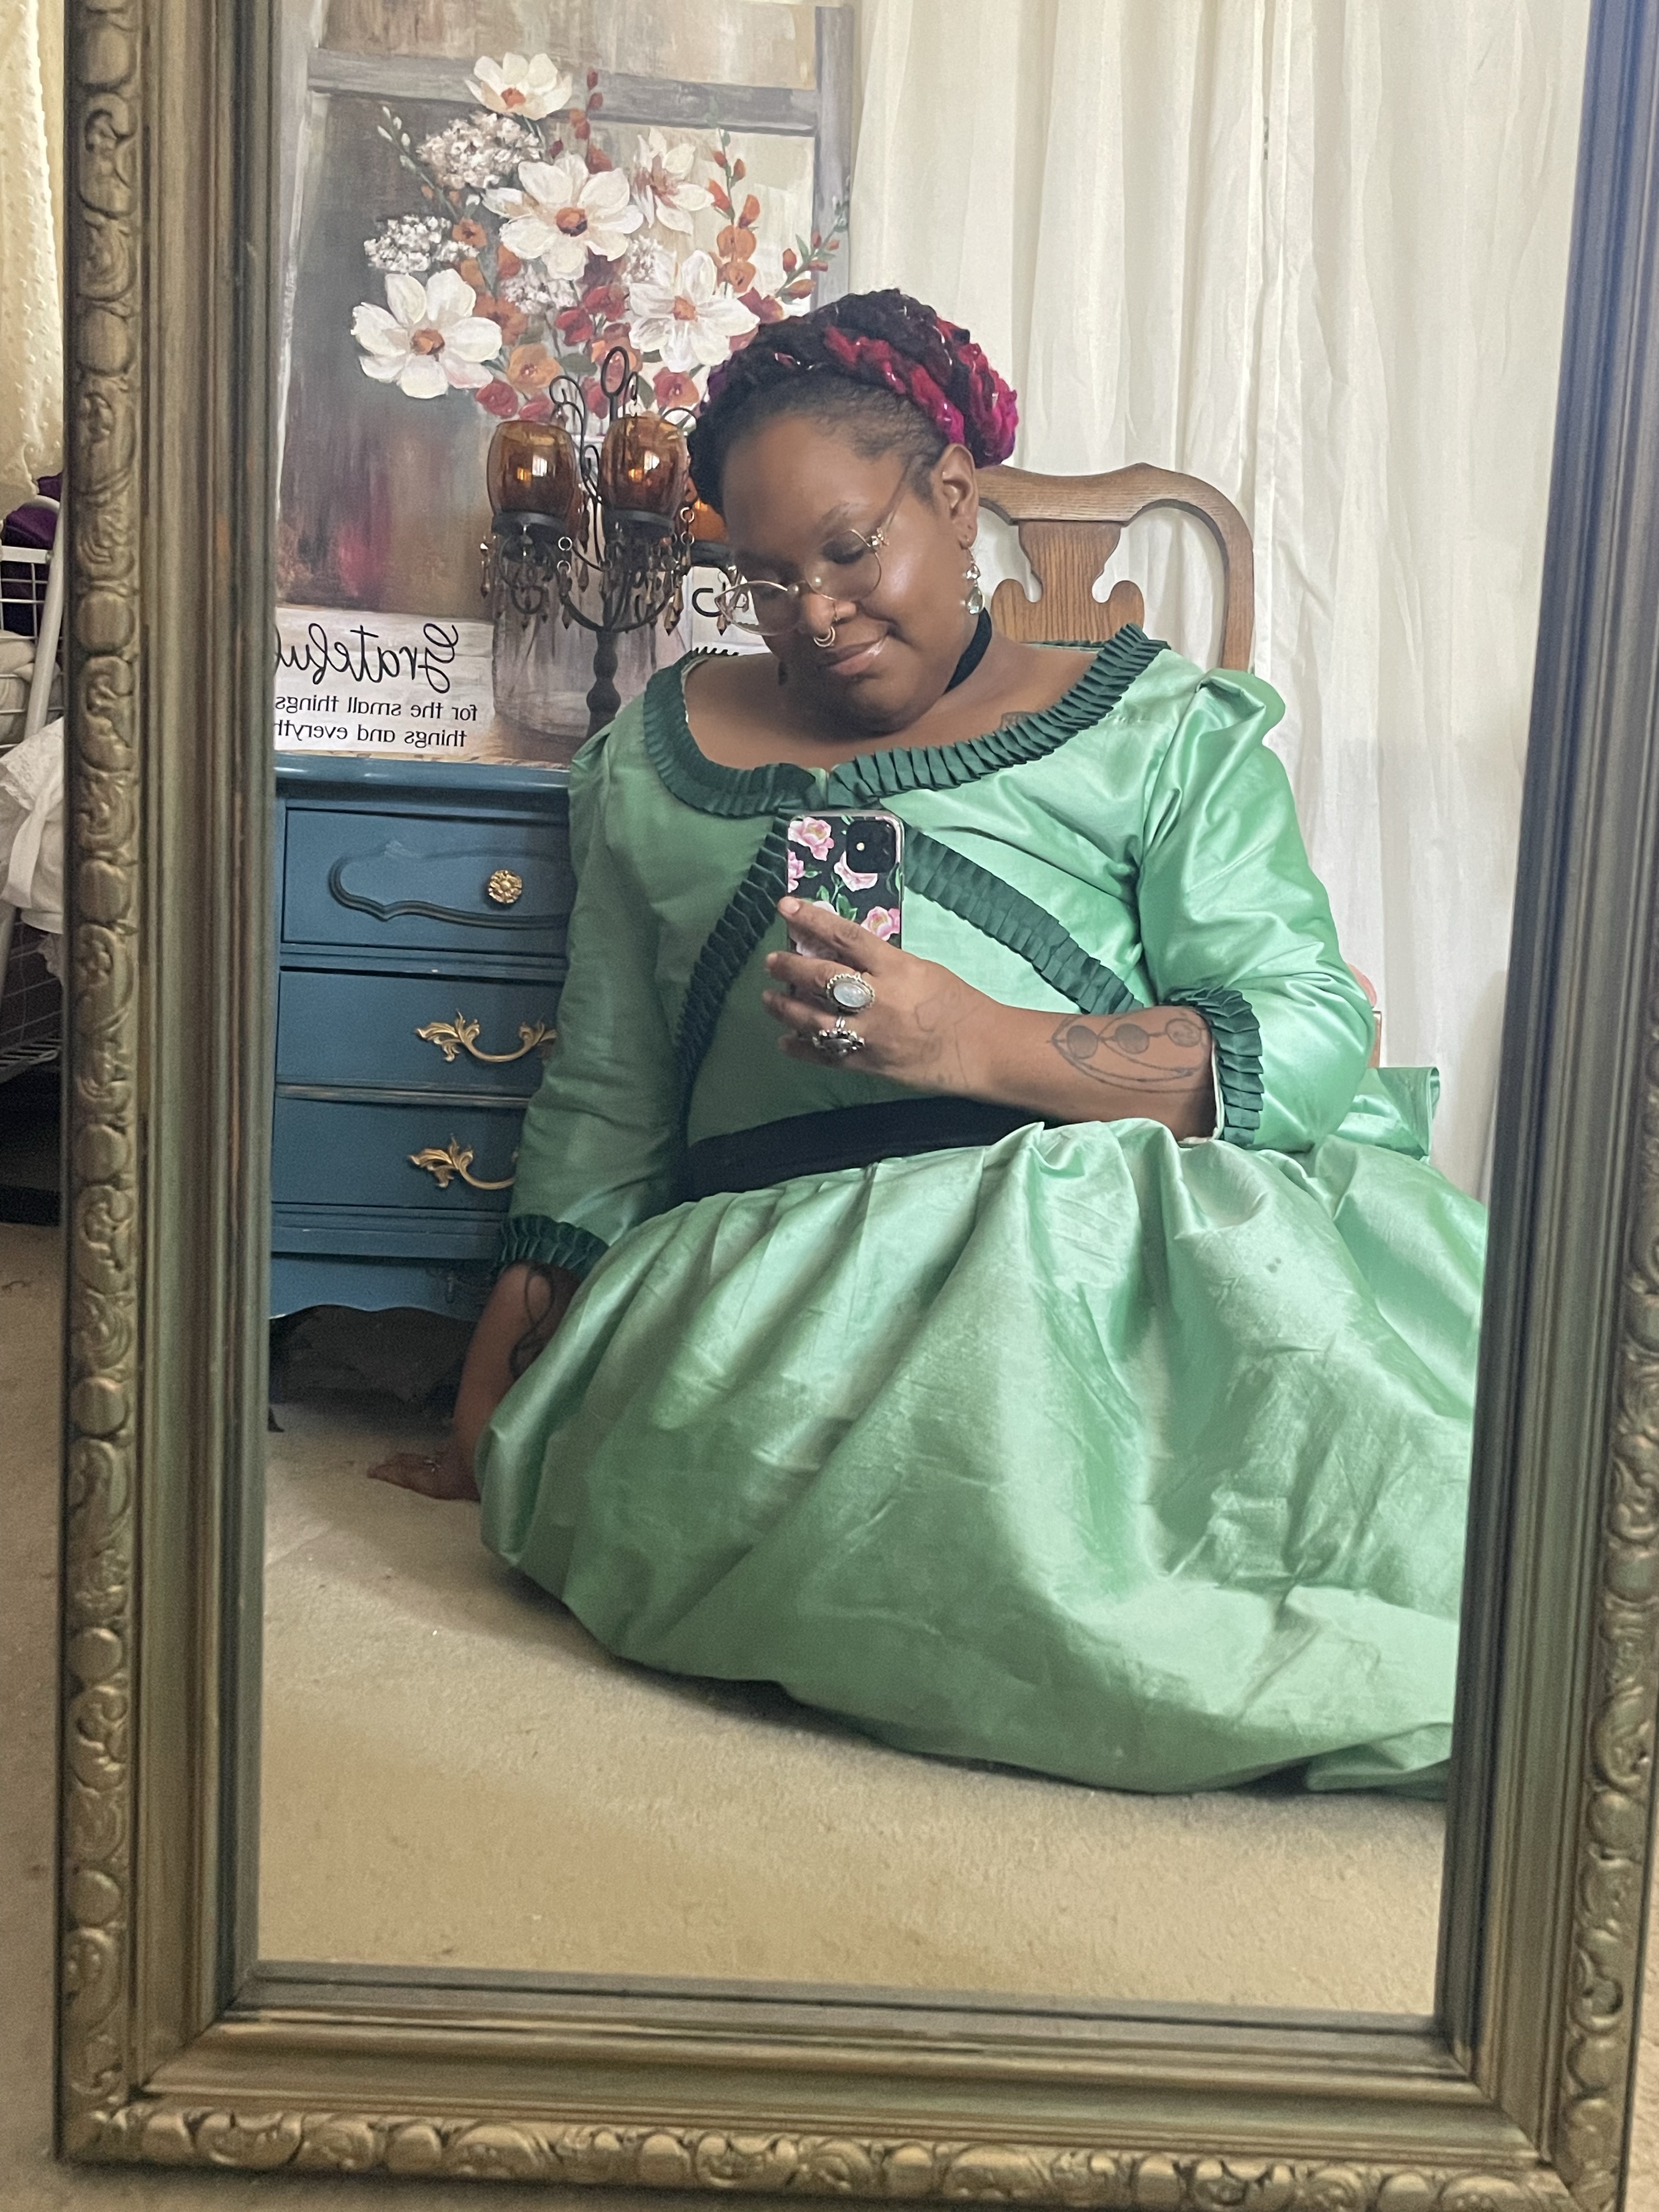
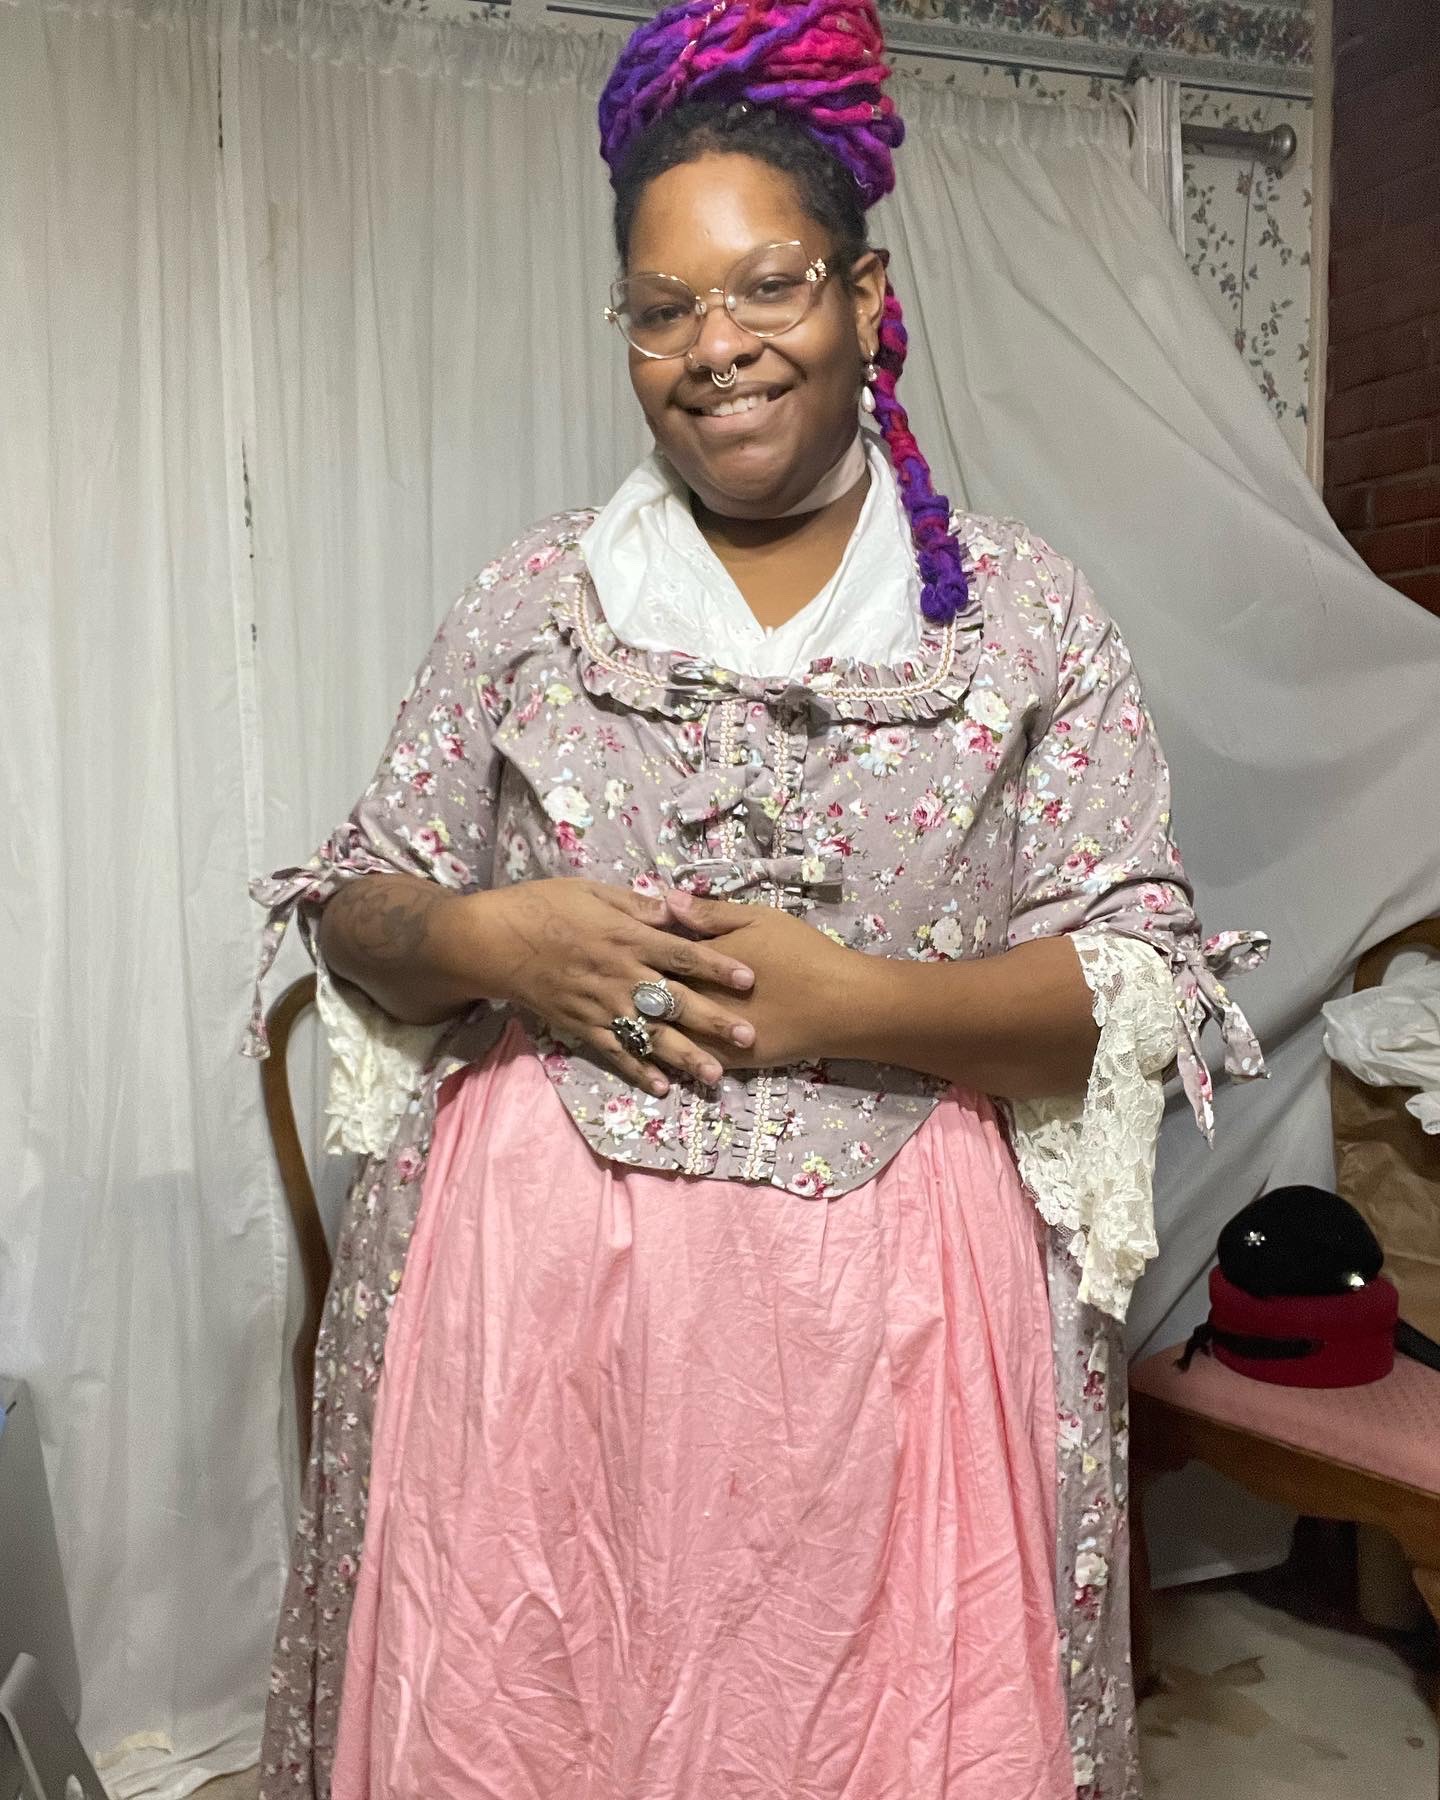
I have been in a sewing tizzy, and thank goodness for it since I have the Bridgerton Queens Ball coming up this weekend. I finally finished my open robe that I will be wearing over my gown, and finished tacking down the trim. Approximately 15 feet of trim that I had to tack down TWICE since it was so wide. But it is done and I am so glad!!! I absolutely cannot wait for the event.
This was filmed BEFORE I tacked down the trim, but this is the overall look.
In the future, I really need to do a better job at logging how many hours I put into each project, but for this one I will say that drafting the bodice pattern for the open gown and tacking down the trim was the most tedious. But now I have a base bodice pattern that fits perfectly and that I can use for future projects (one of which I am about to work on for a Regency picnic next month), so that’s a good thing!
The next project I have planned is another regency gown made out of a gorgeous lilac colored satin, and I am looking forward to that. So spring like!
Also, here’s a video of a blazer that I converted into a regency era spencer jacket:
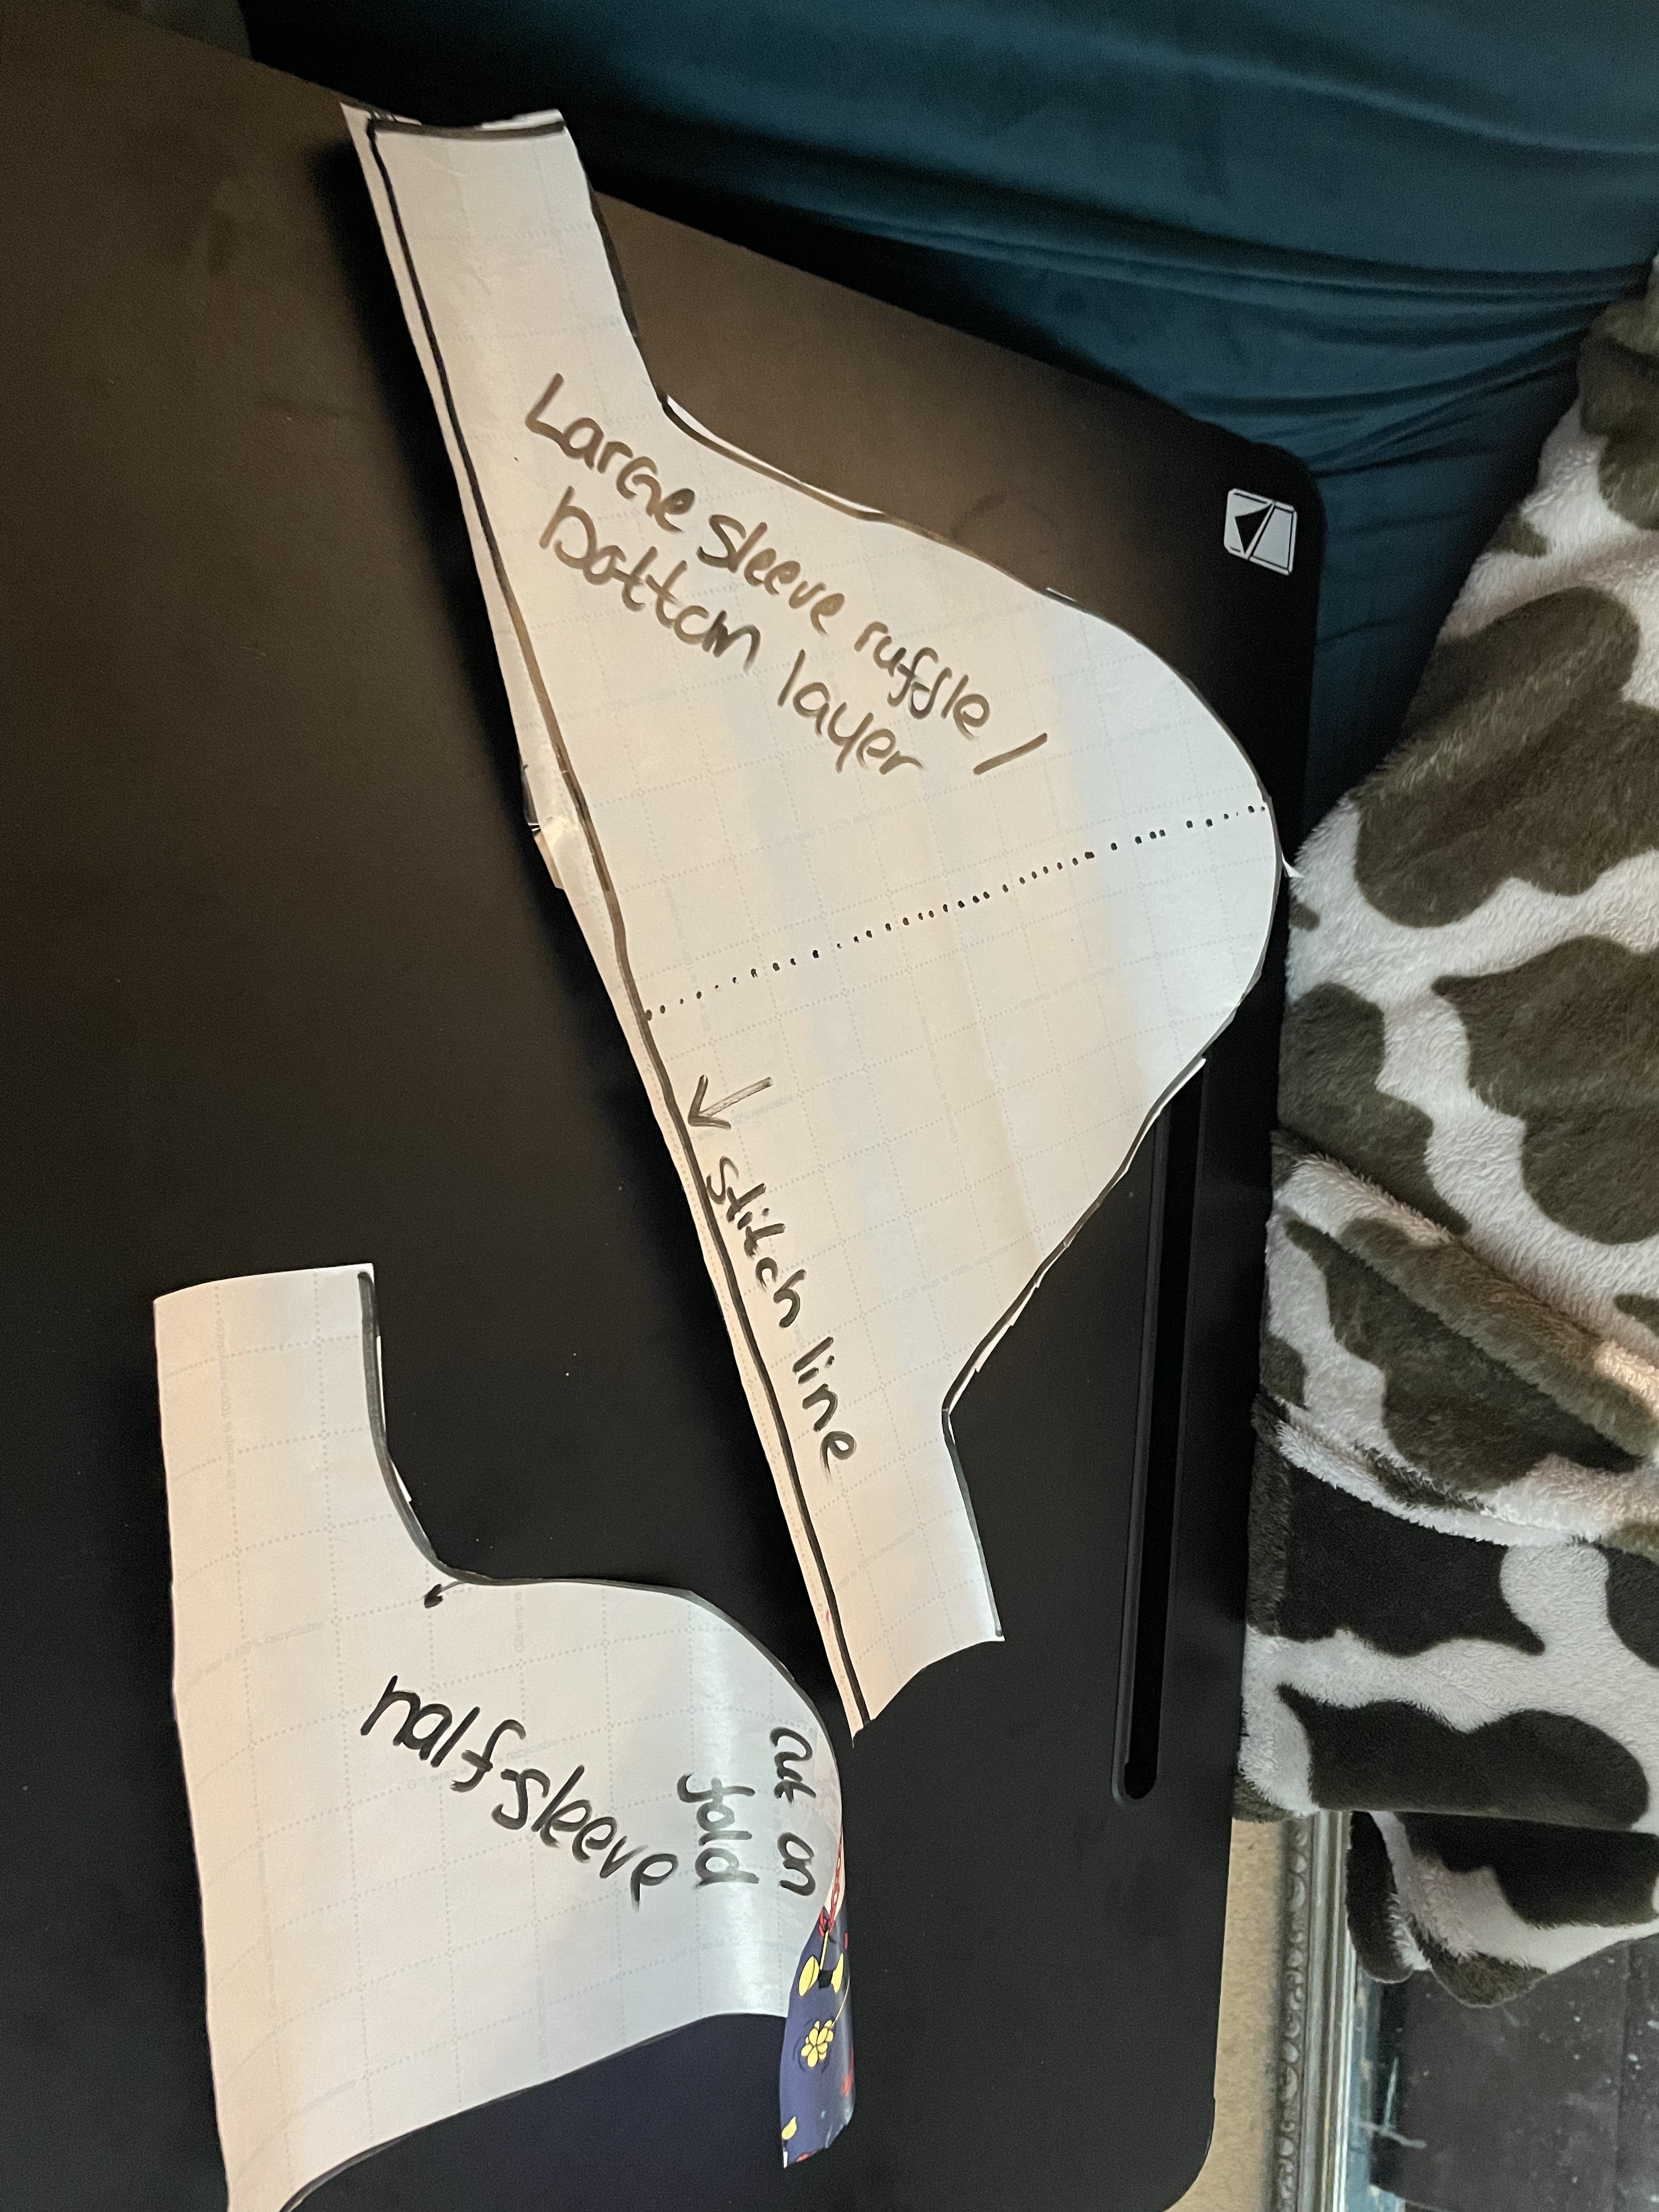
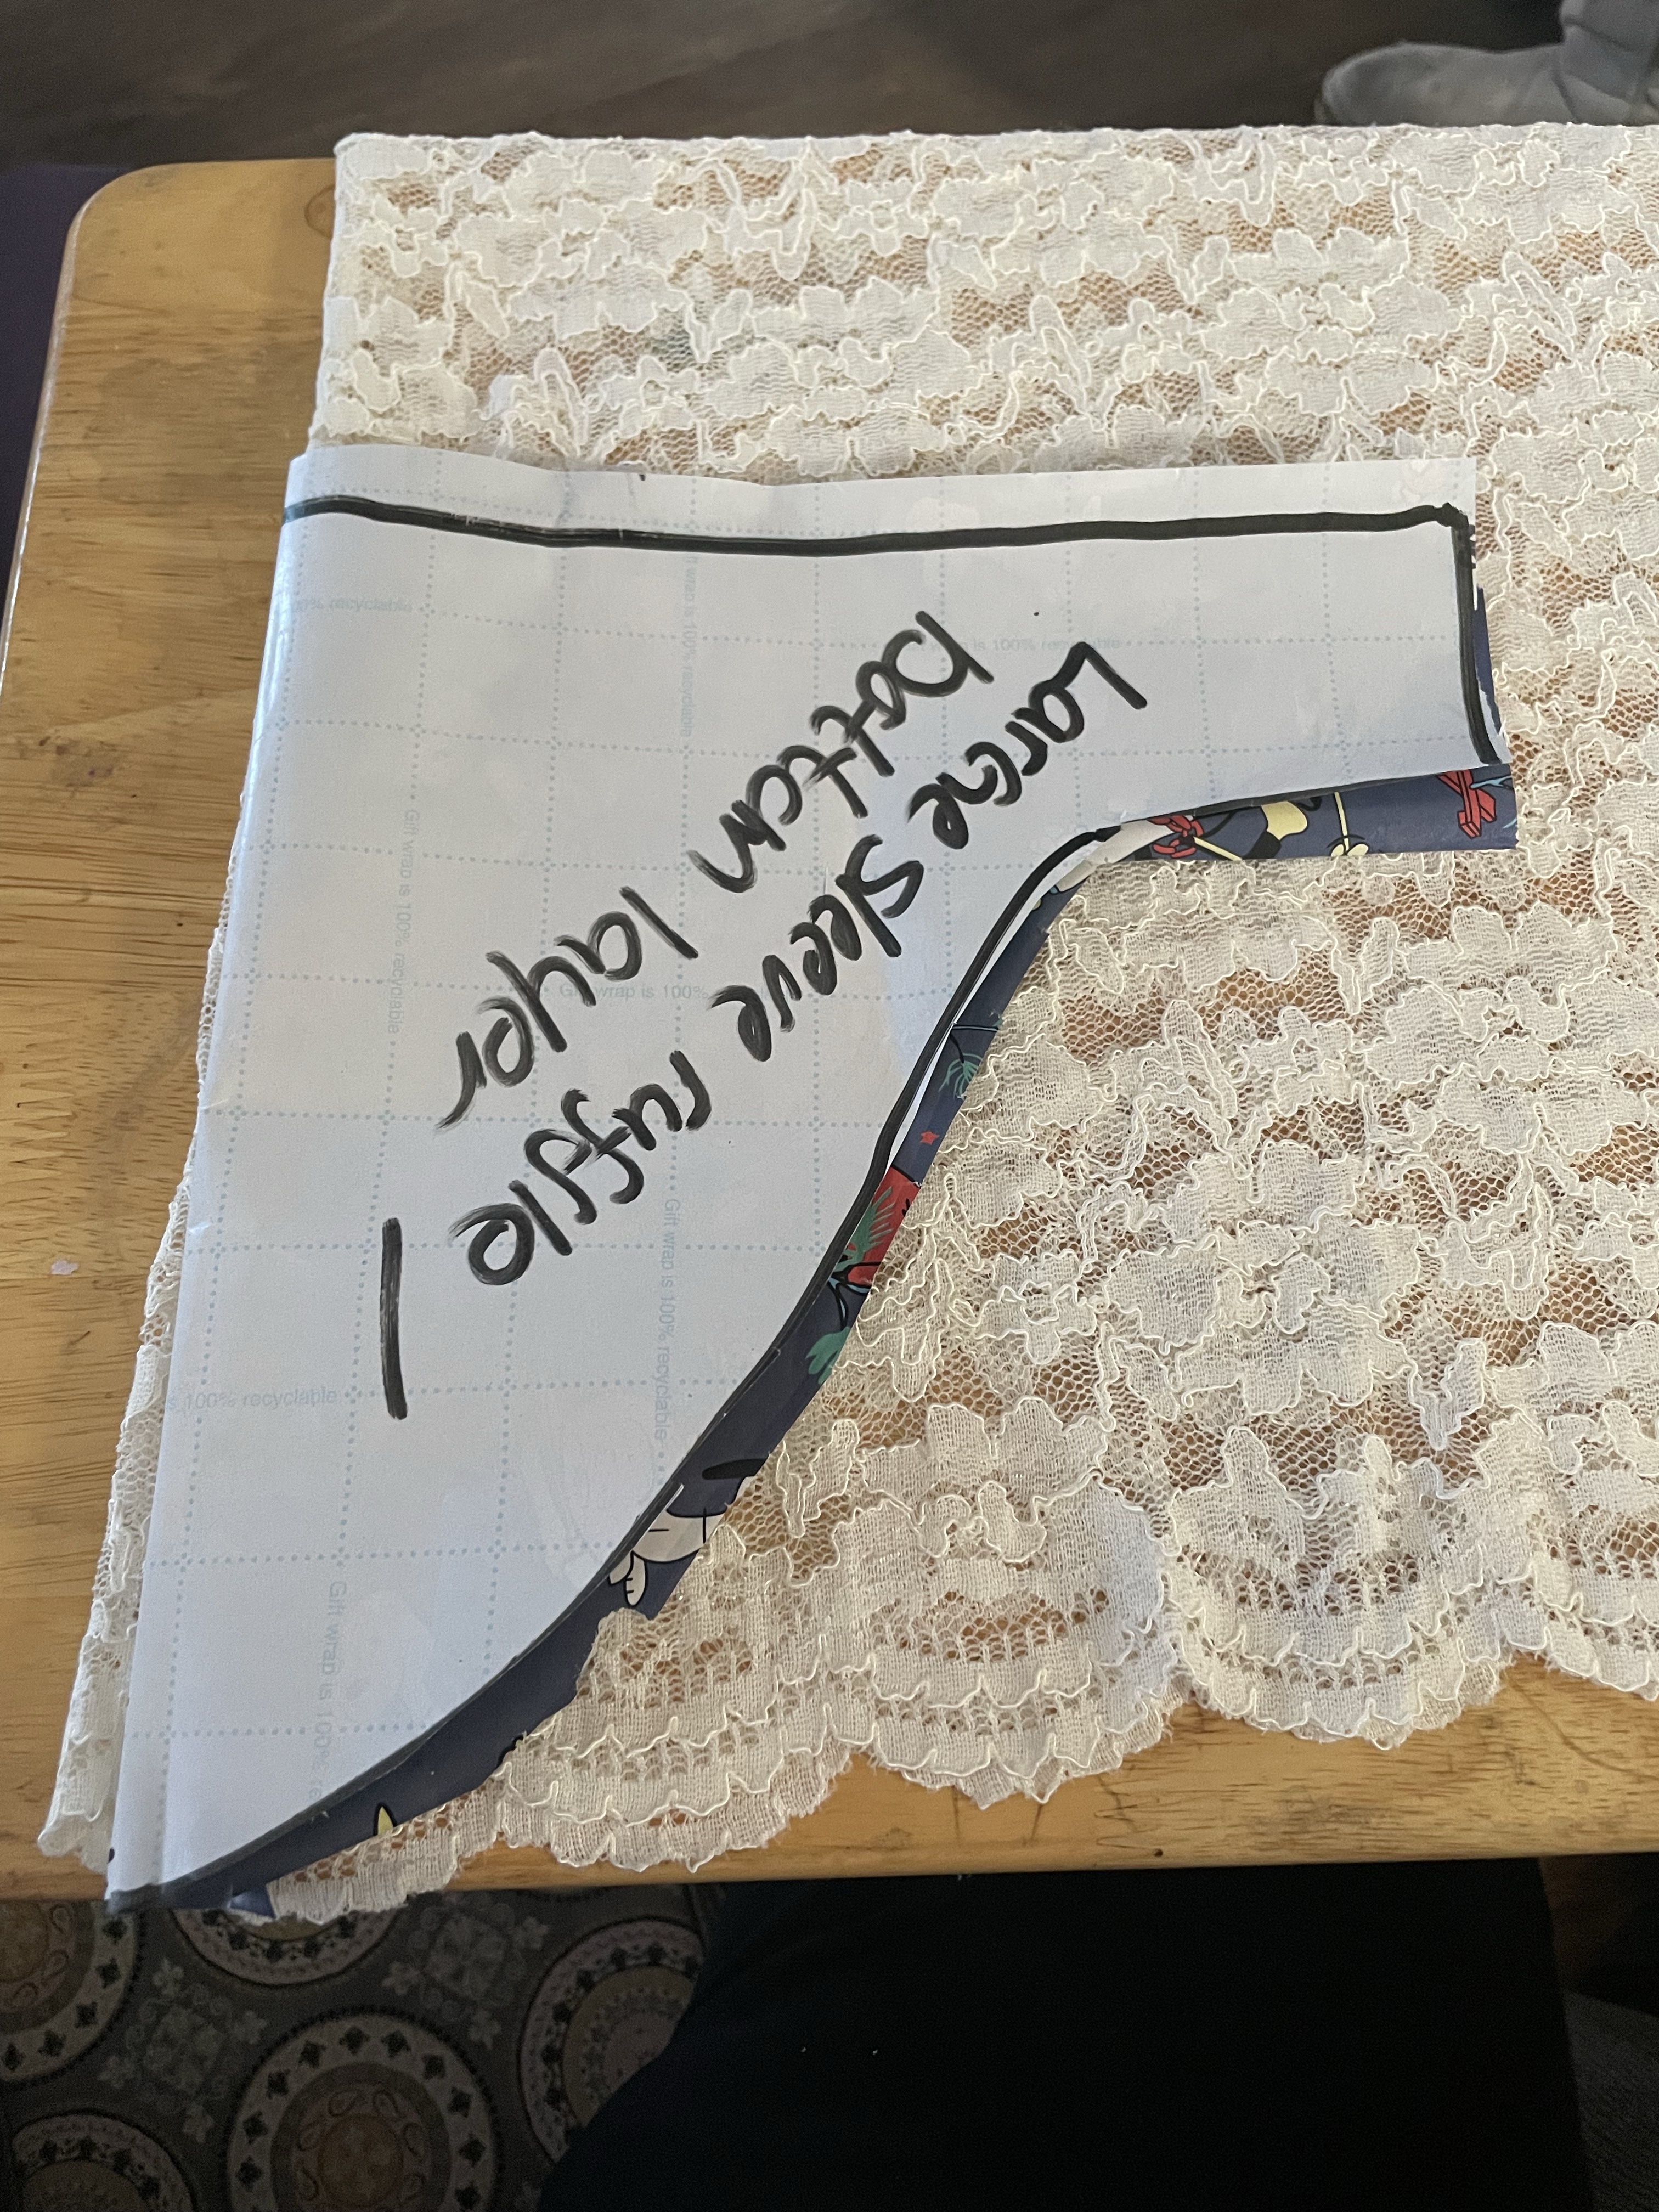
With the Bridgerton Queens call coming up (we are doing the 4/2 one in DC). I have been working on an open robe to go over my gown. Let me show you the mock up first!
Now y’all know that I love me a good upcycle. That gorgeous brown pseudo-taffeta silk was a curtain! Only $3 or something like that!
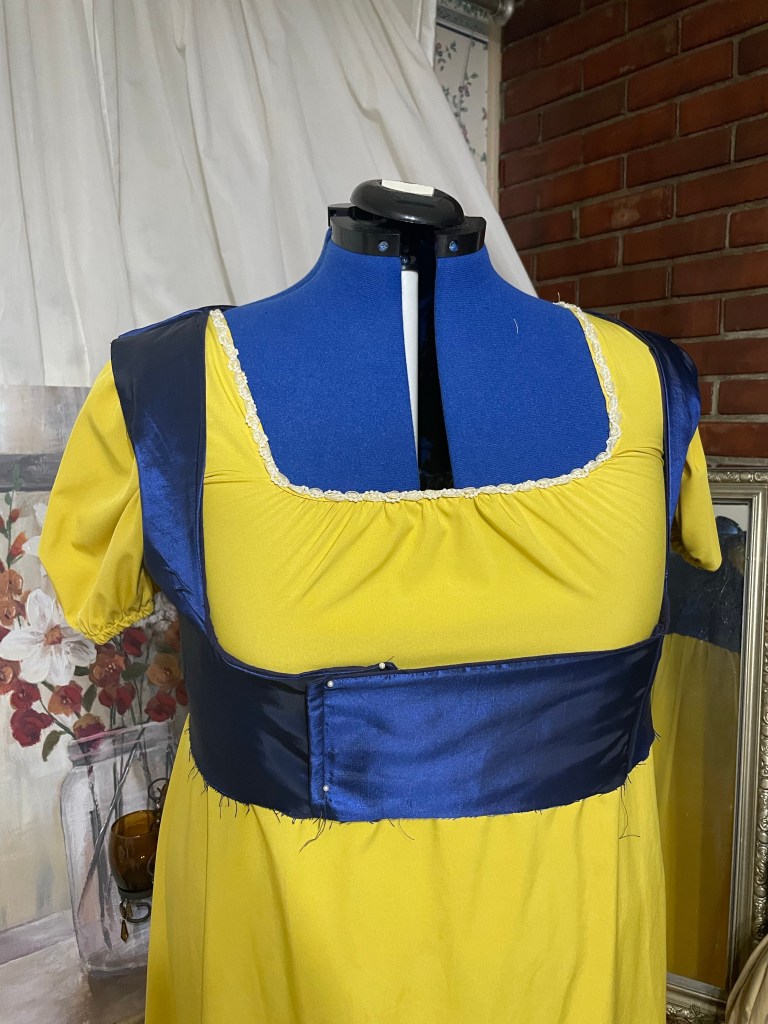
Anyway, mock-ups are IMPORTANT. I use to hate doing them, because my brain always wanted to start a project and be done with it. But hey, if you want it to look good, you gotta put in the time. So with the mock-up, I realized I had to change a couple of things. One, being the piece of fabric that goes under the bust to close. It originally had about a 4 inch gap in the center, so I had to add an extra piece of fabric on top of that so that the closure goes across the underbust and can be pinned closed.
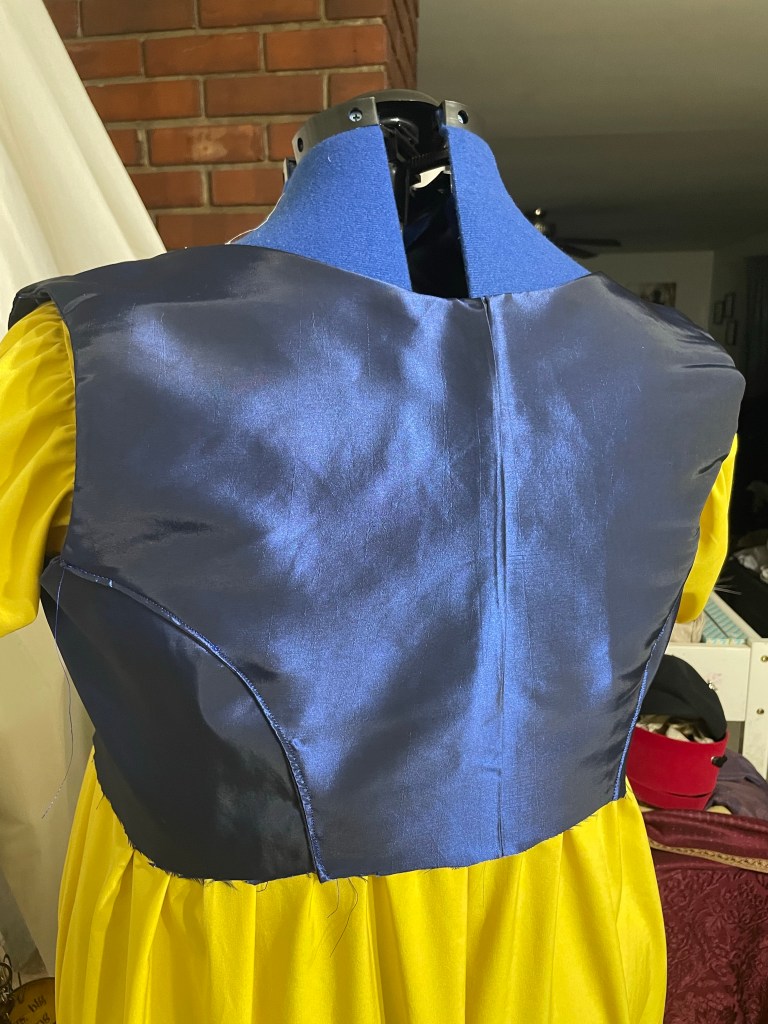
Also, can we talk about the back seams of regency fashion? For some reason my brain got stuck on how to sew the back seam pieces together. I still don’t know if I did it right. But this is how I did it:
I cut two out (one of lining fabric-not pictured and one out of fashion fabric ). For the side/front piece, cut four. I then sewed the lining and fashion fabric of each piece together-so you have one back piece and the two side/front pieces. Now the thing that got me stuck was sewing the pieces together with right sides together. It just was NOT computing the regular way. So I had to place the back piece overlapping the two side pieces and sew that down. It came out pretty well though!
Now I need to fold under the bottom to make it pretty and start gathering the skirt fabric to the bodice. I’m also adding the same rose and pearl beaded trim that’s around the neckline to the hemline of the marigold yellow gown.
I’ve received a lot of compliments saying that my color choices match the Ukrainian Flag
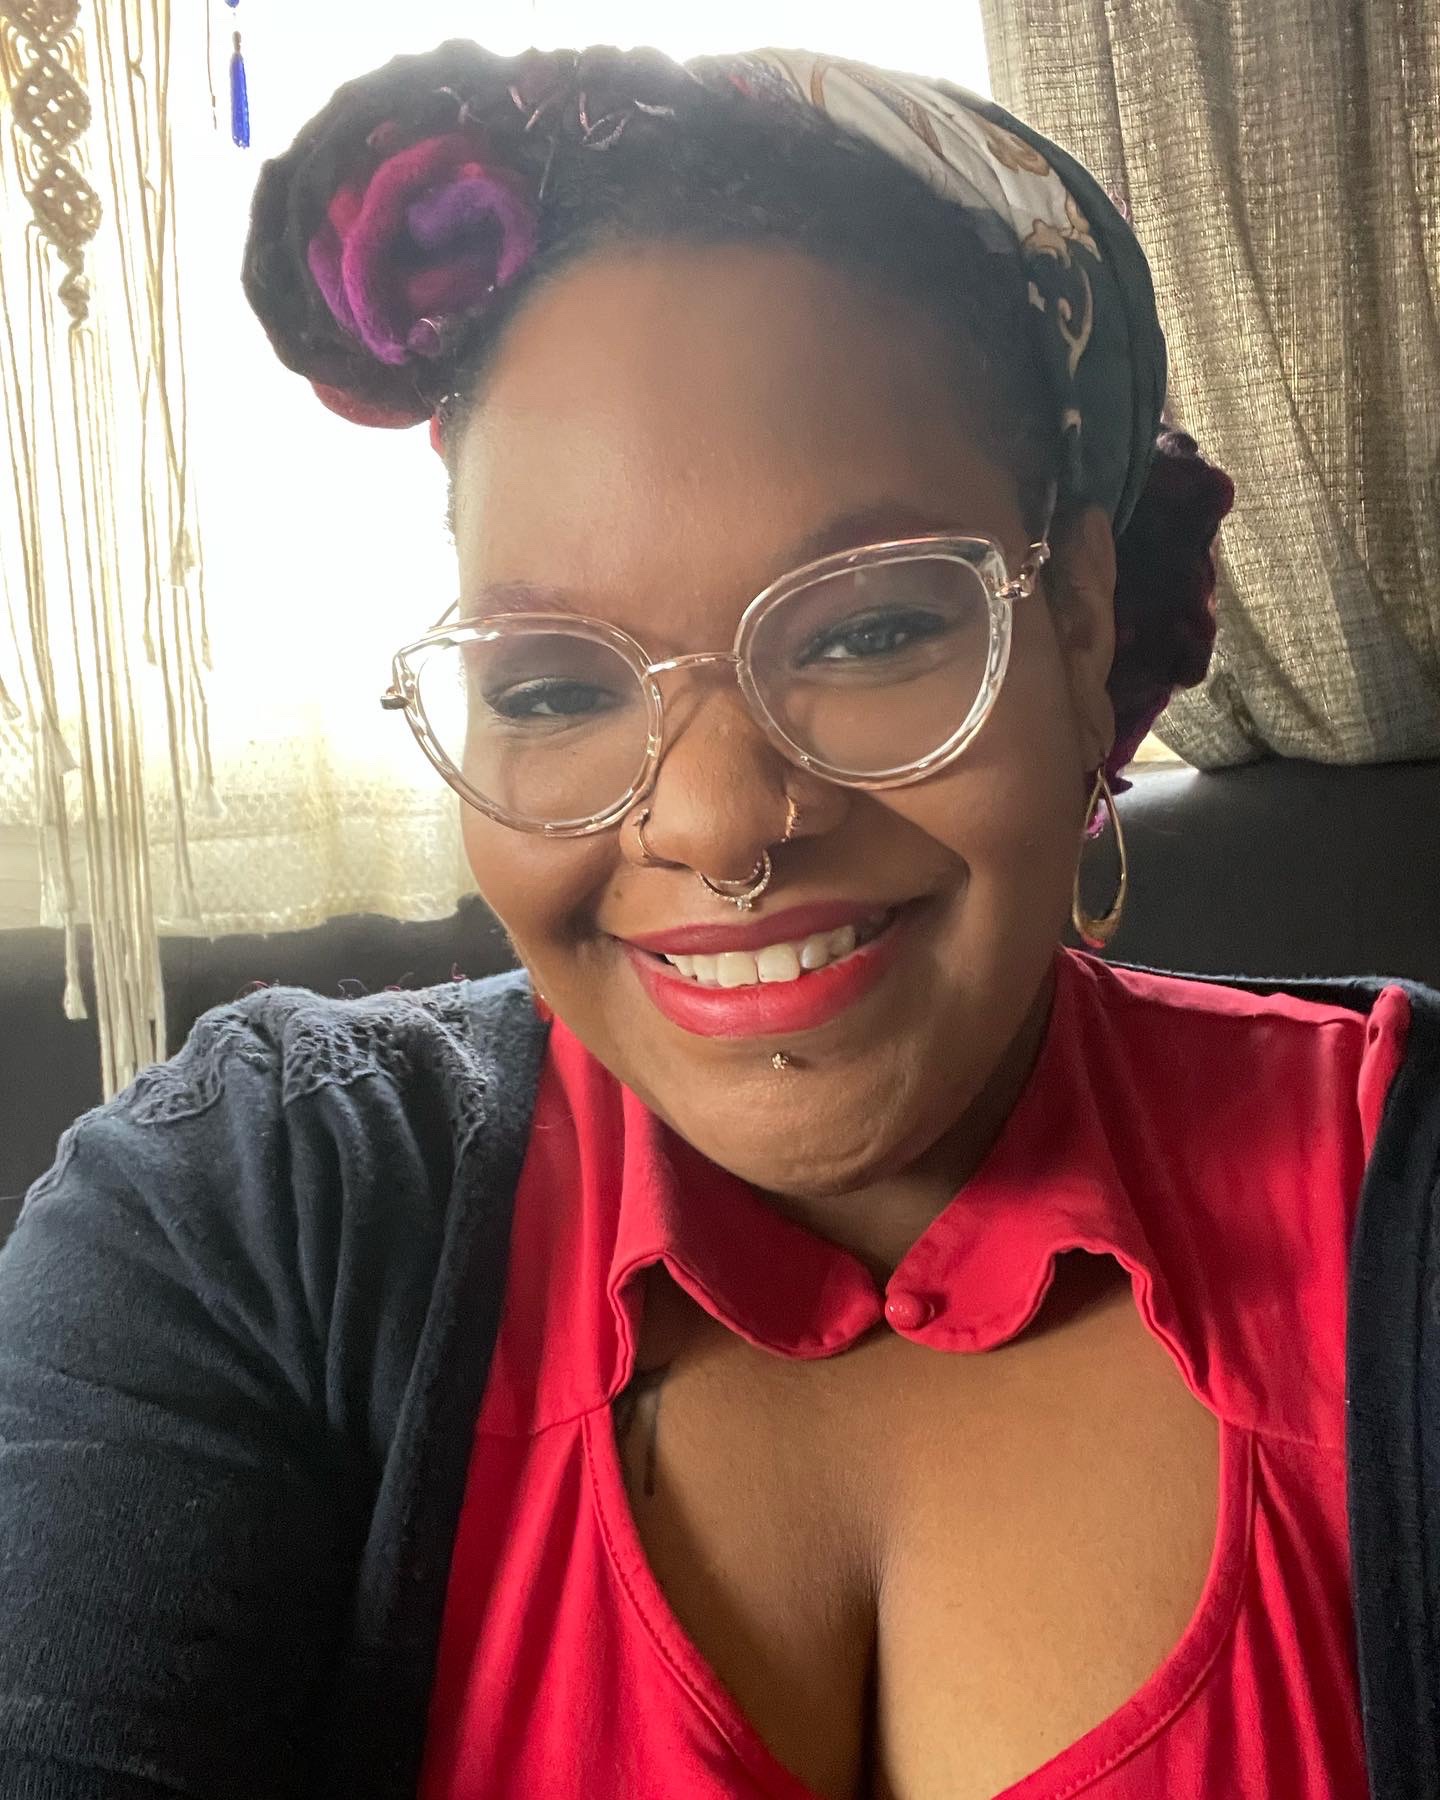
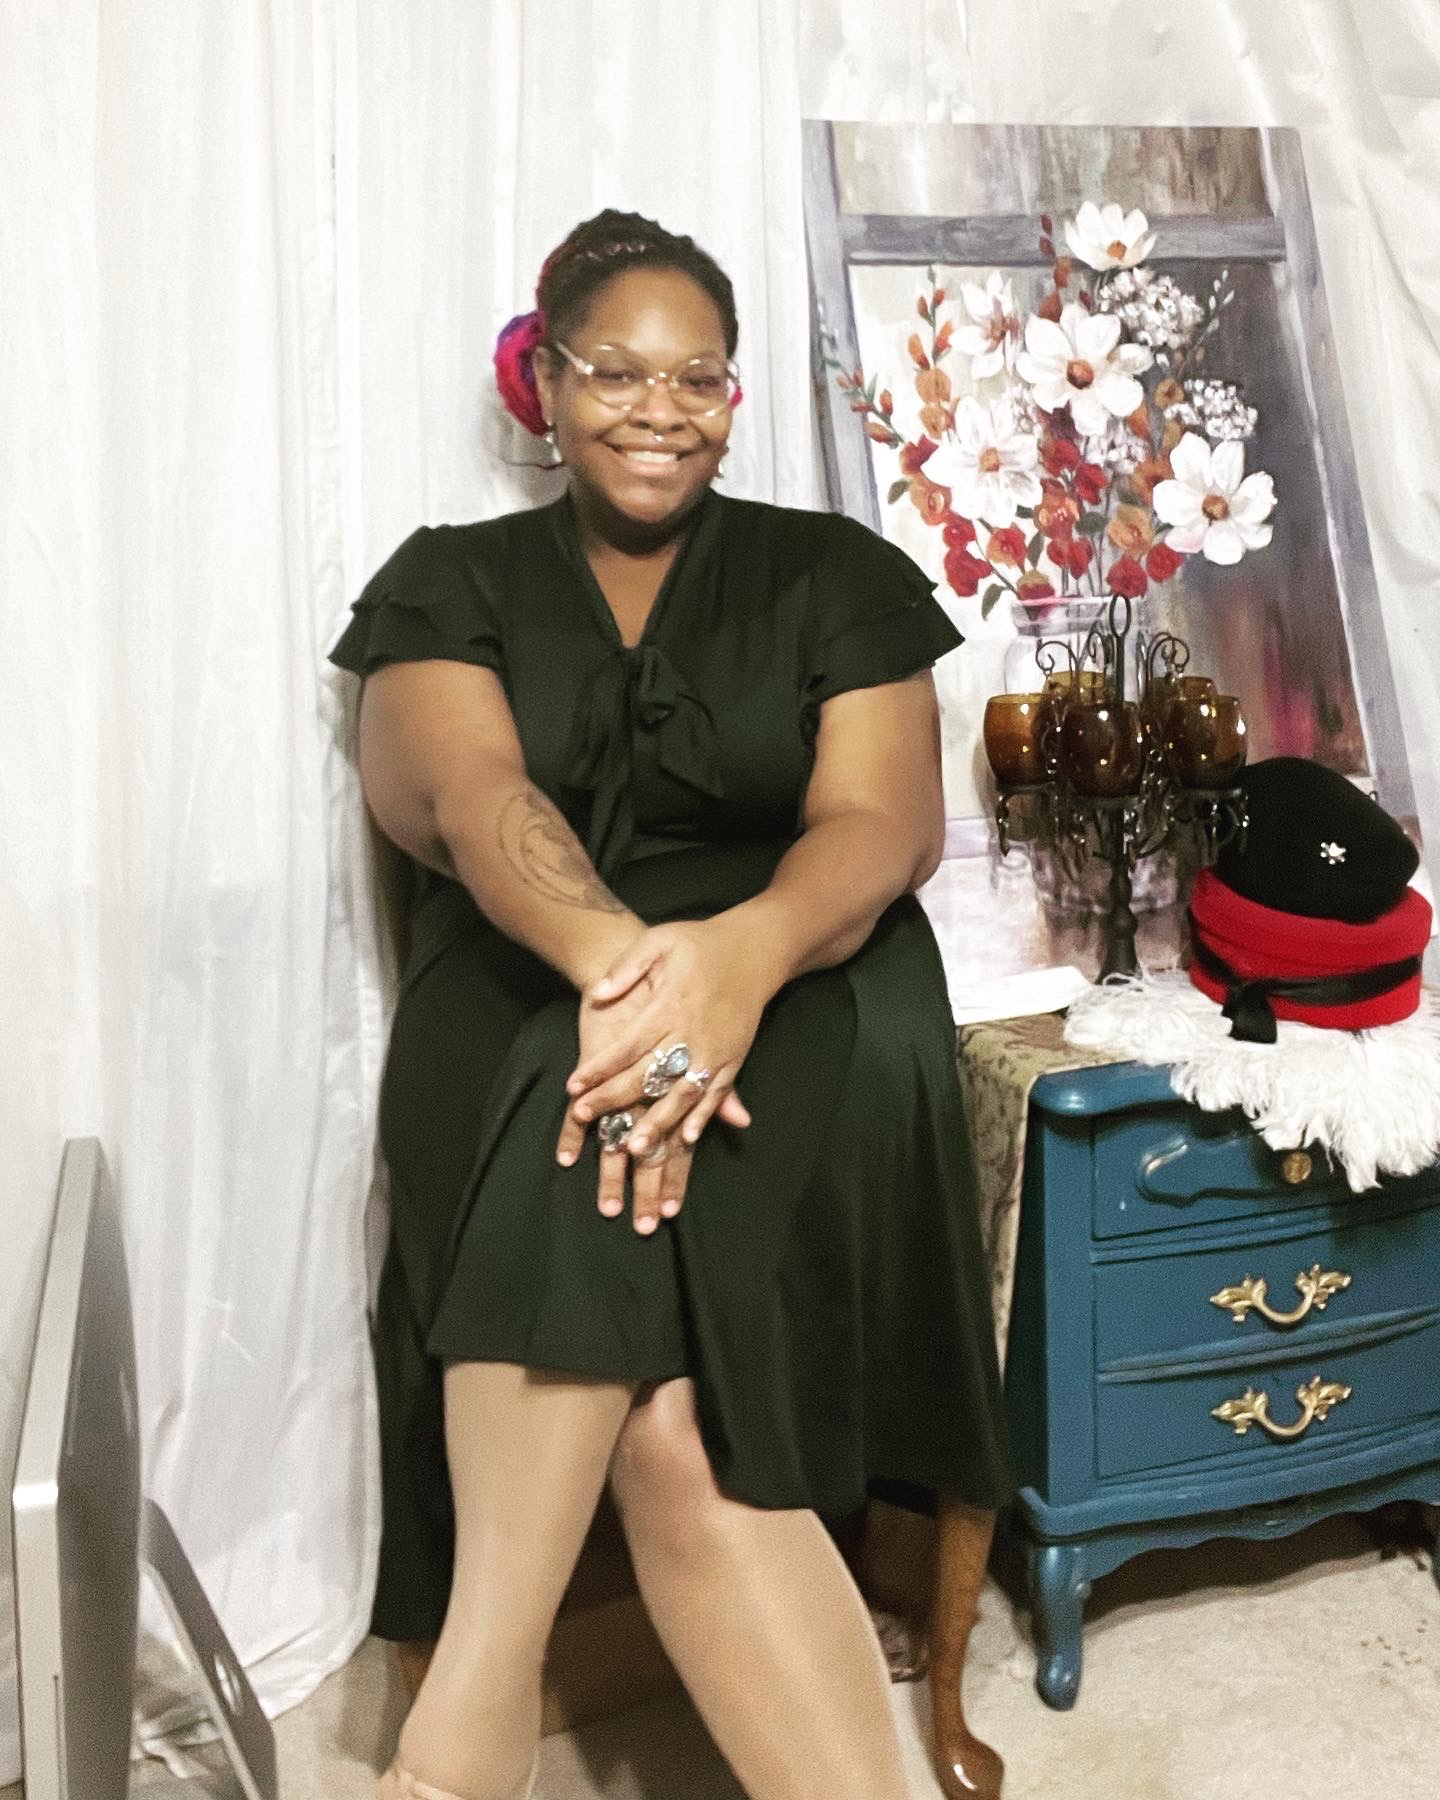
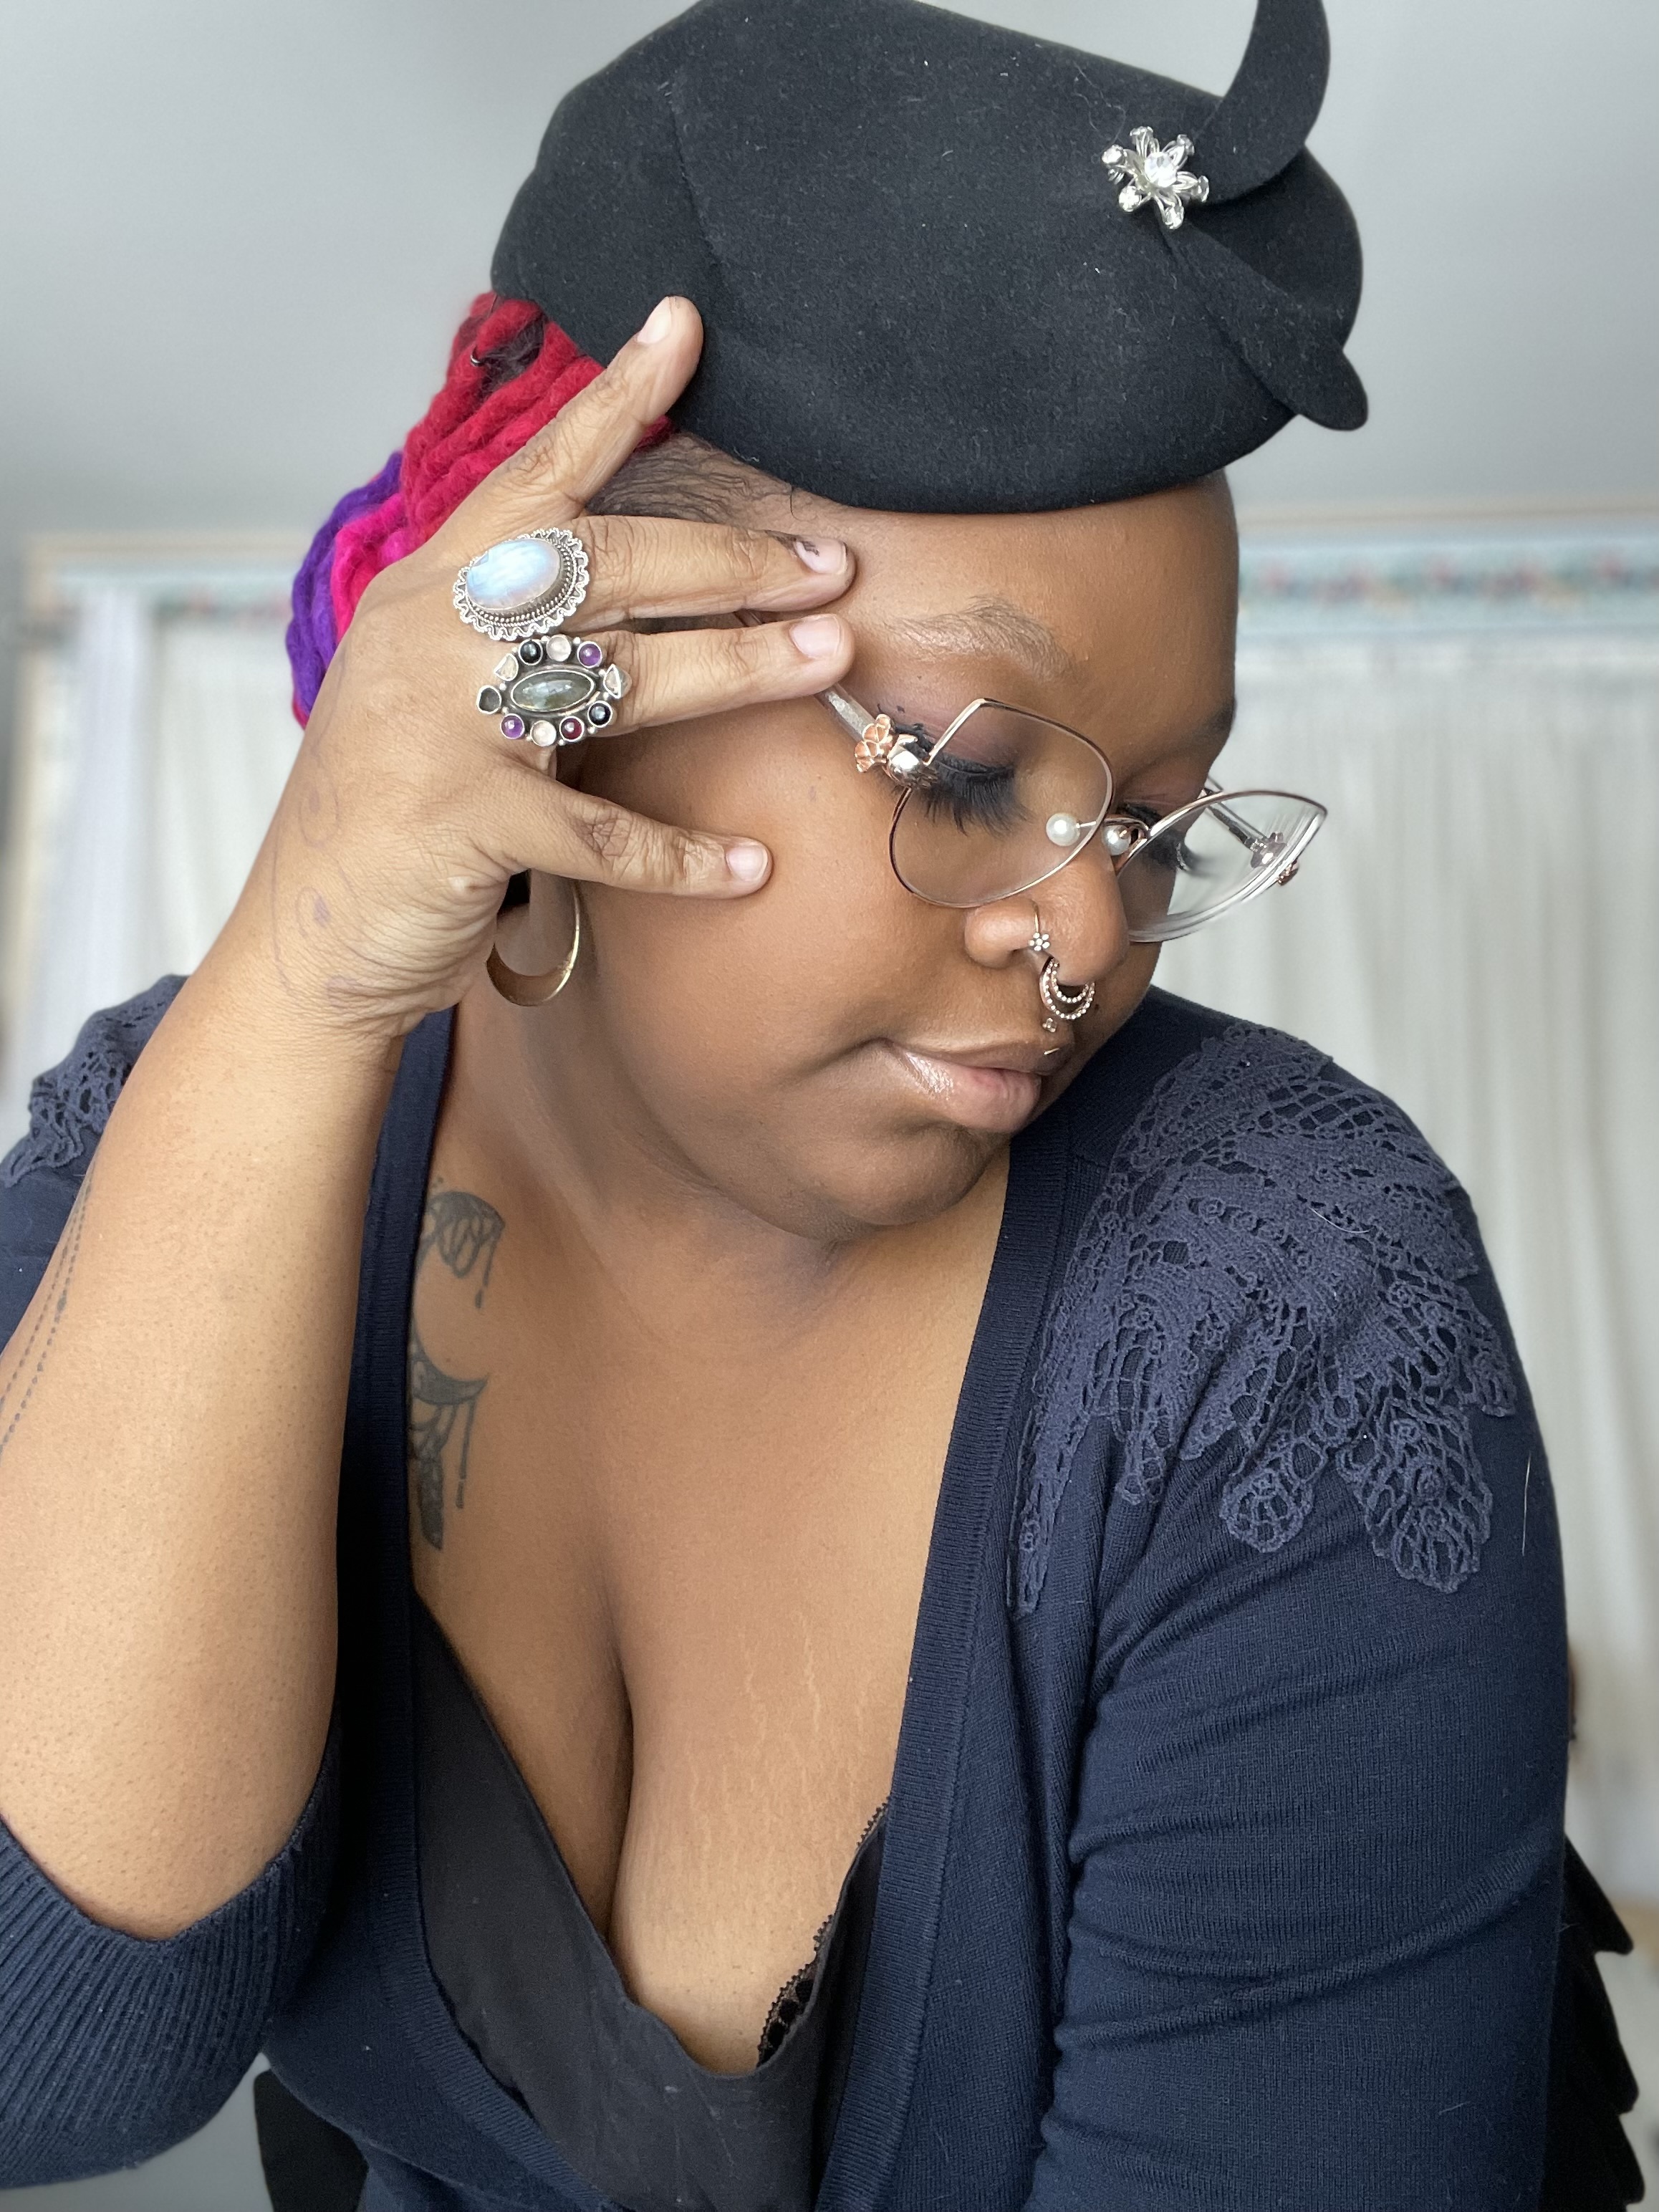
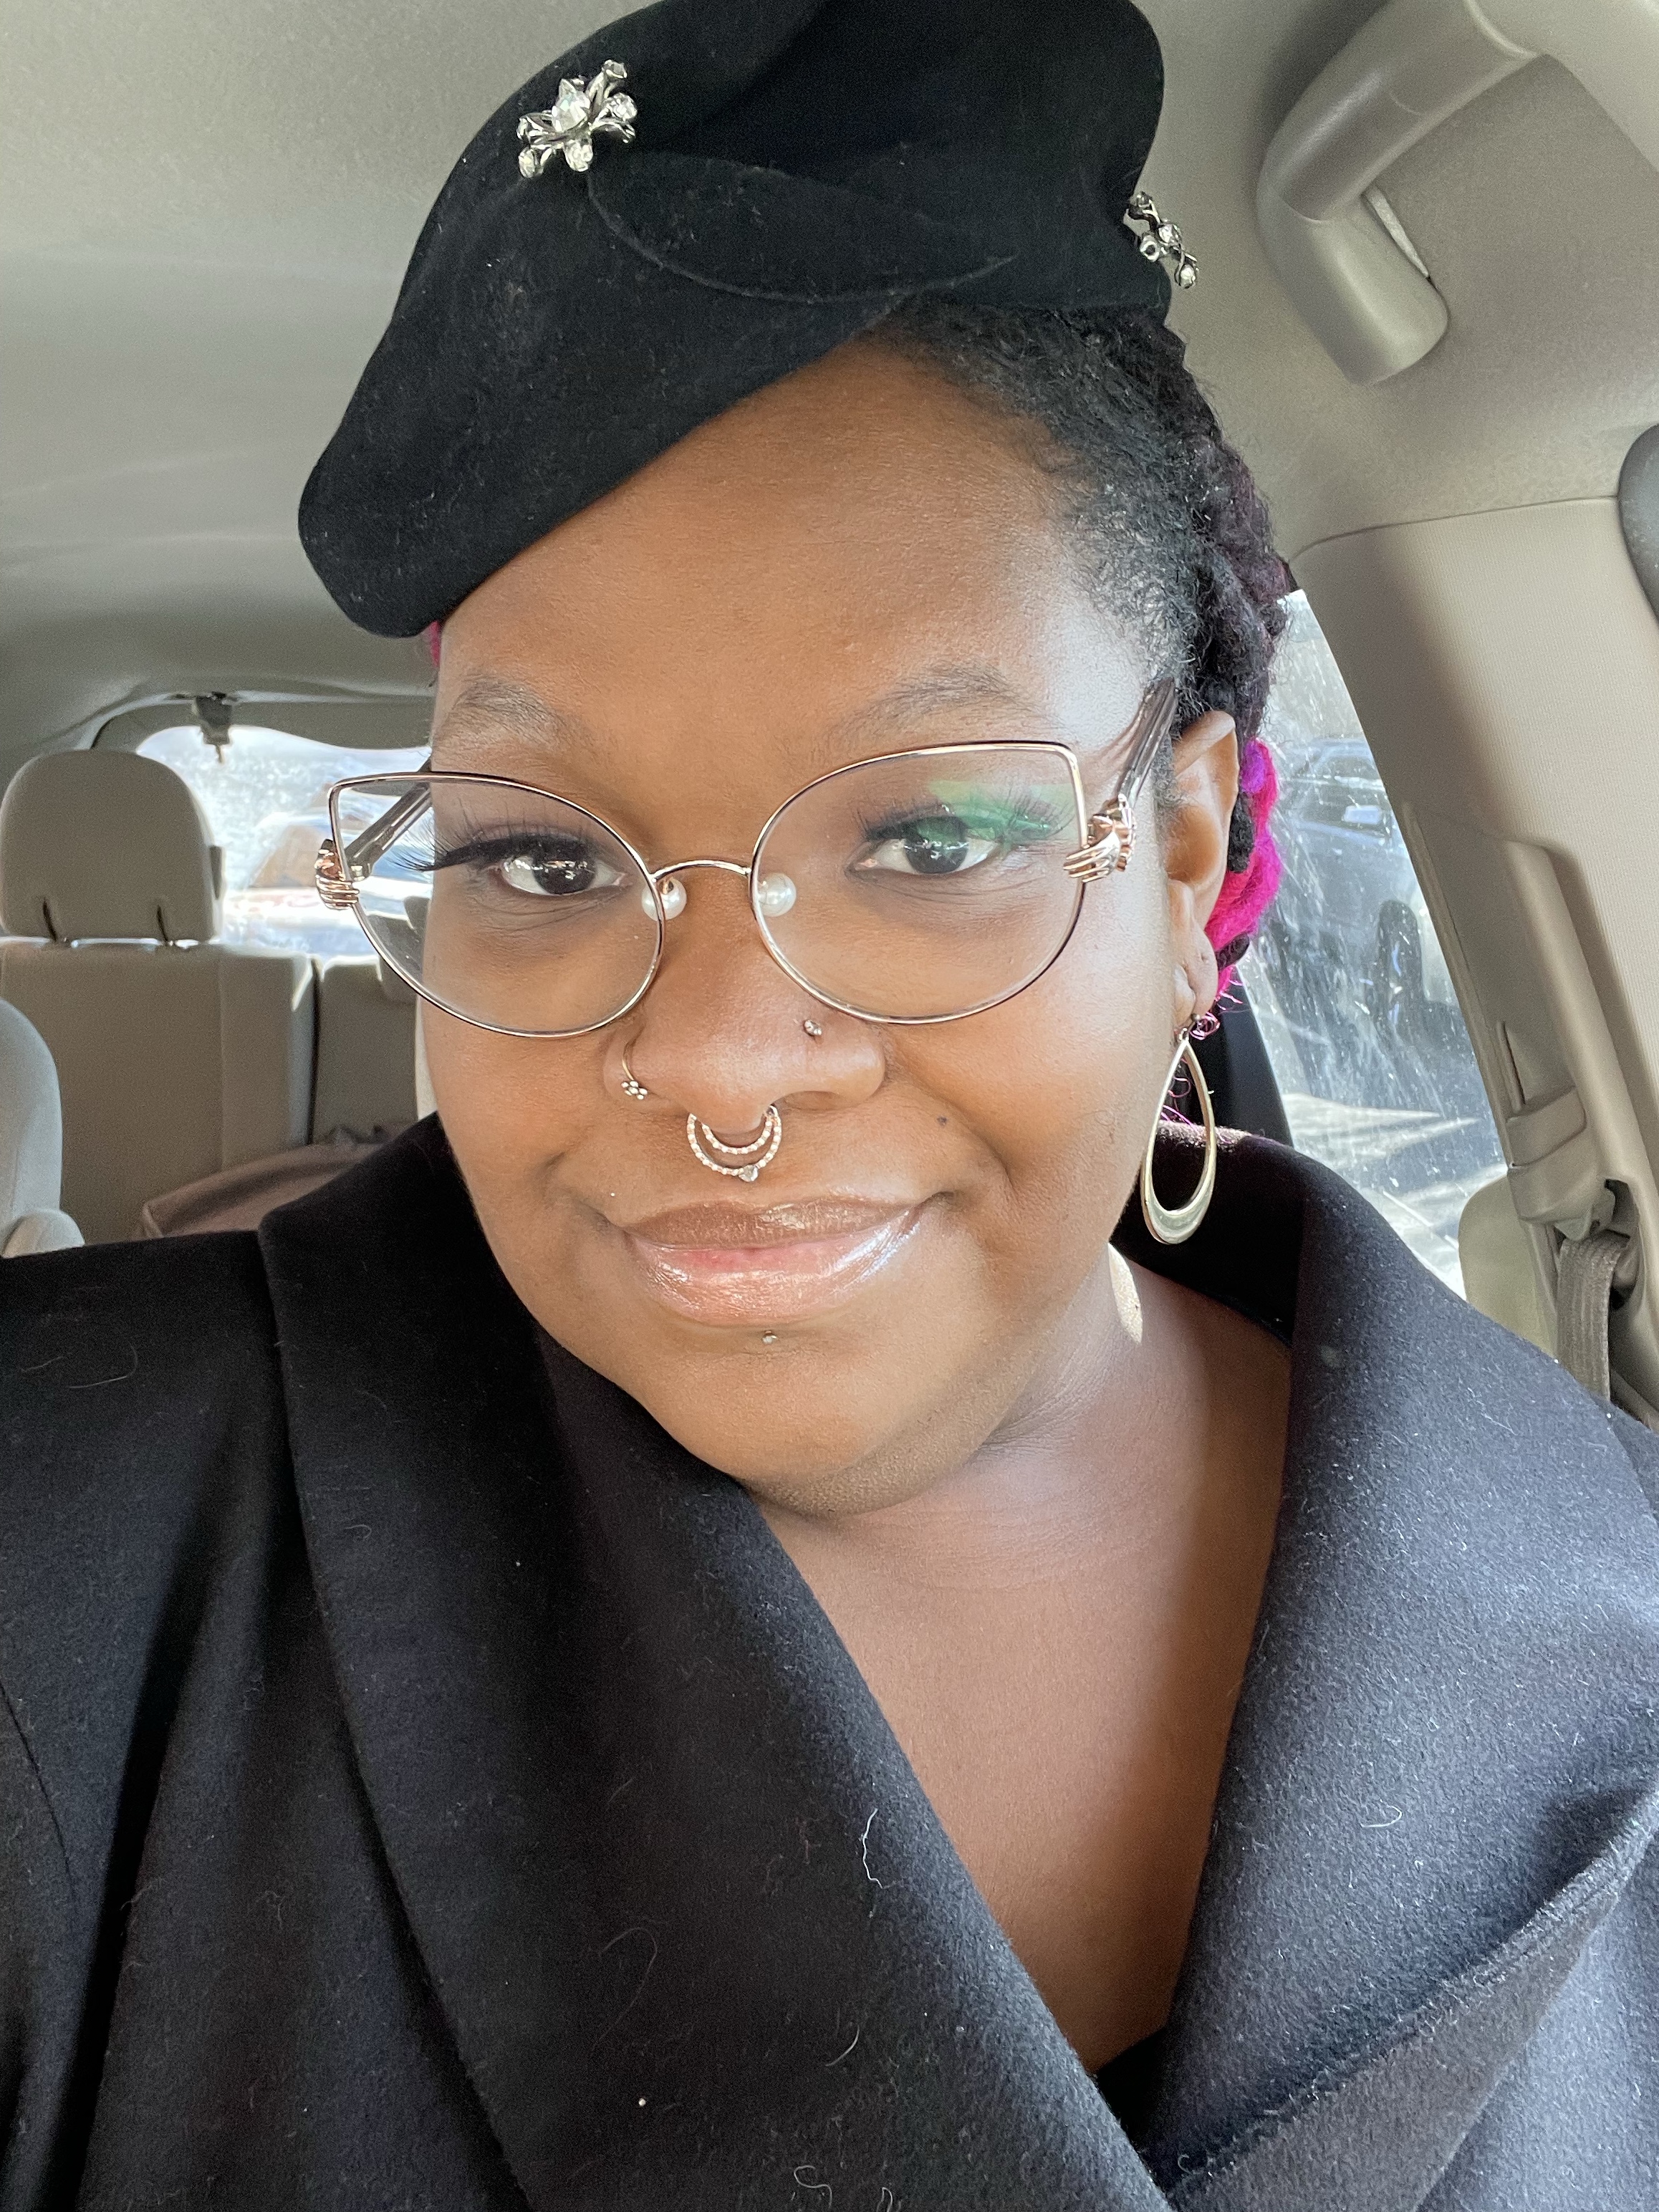
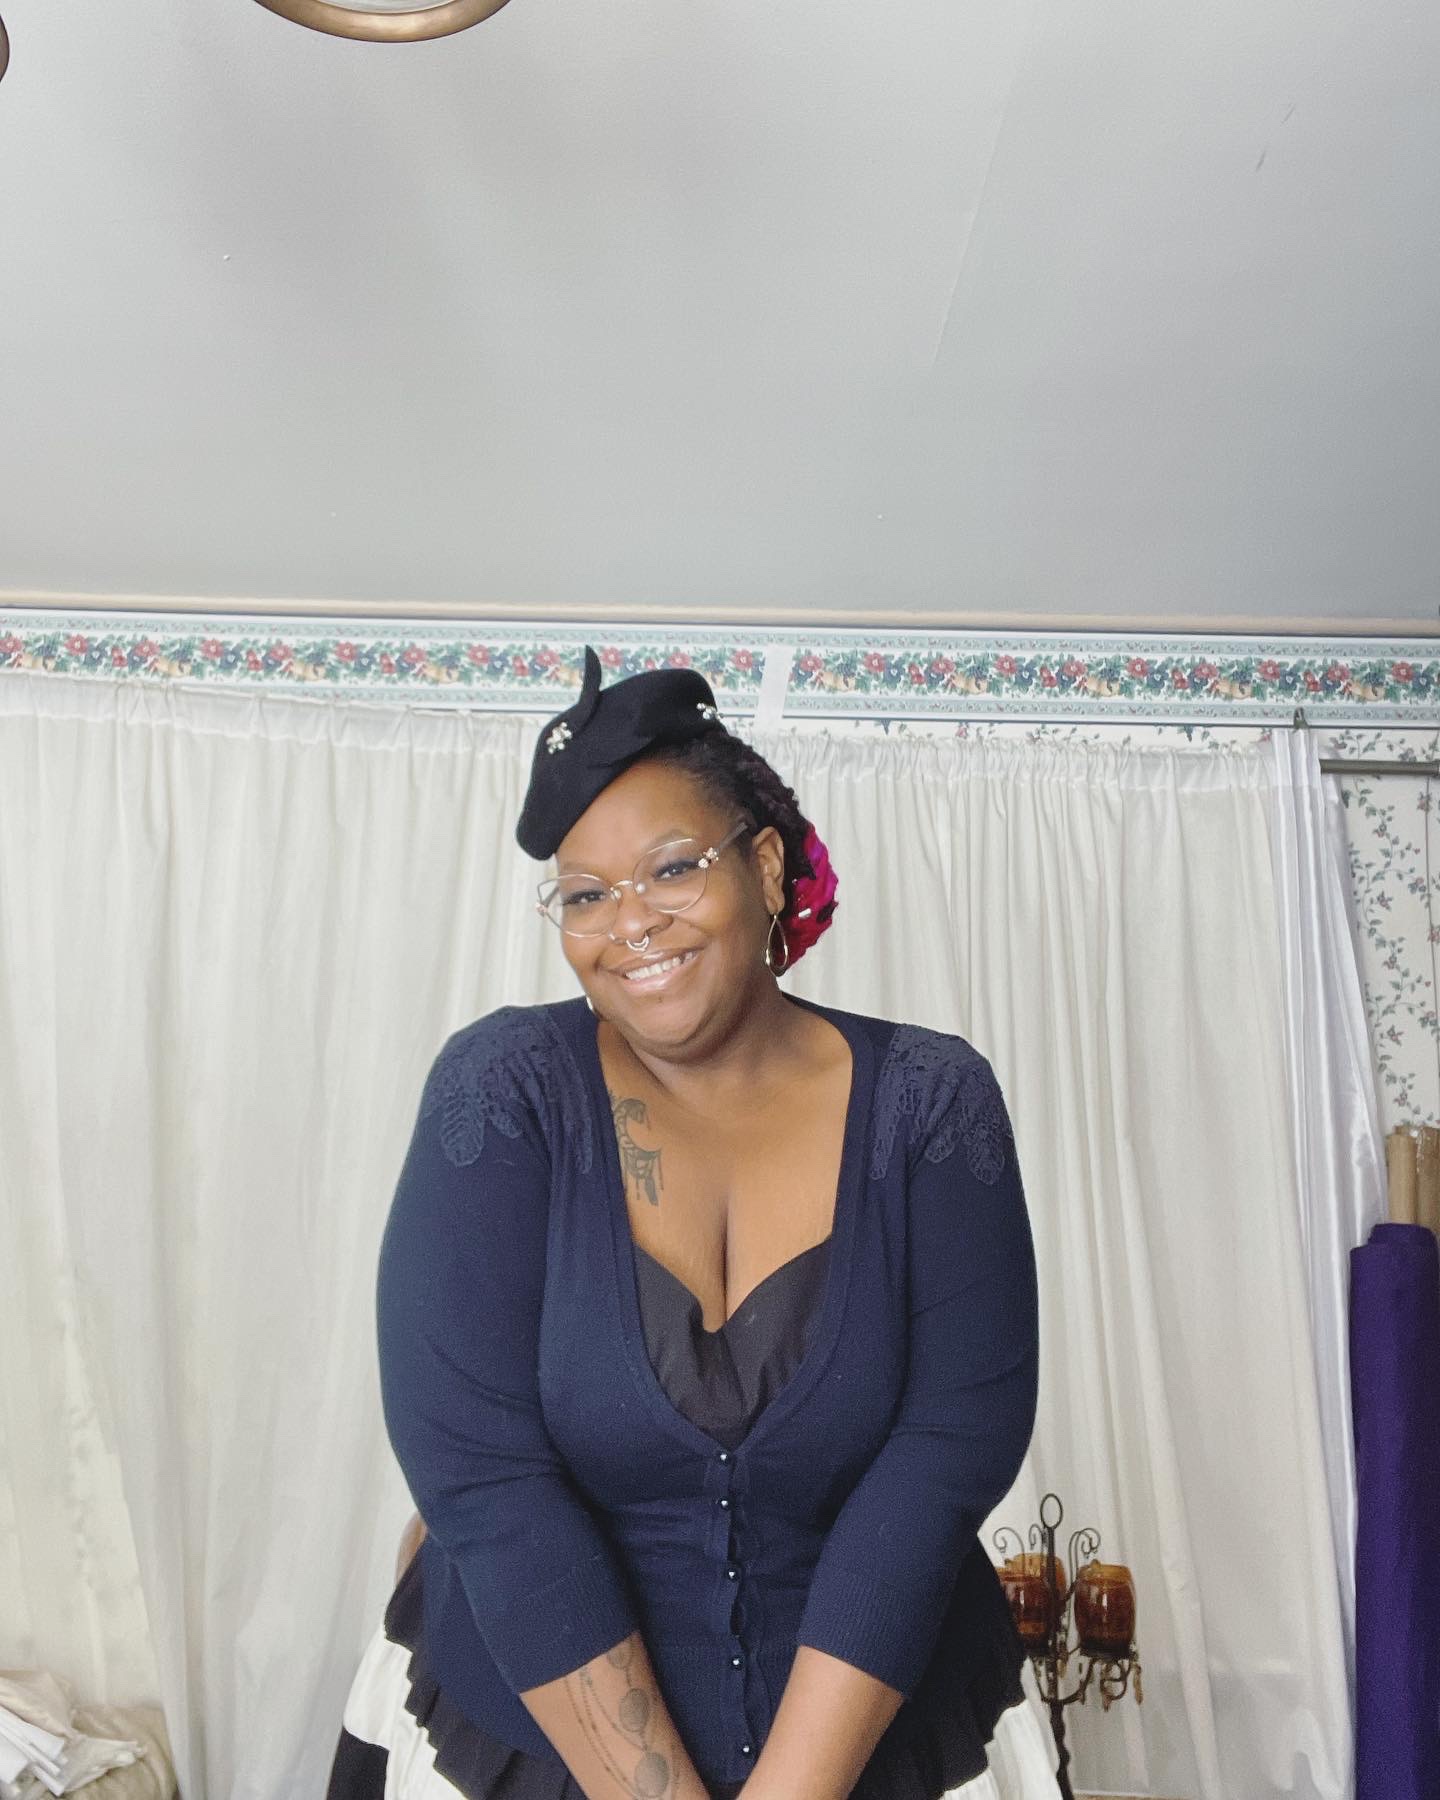
So on the first day of NOT doing #28daysofhistoricaldress guess what I did? I still did a vintage look. I couldn’t help it! I look dang cute in vintage. And the routine of waking up earlier to do my makeup has now stuck with me. Here’s todays look:
Look at that pin curl bang!
So while I really should do a full blog post with every outfit and the photo/video I did for it each day, that’s a lot of work! Besides, you can find it ALL on my Instagram: https://www.Instagram.com/loveshutterbug I have it under the first stories playlist: 28 days of historical dress.
But for you, for you dear reader, I’ll share quite a few of the highlights of the past 28 days. Enjoy:
I’ve been wanting to do this for a while now, and I’m glad I did. While it took a total of 2 hours and 49 minutes (45 minutes of that was spent stuck on measurements), I’m glad that it turned out well. And this time, I actually recorded the process! Check it out:
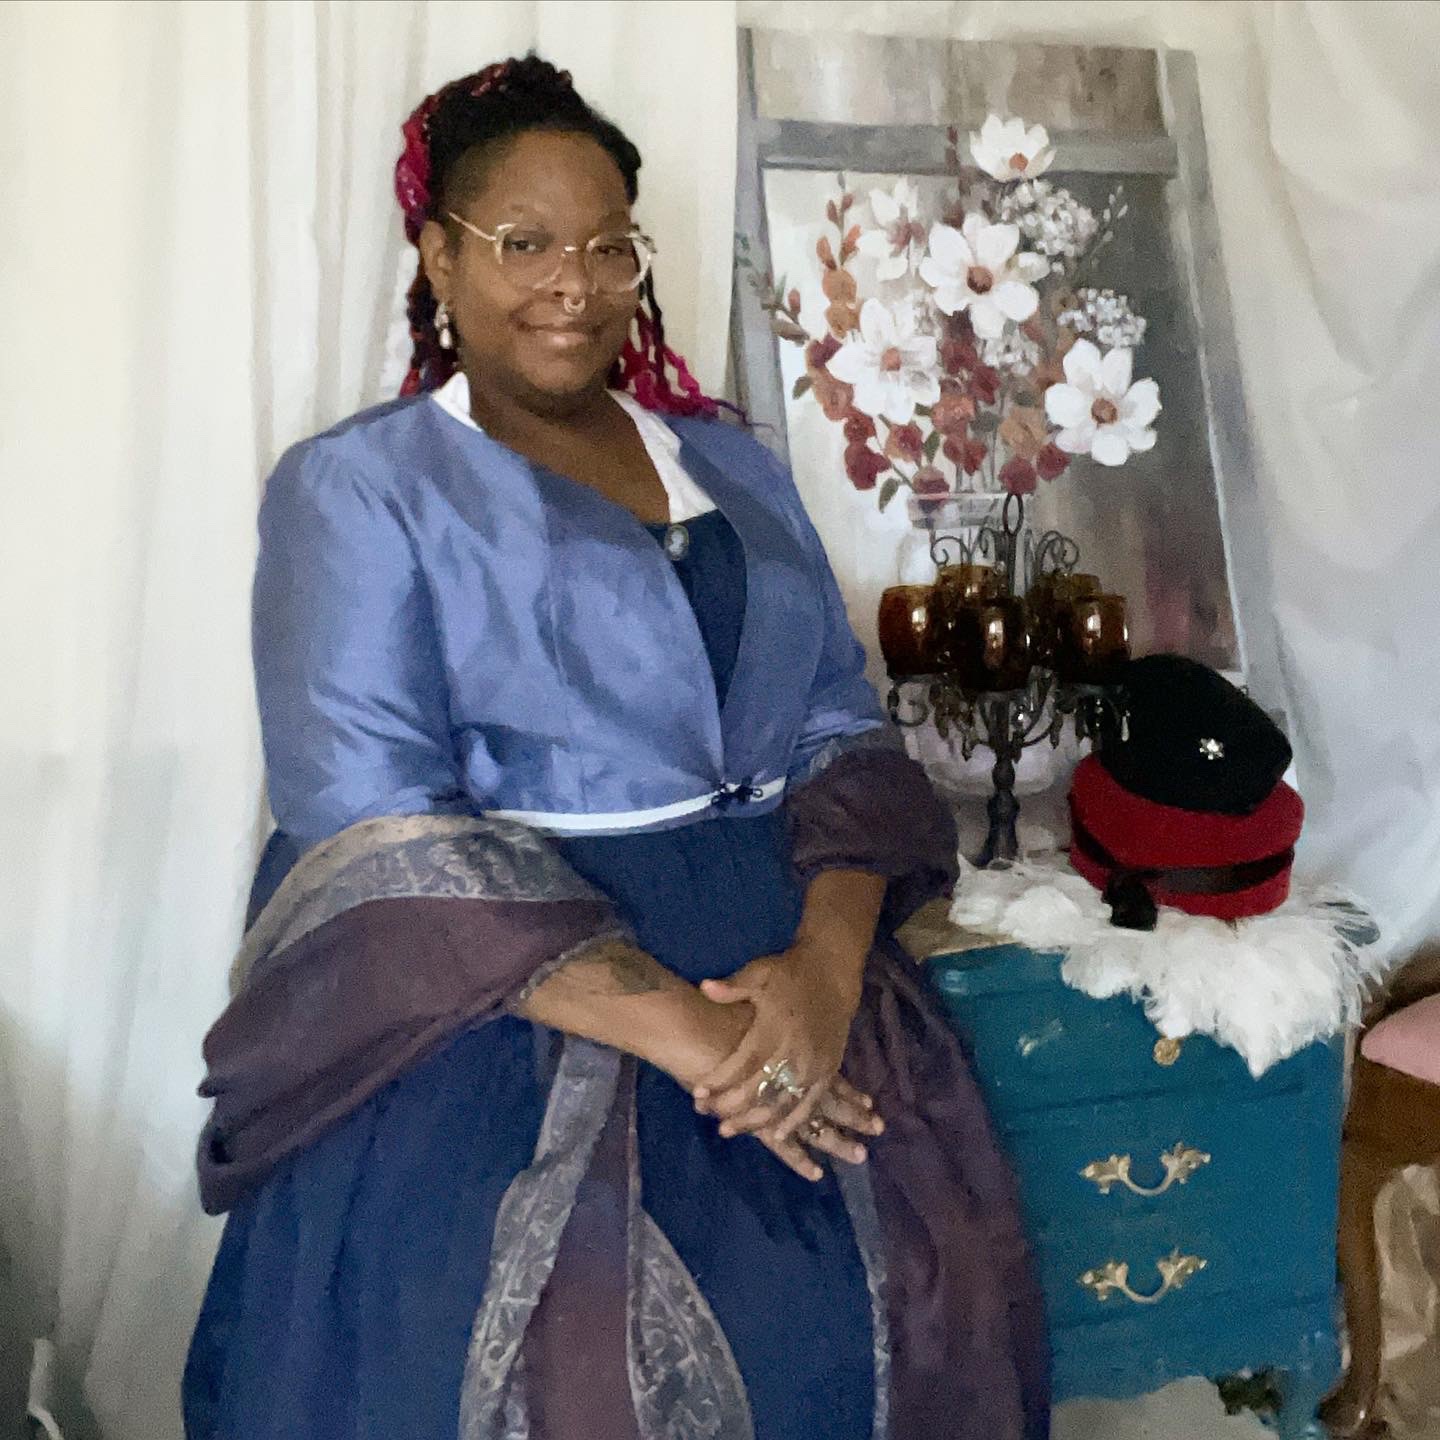
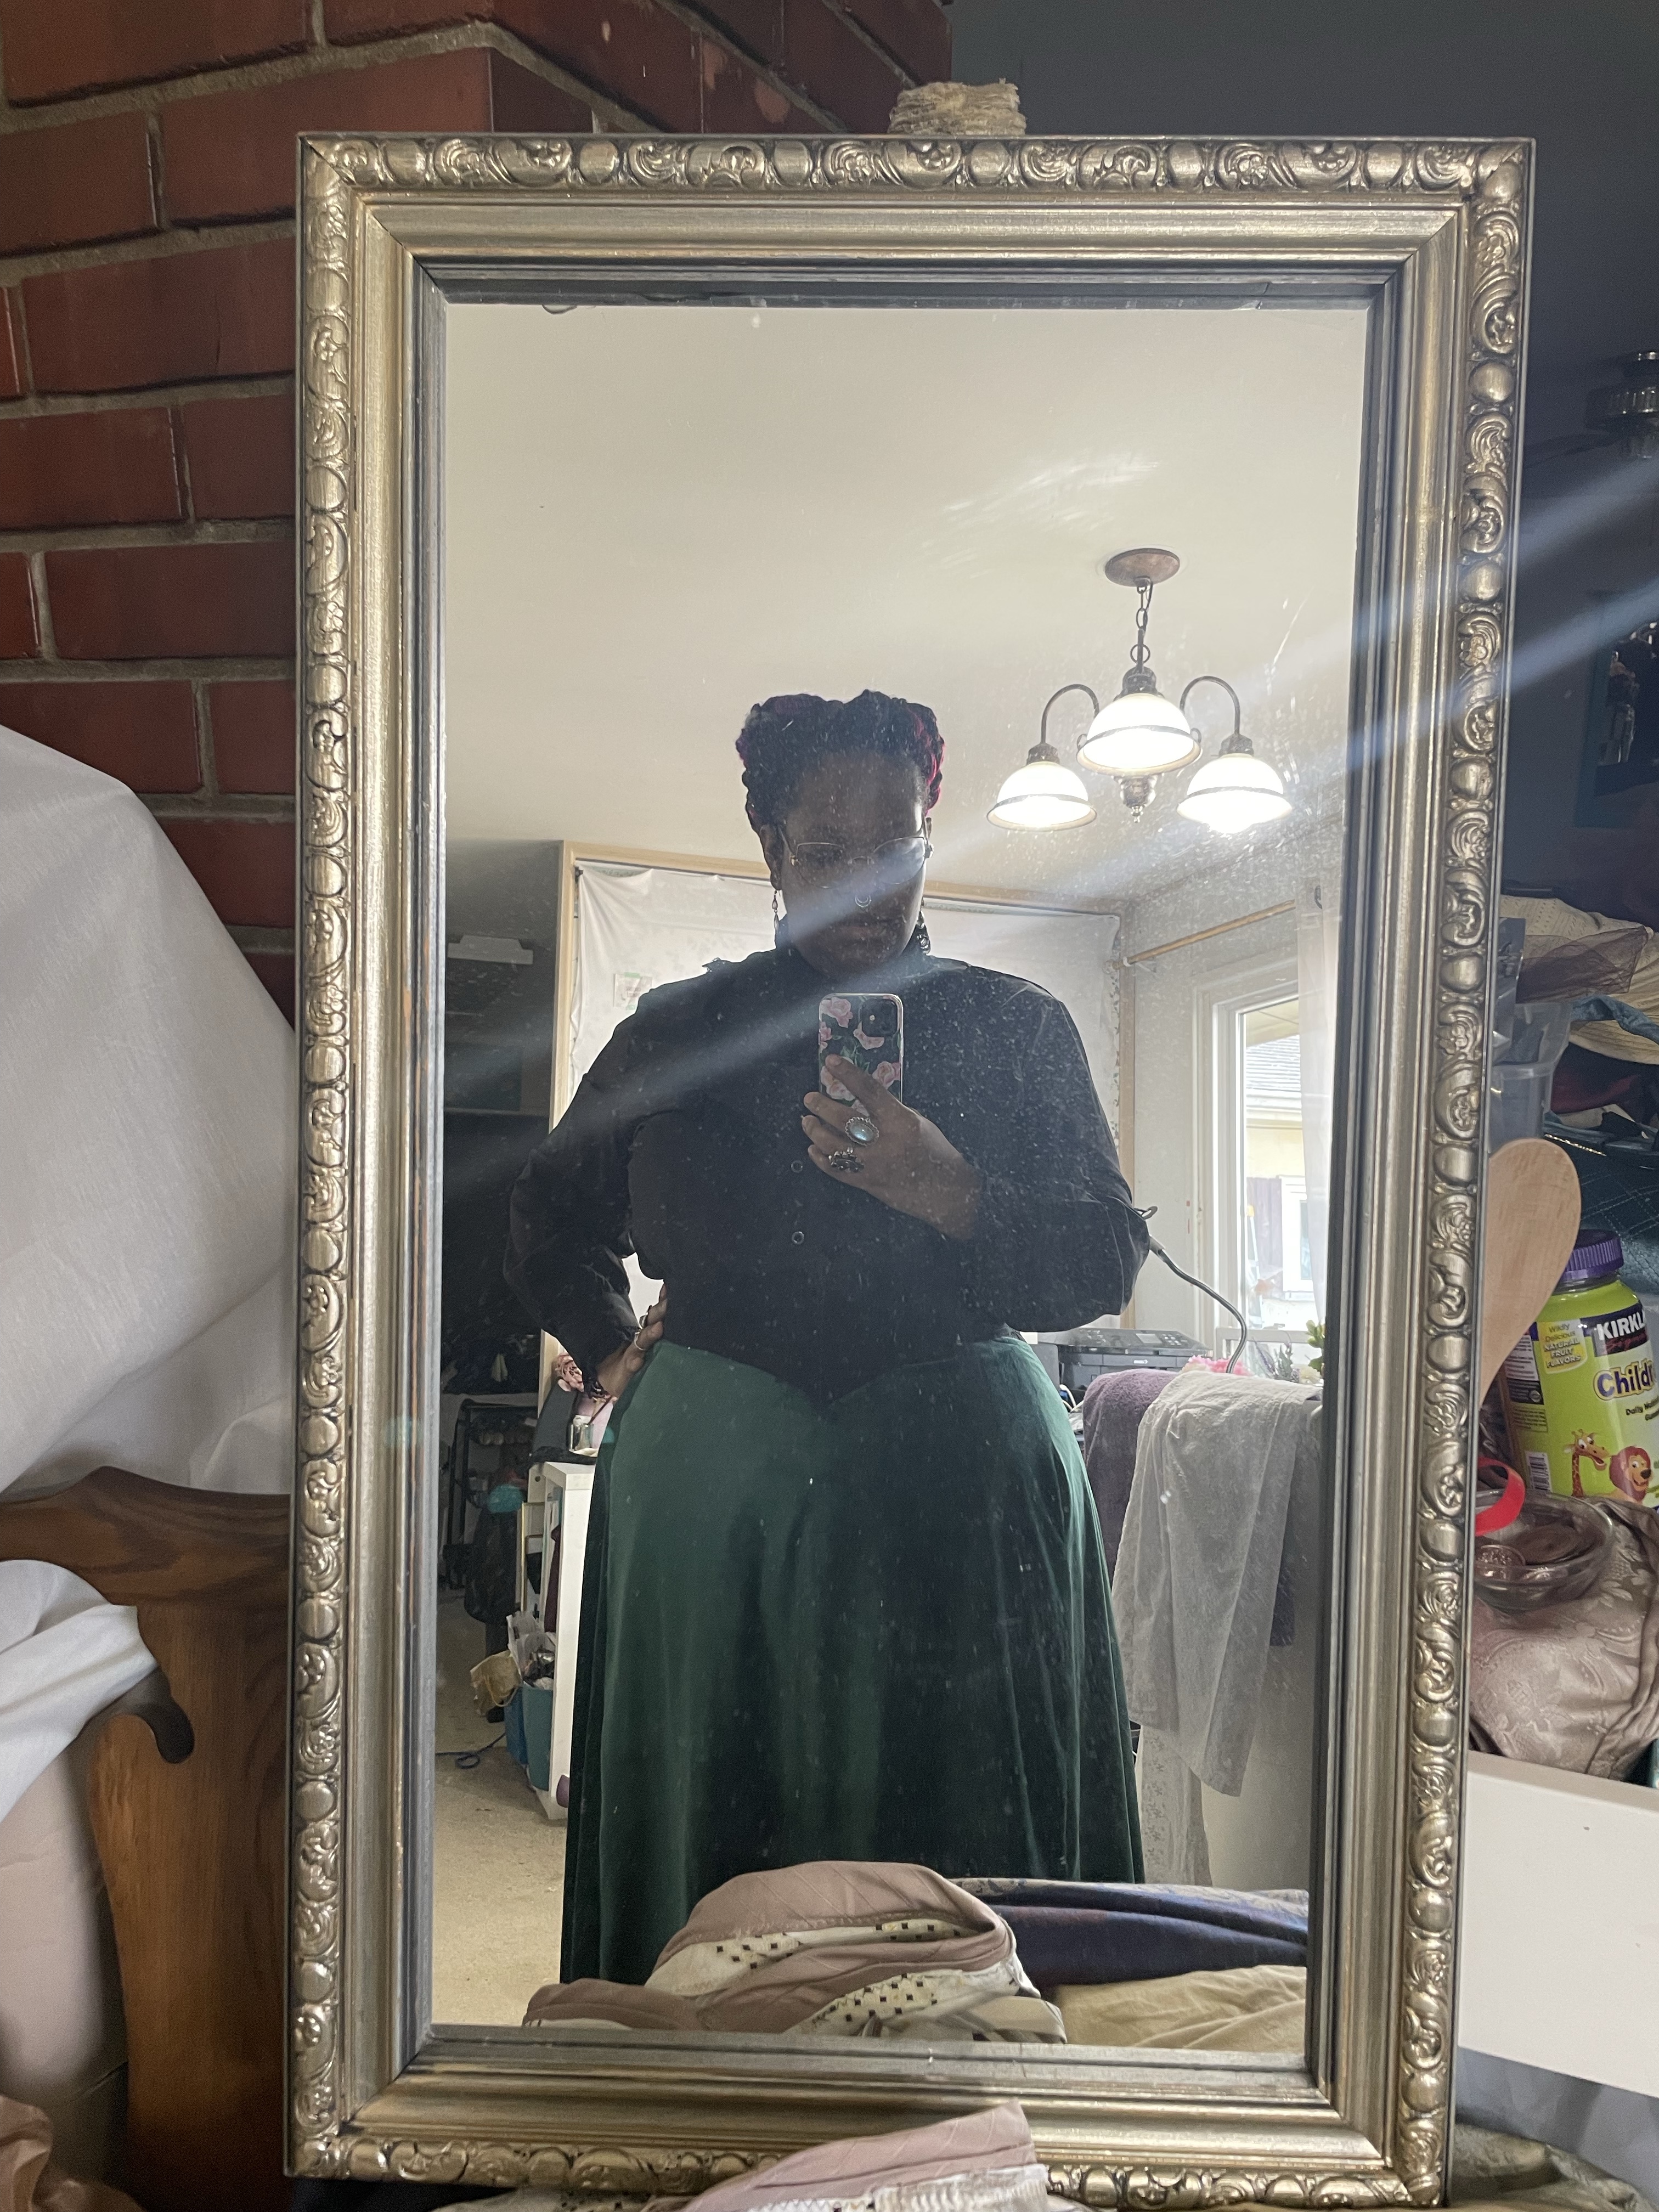
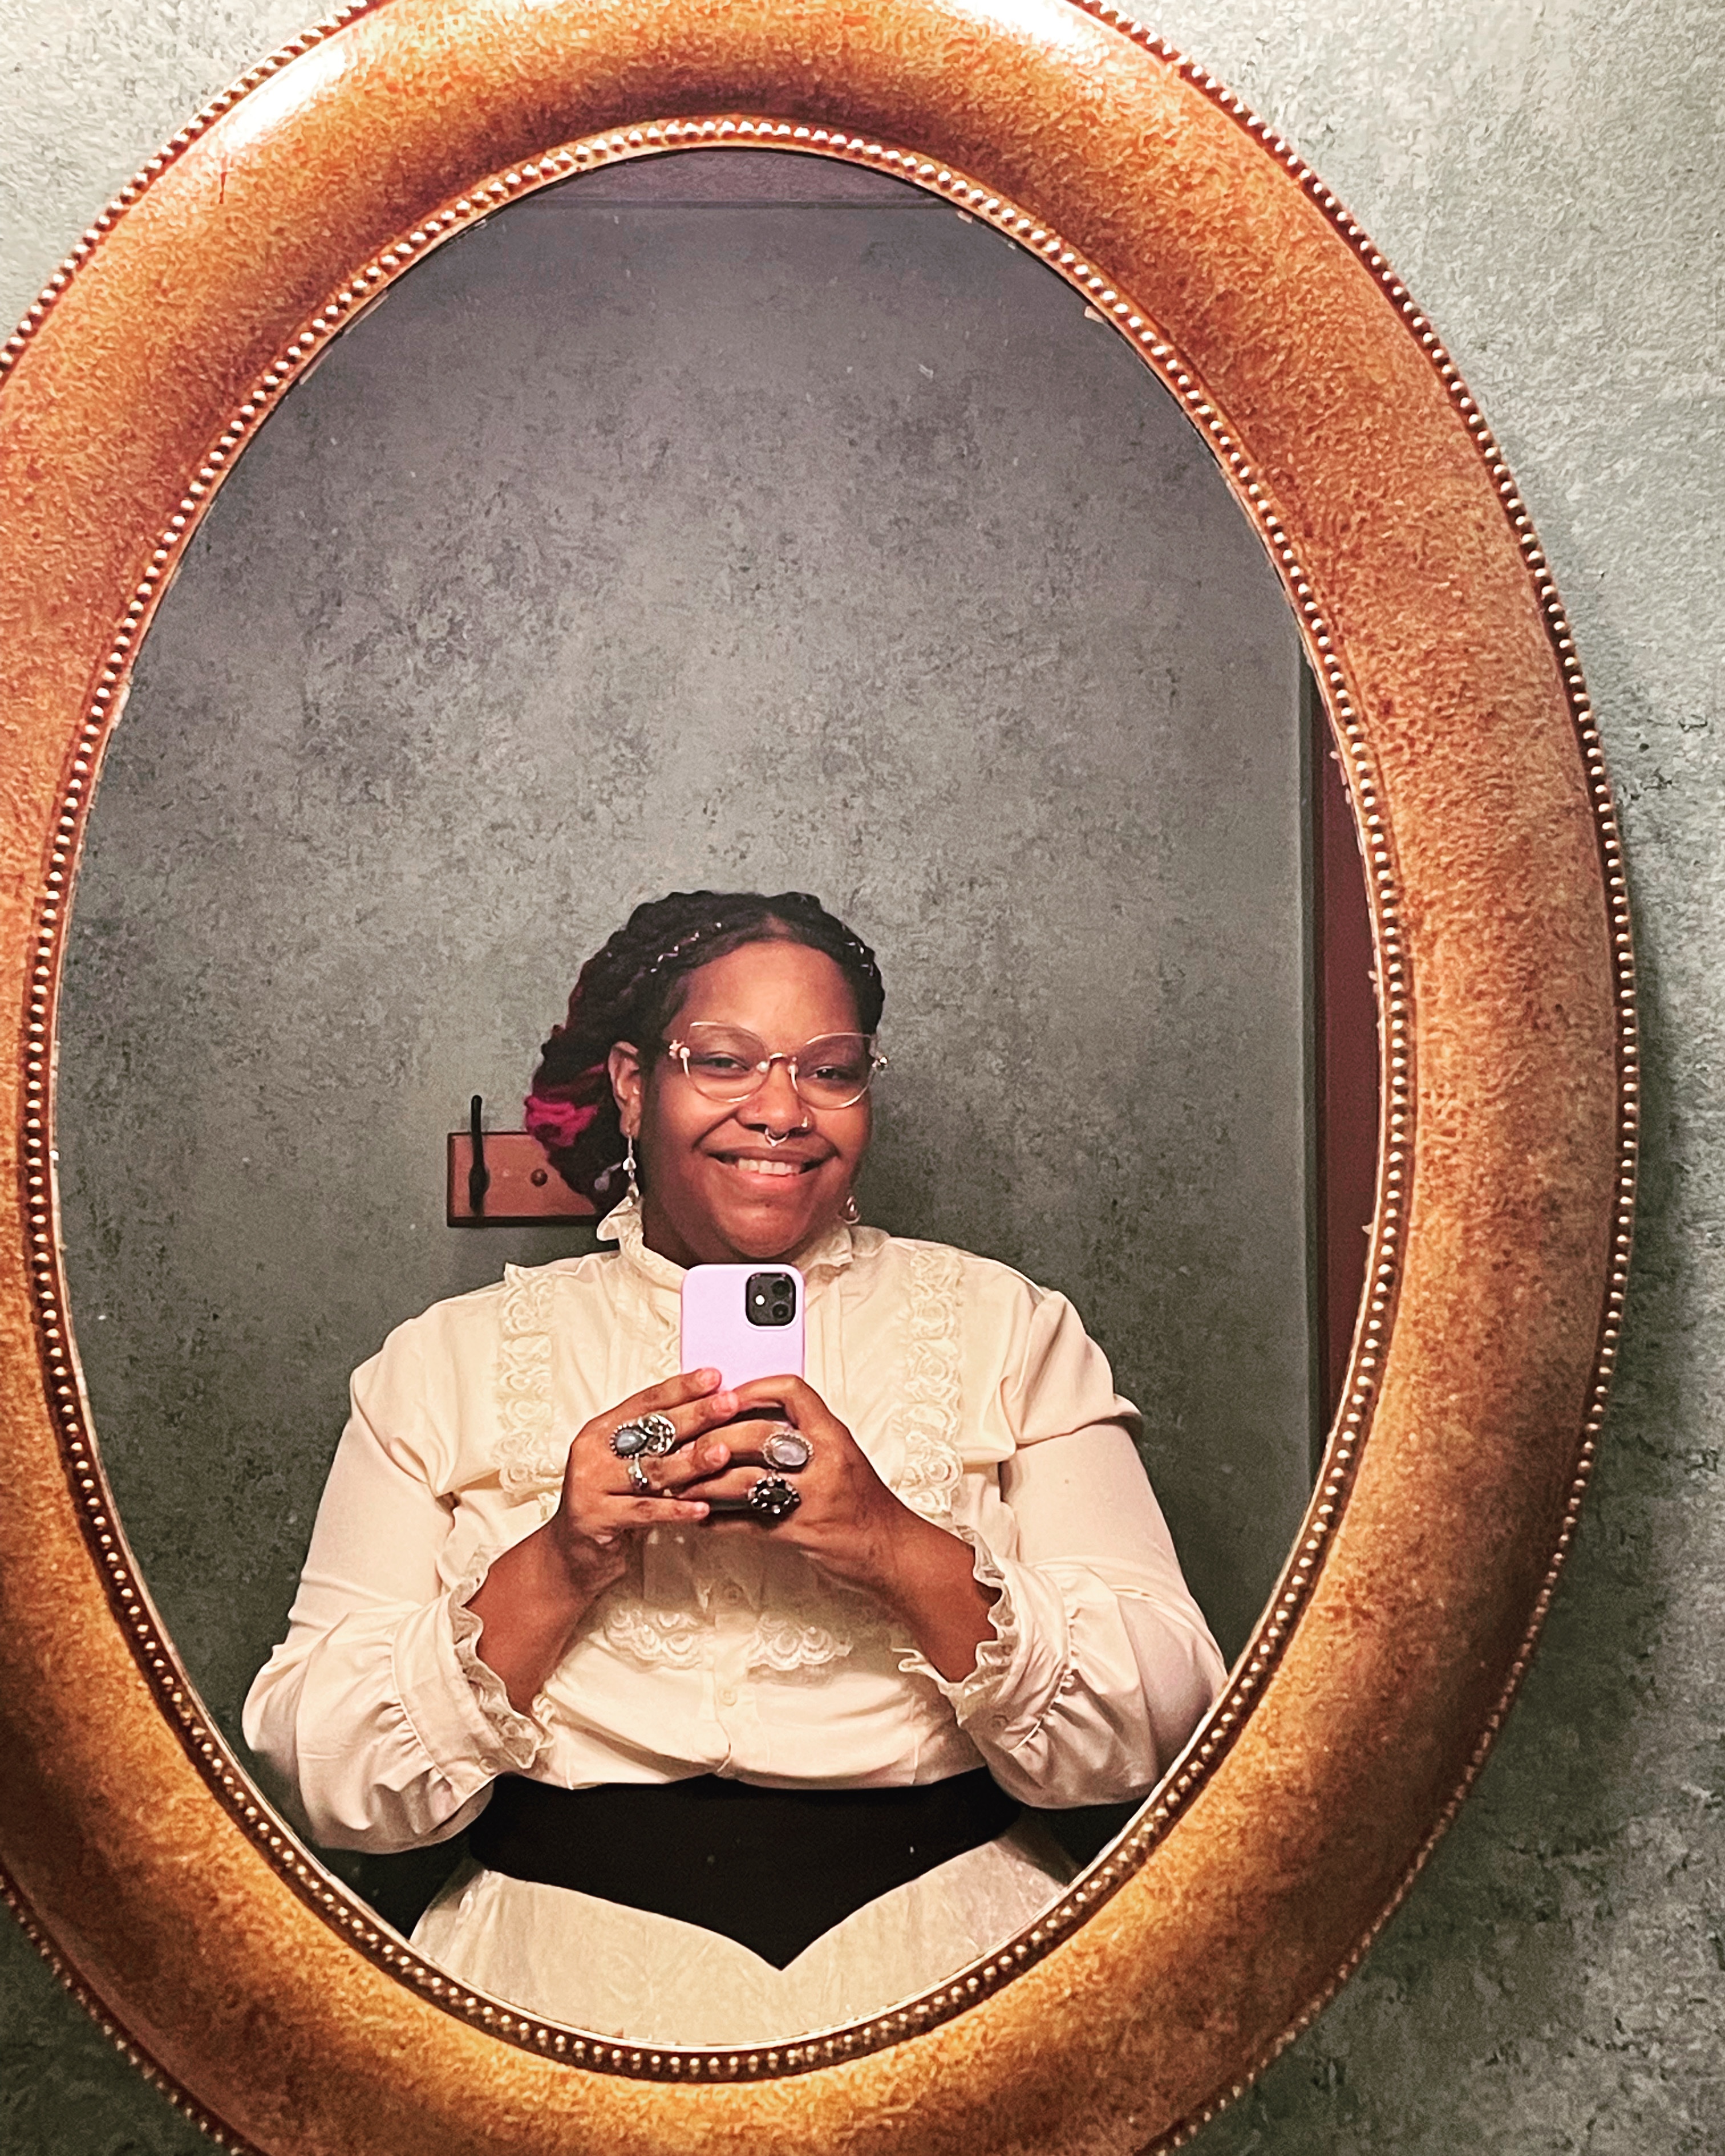
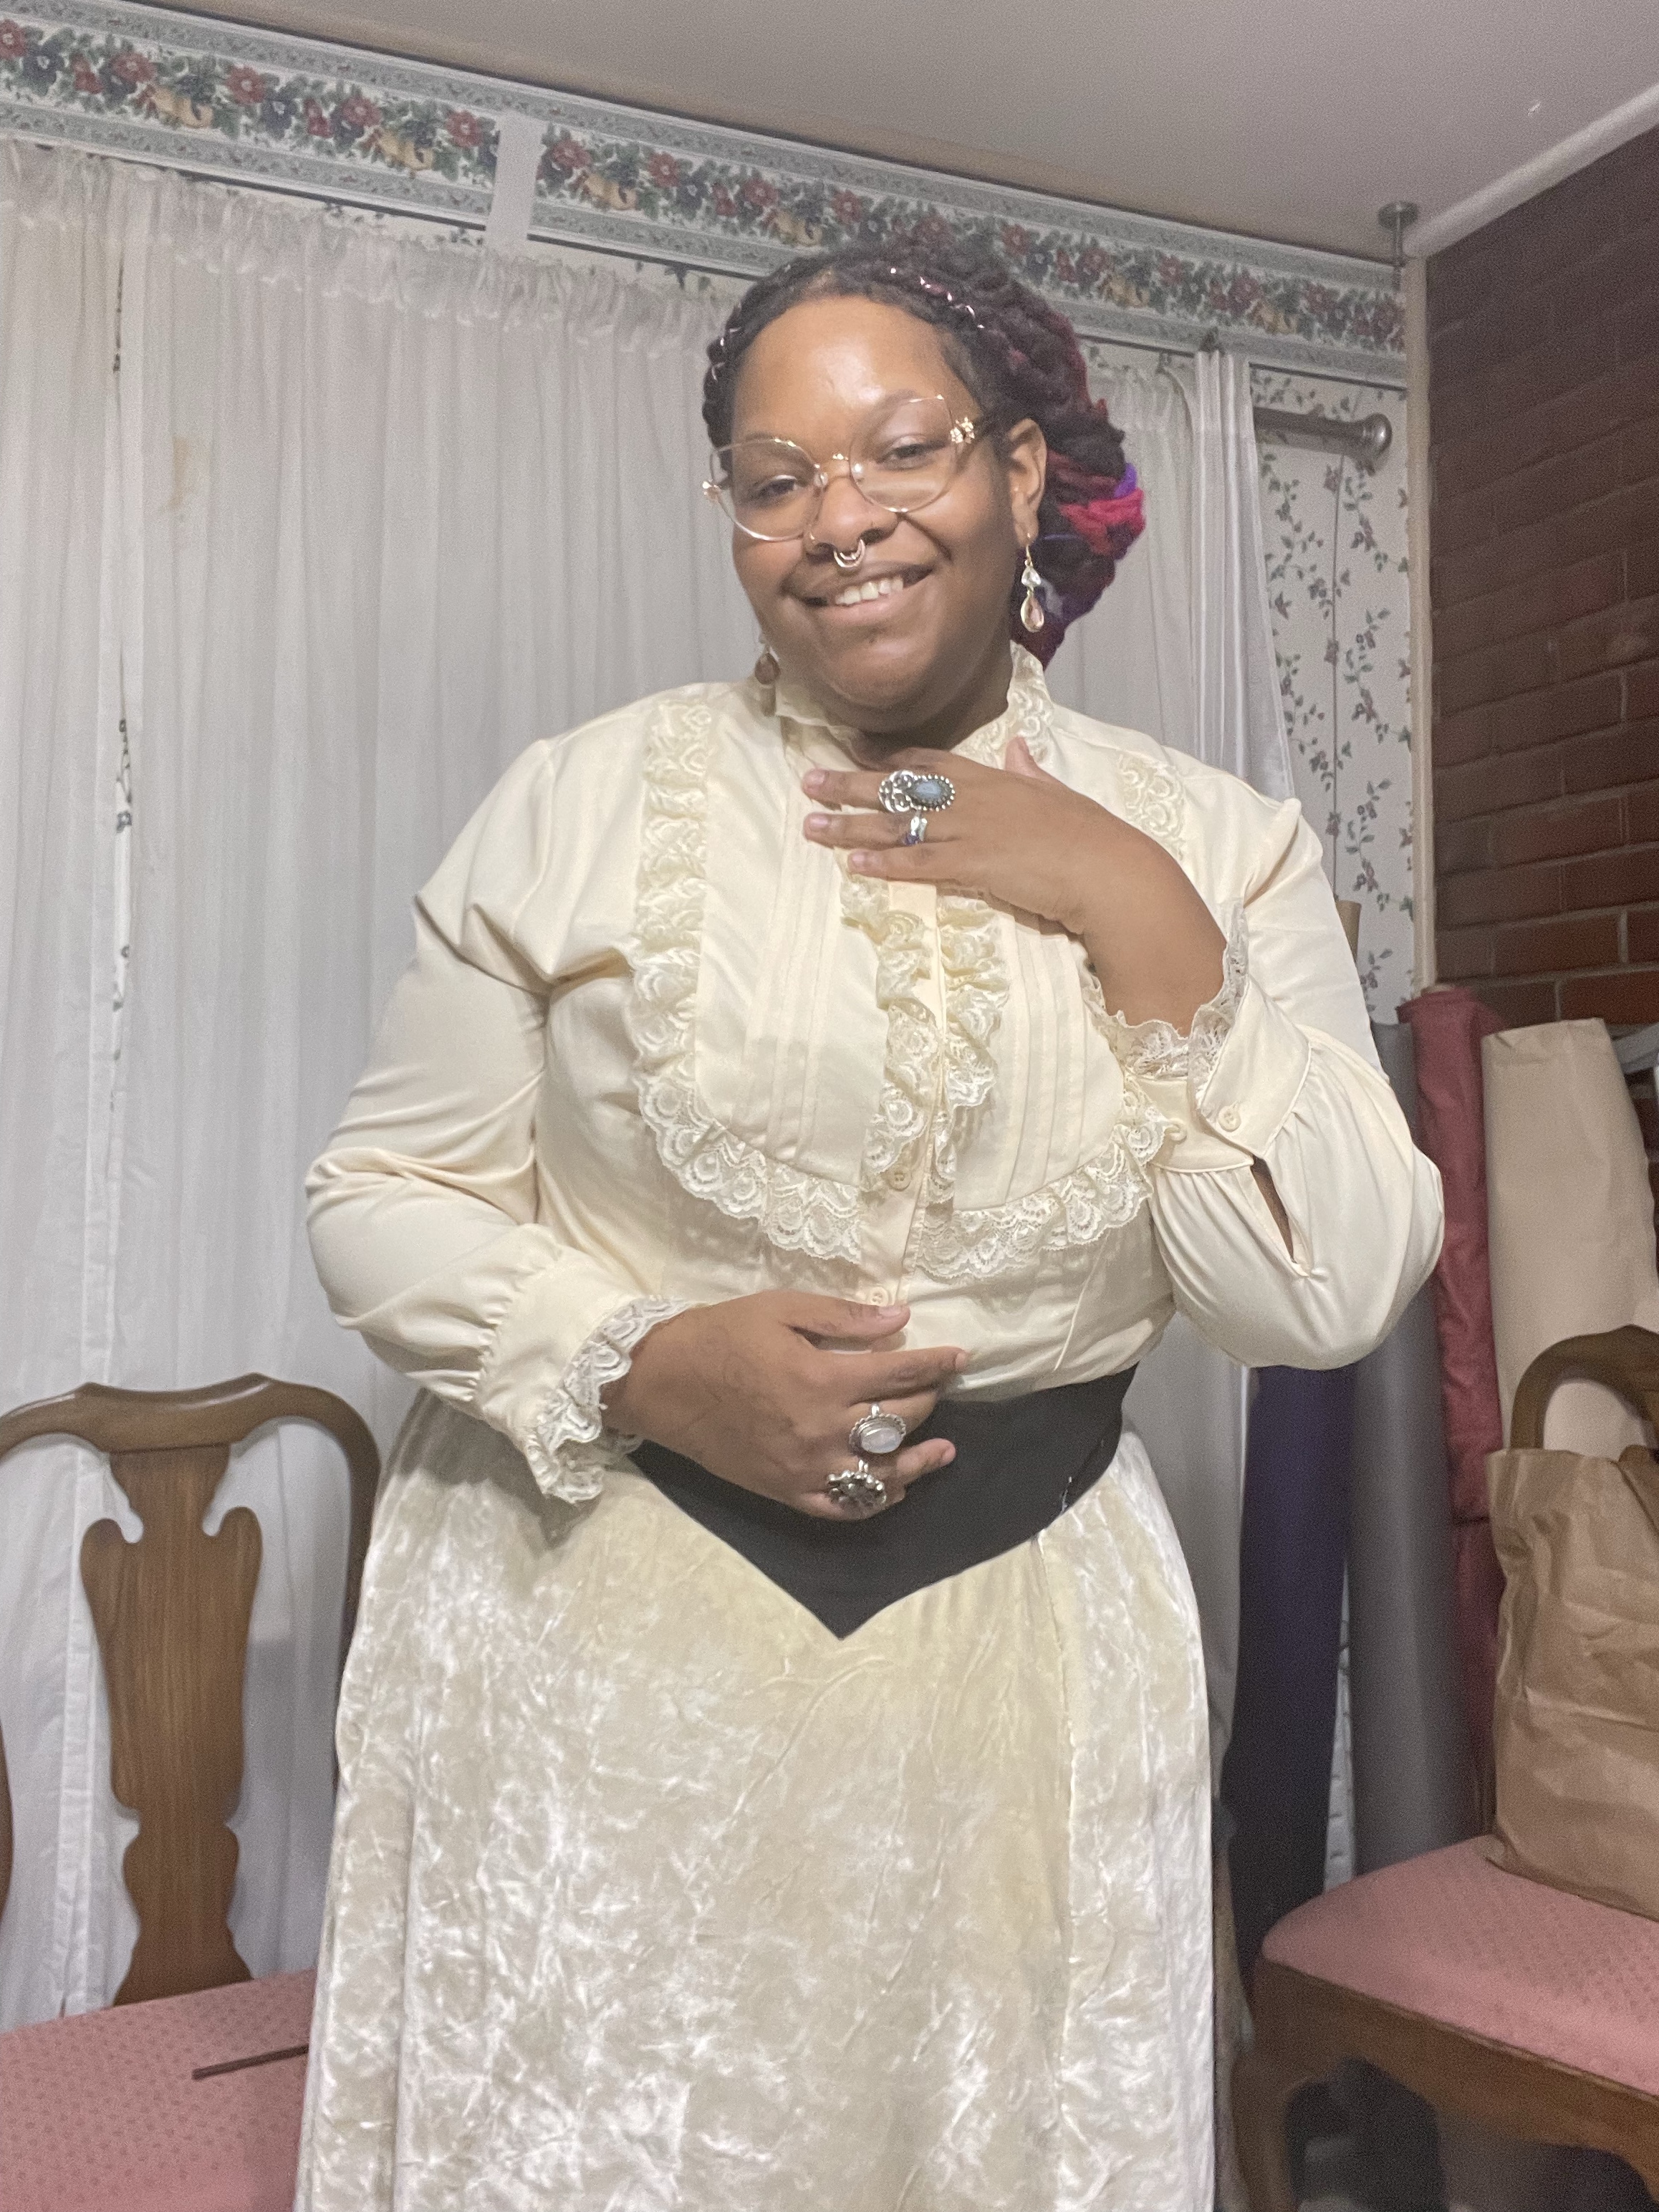
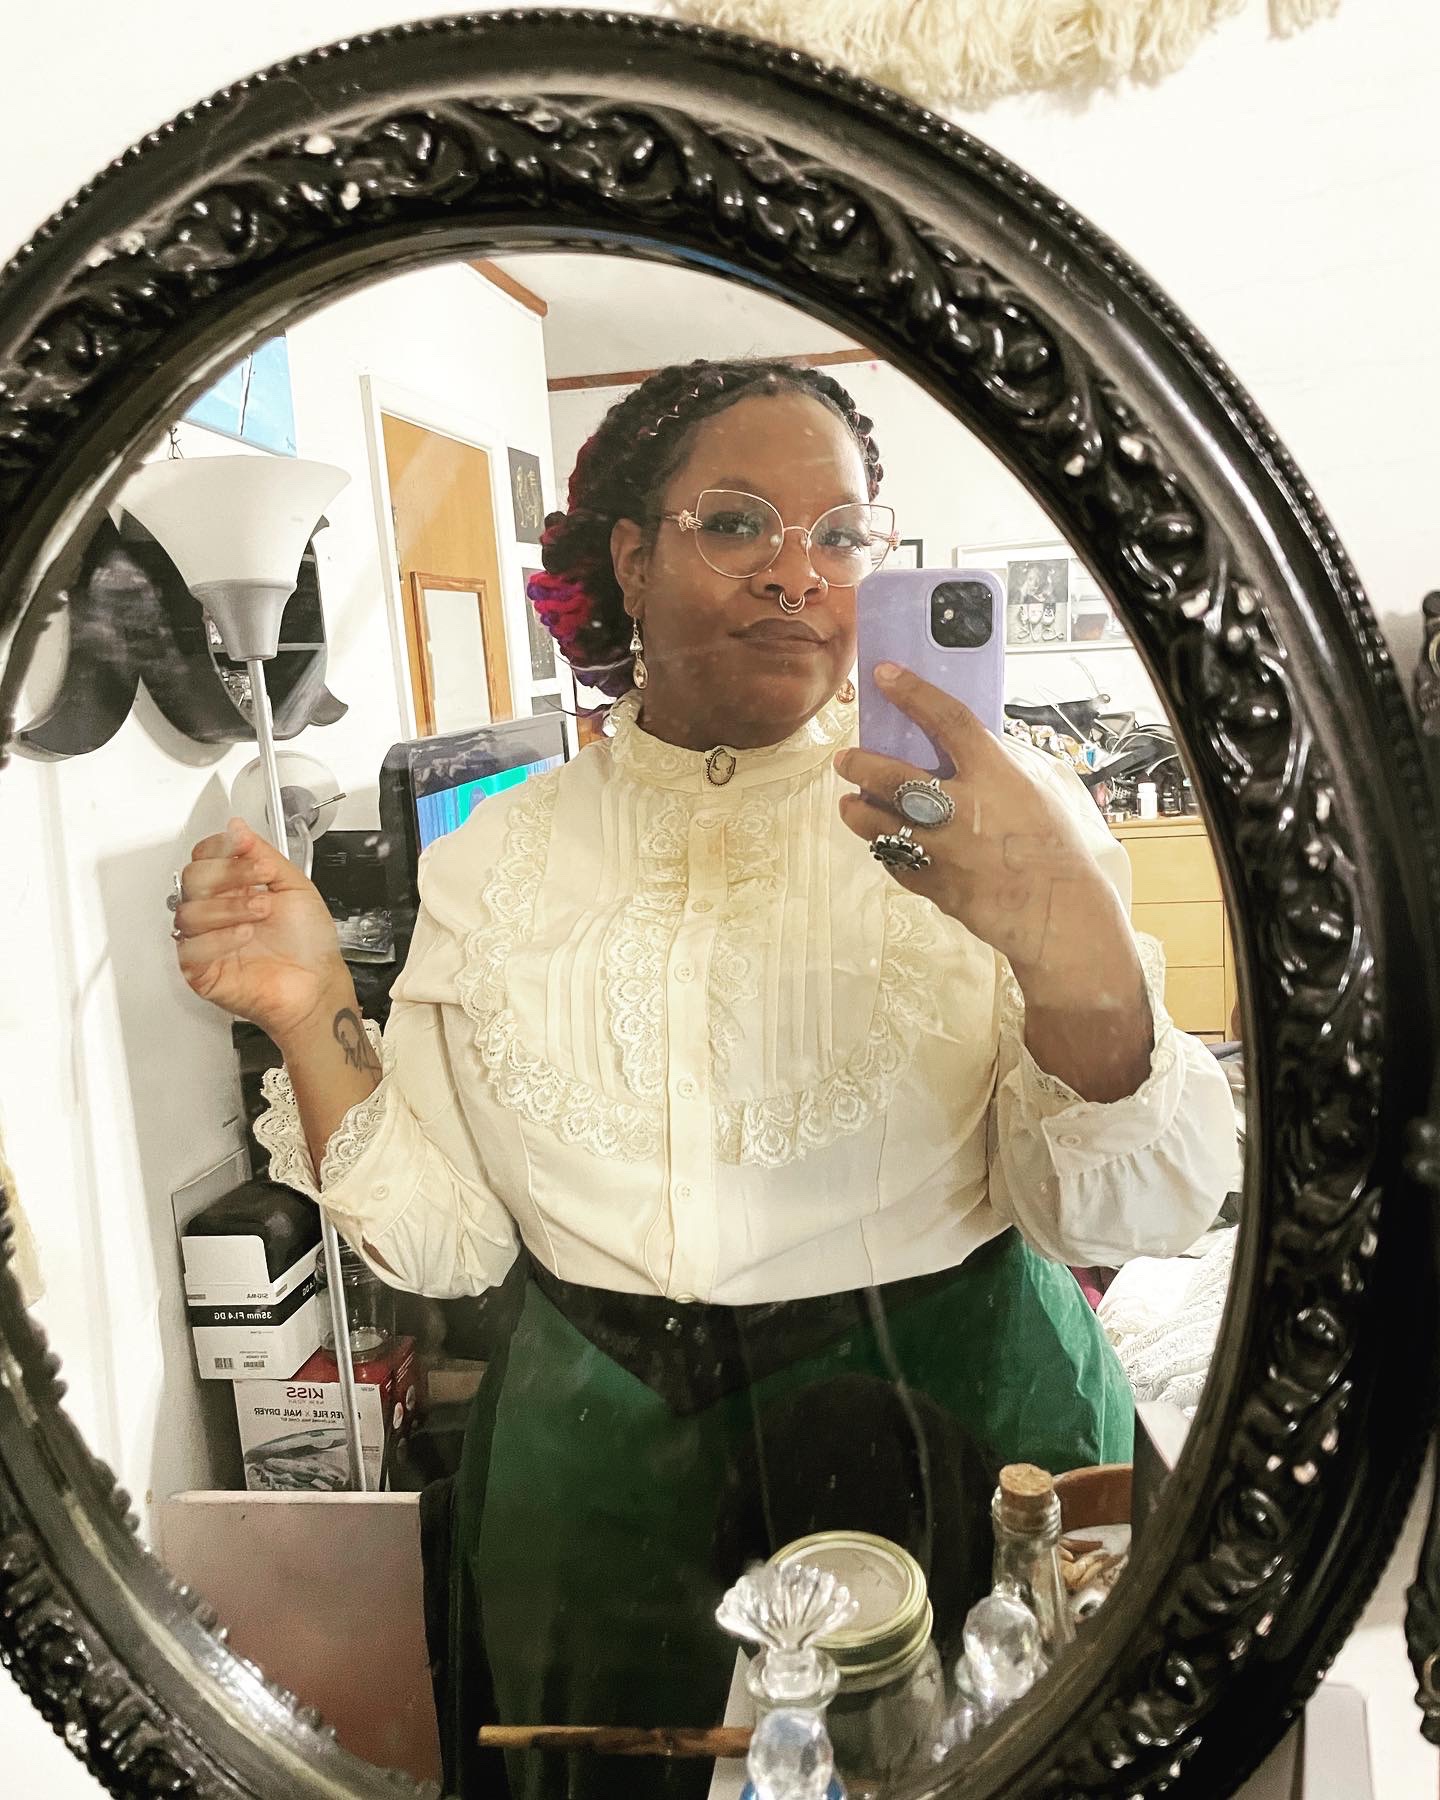
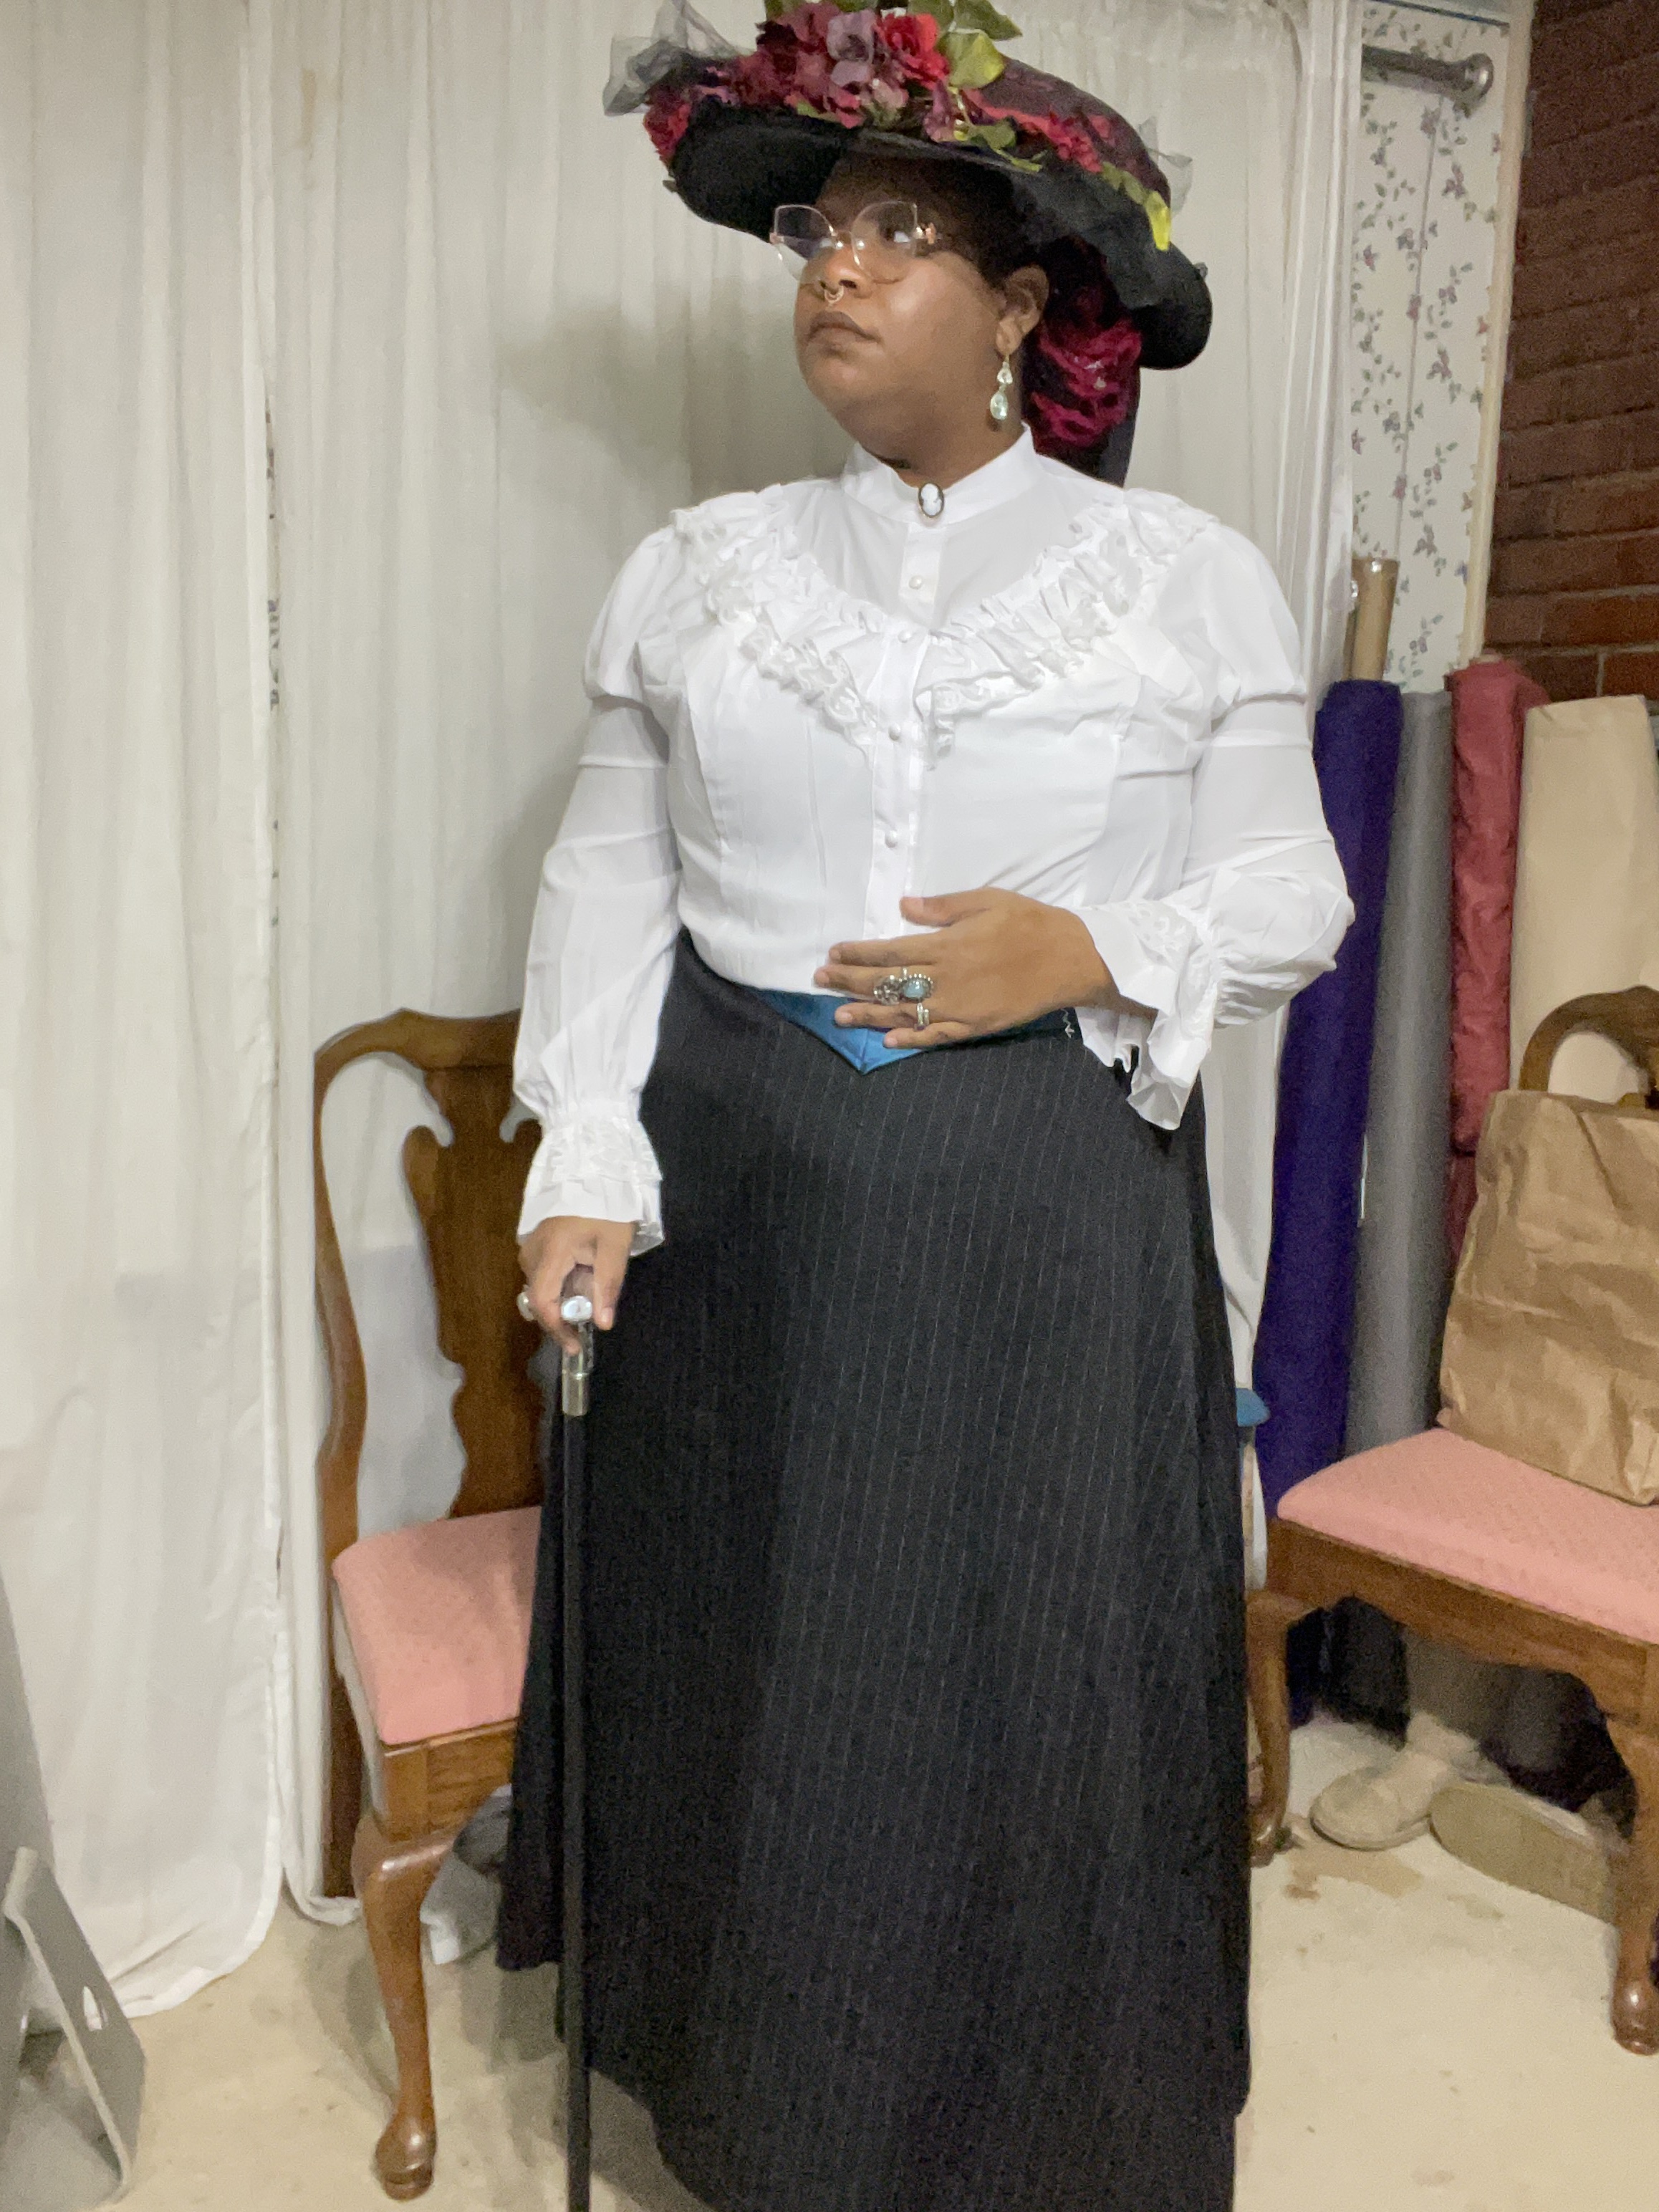
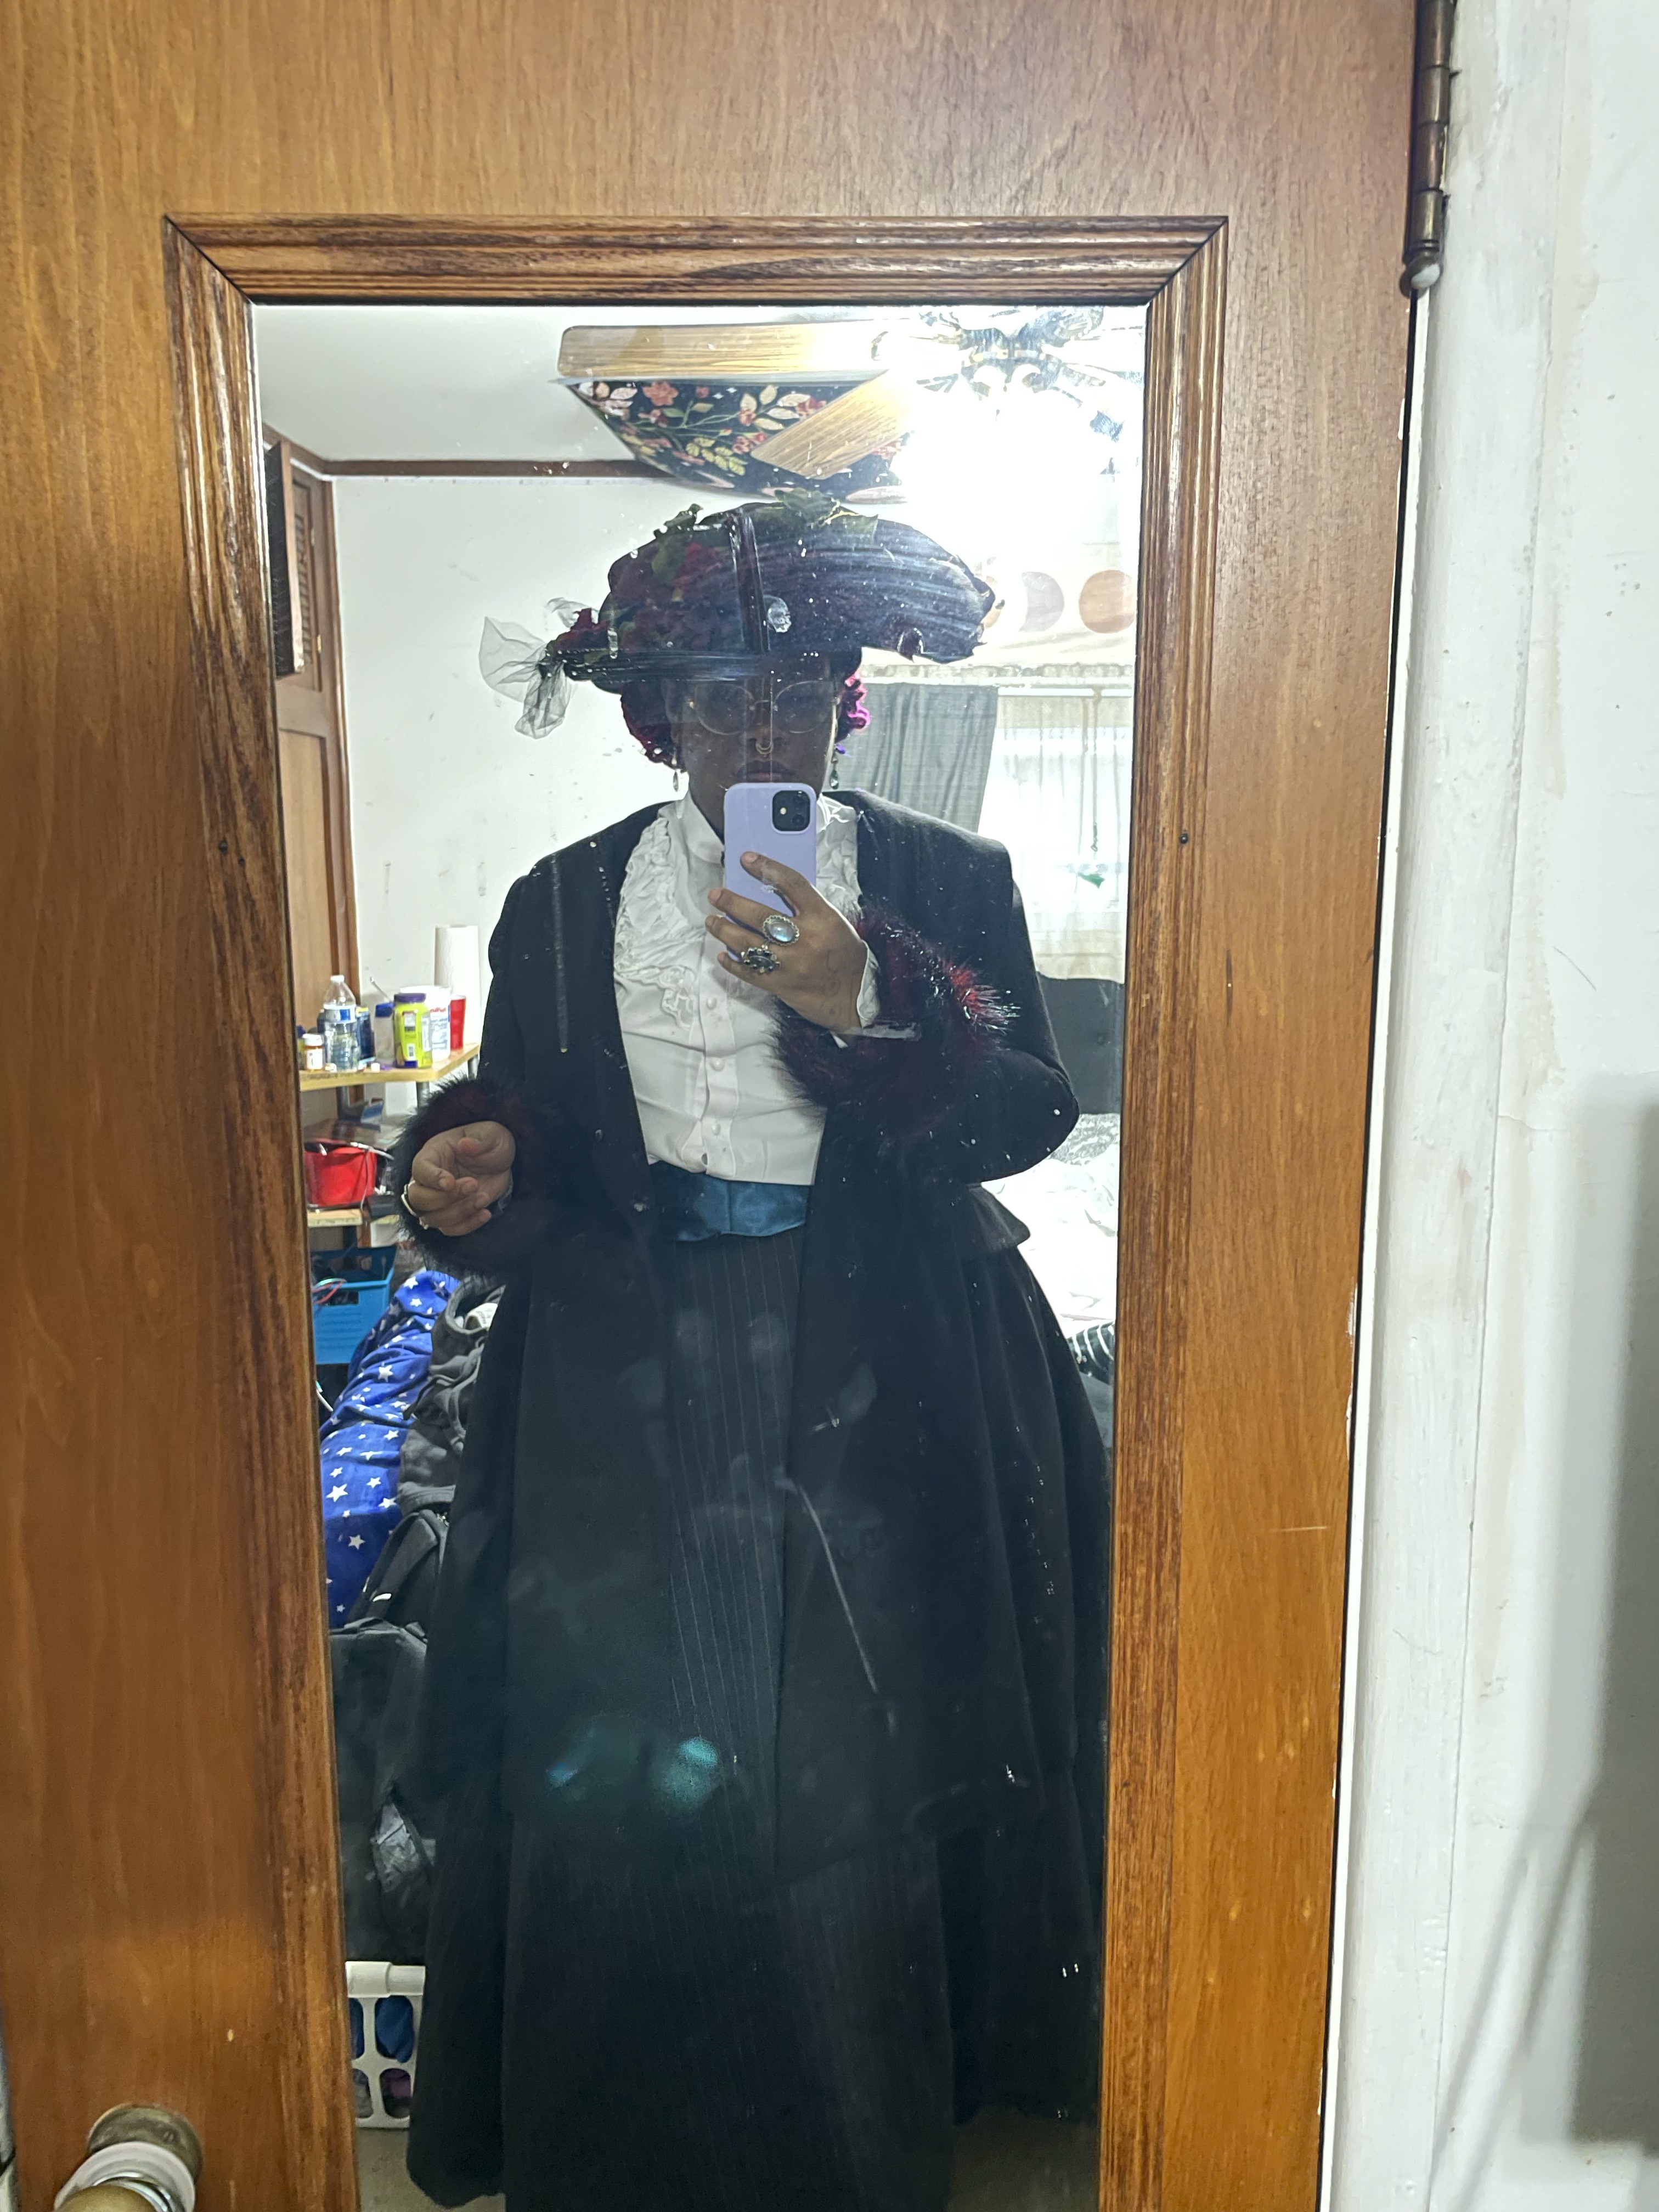
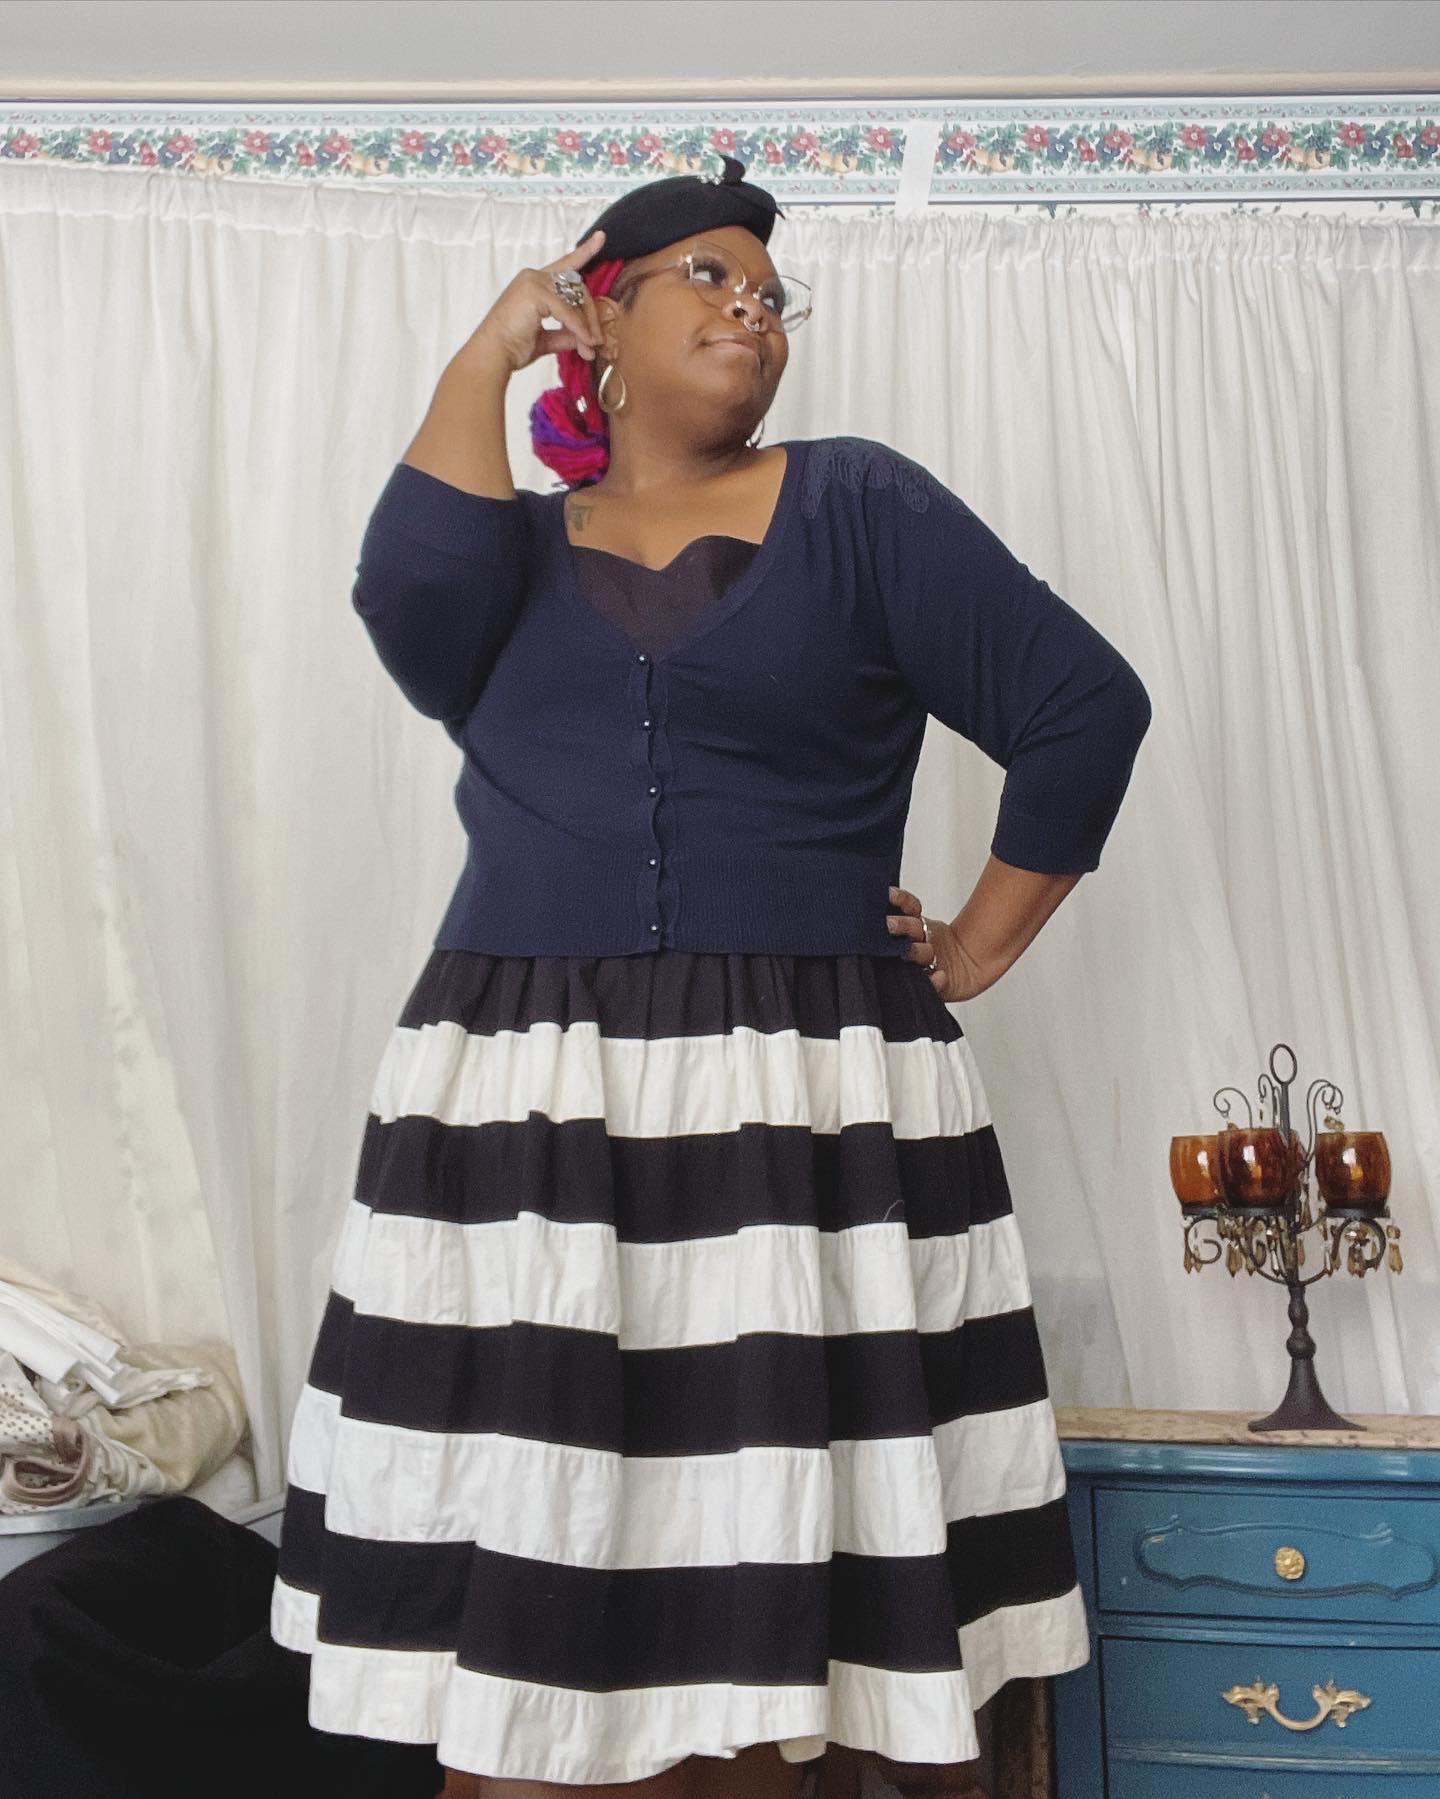
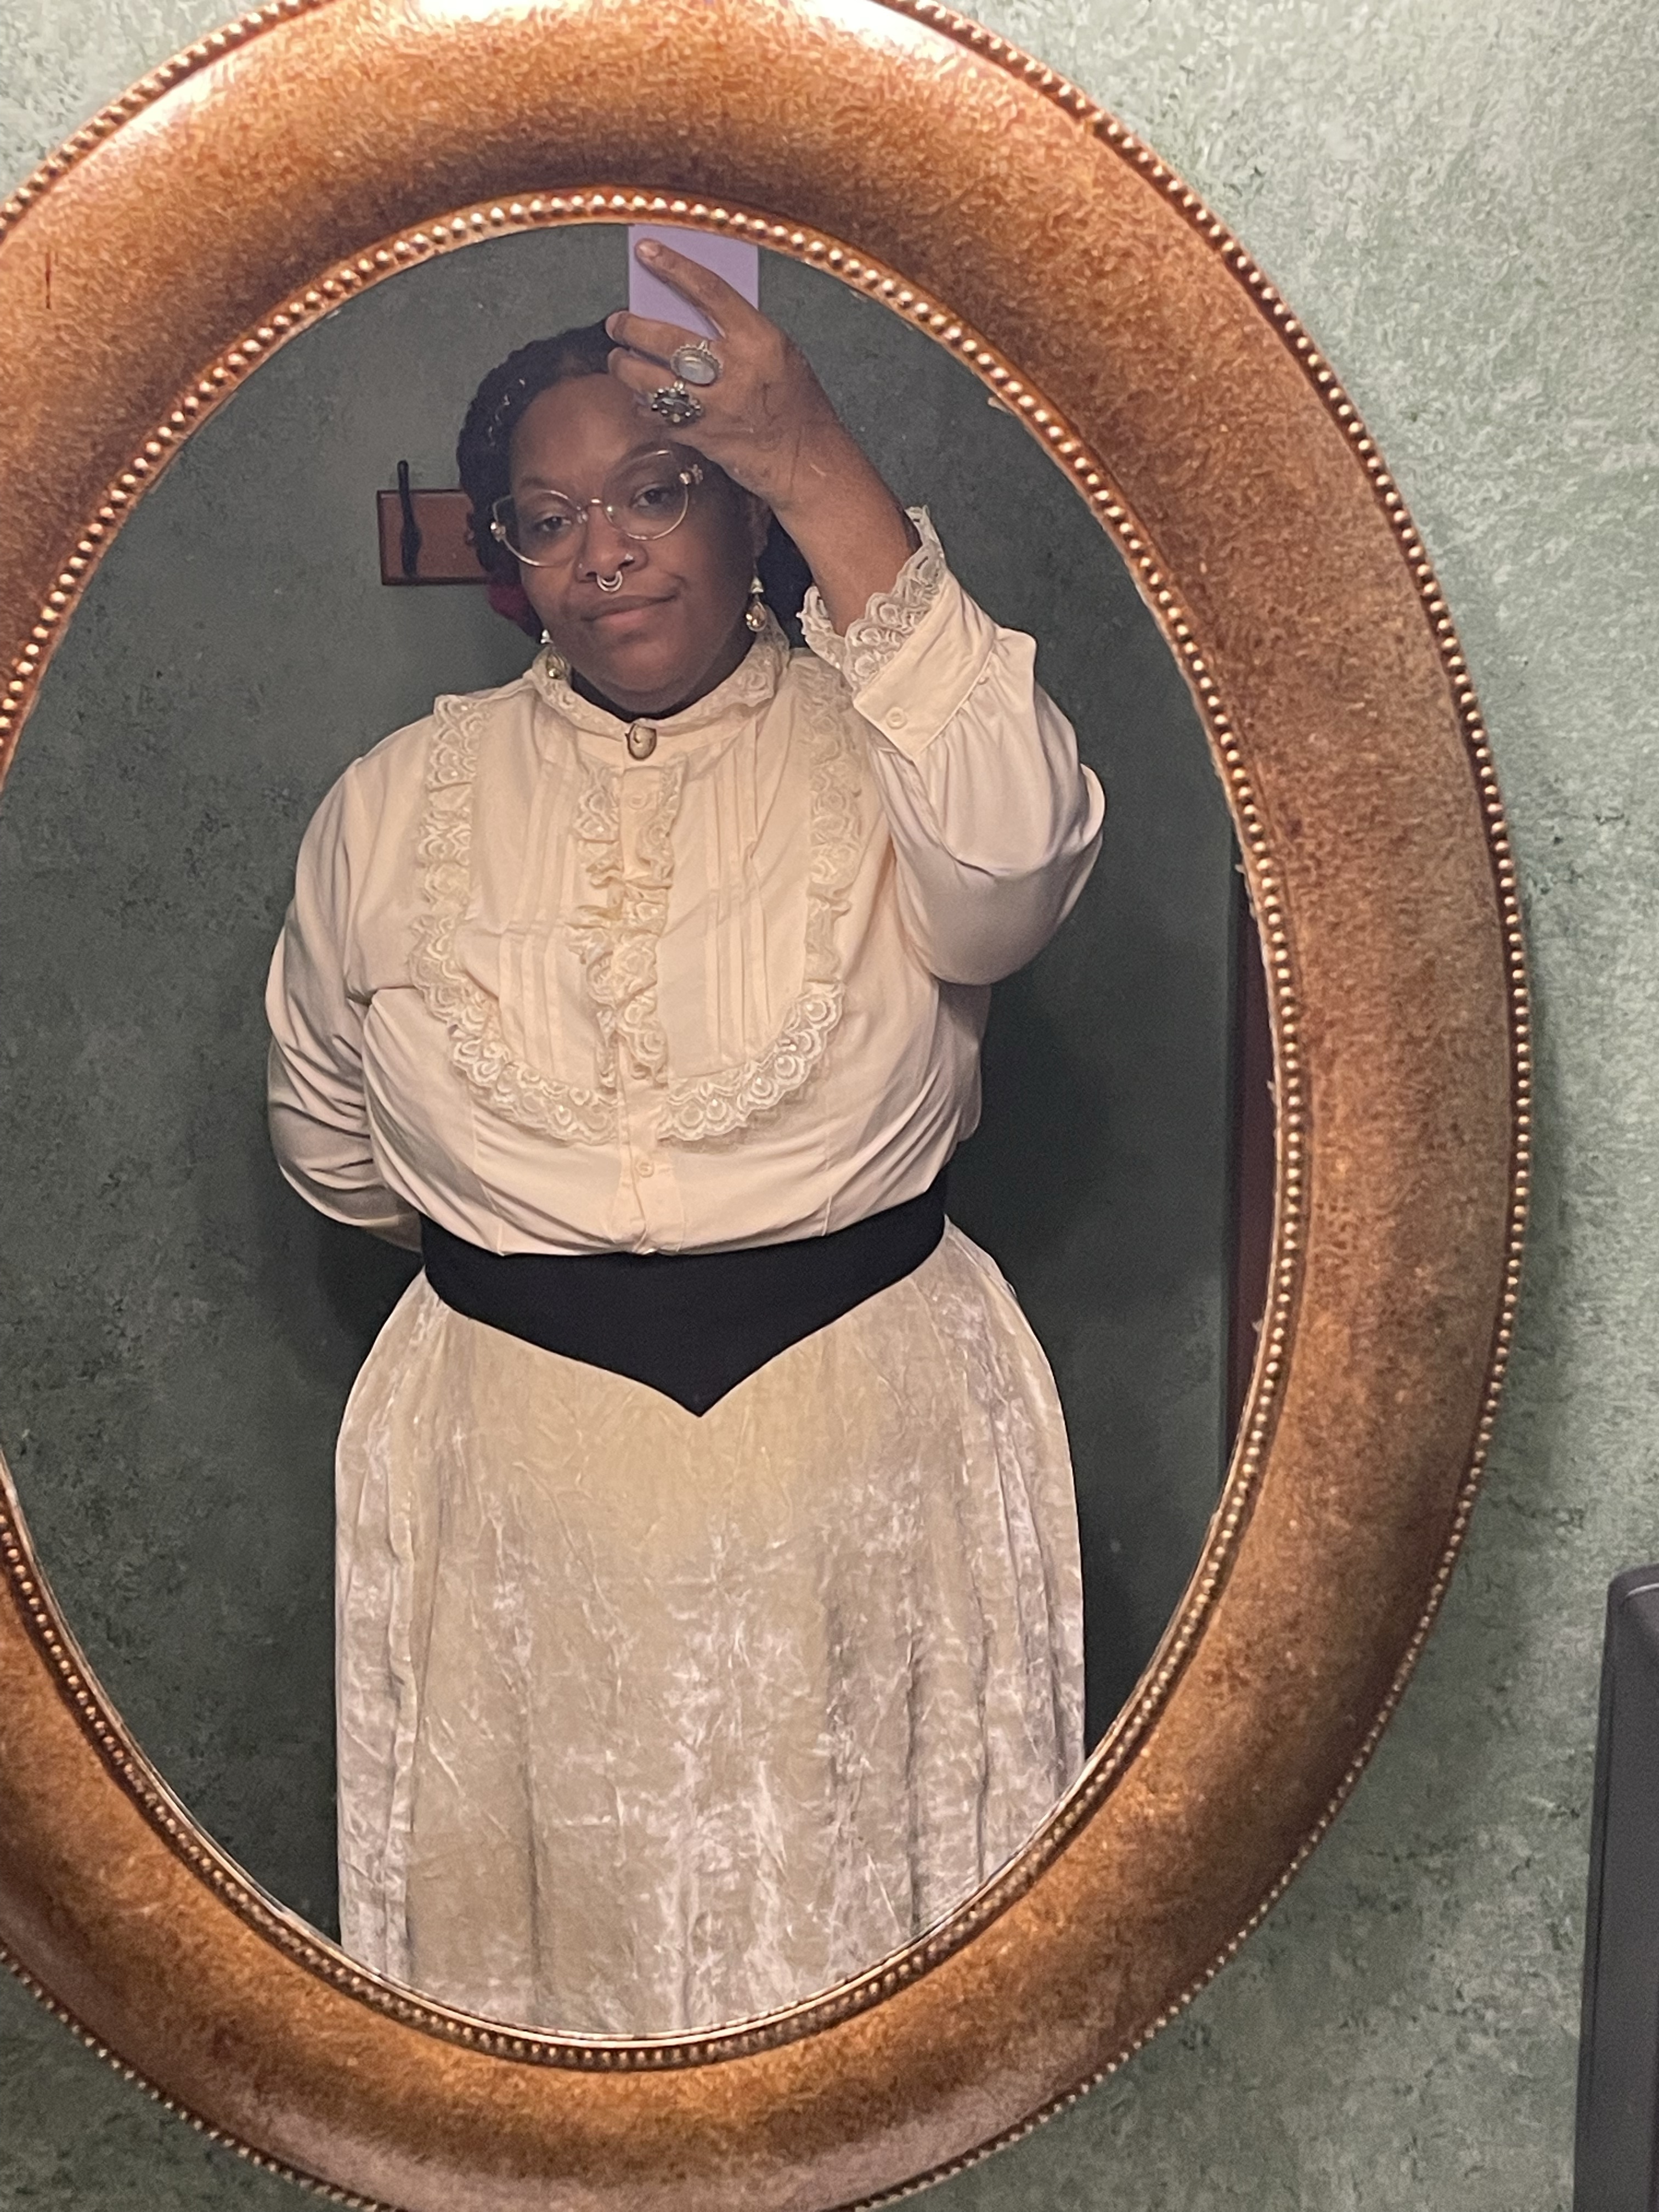
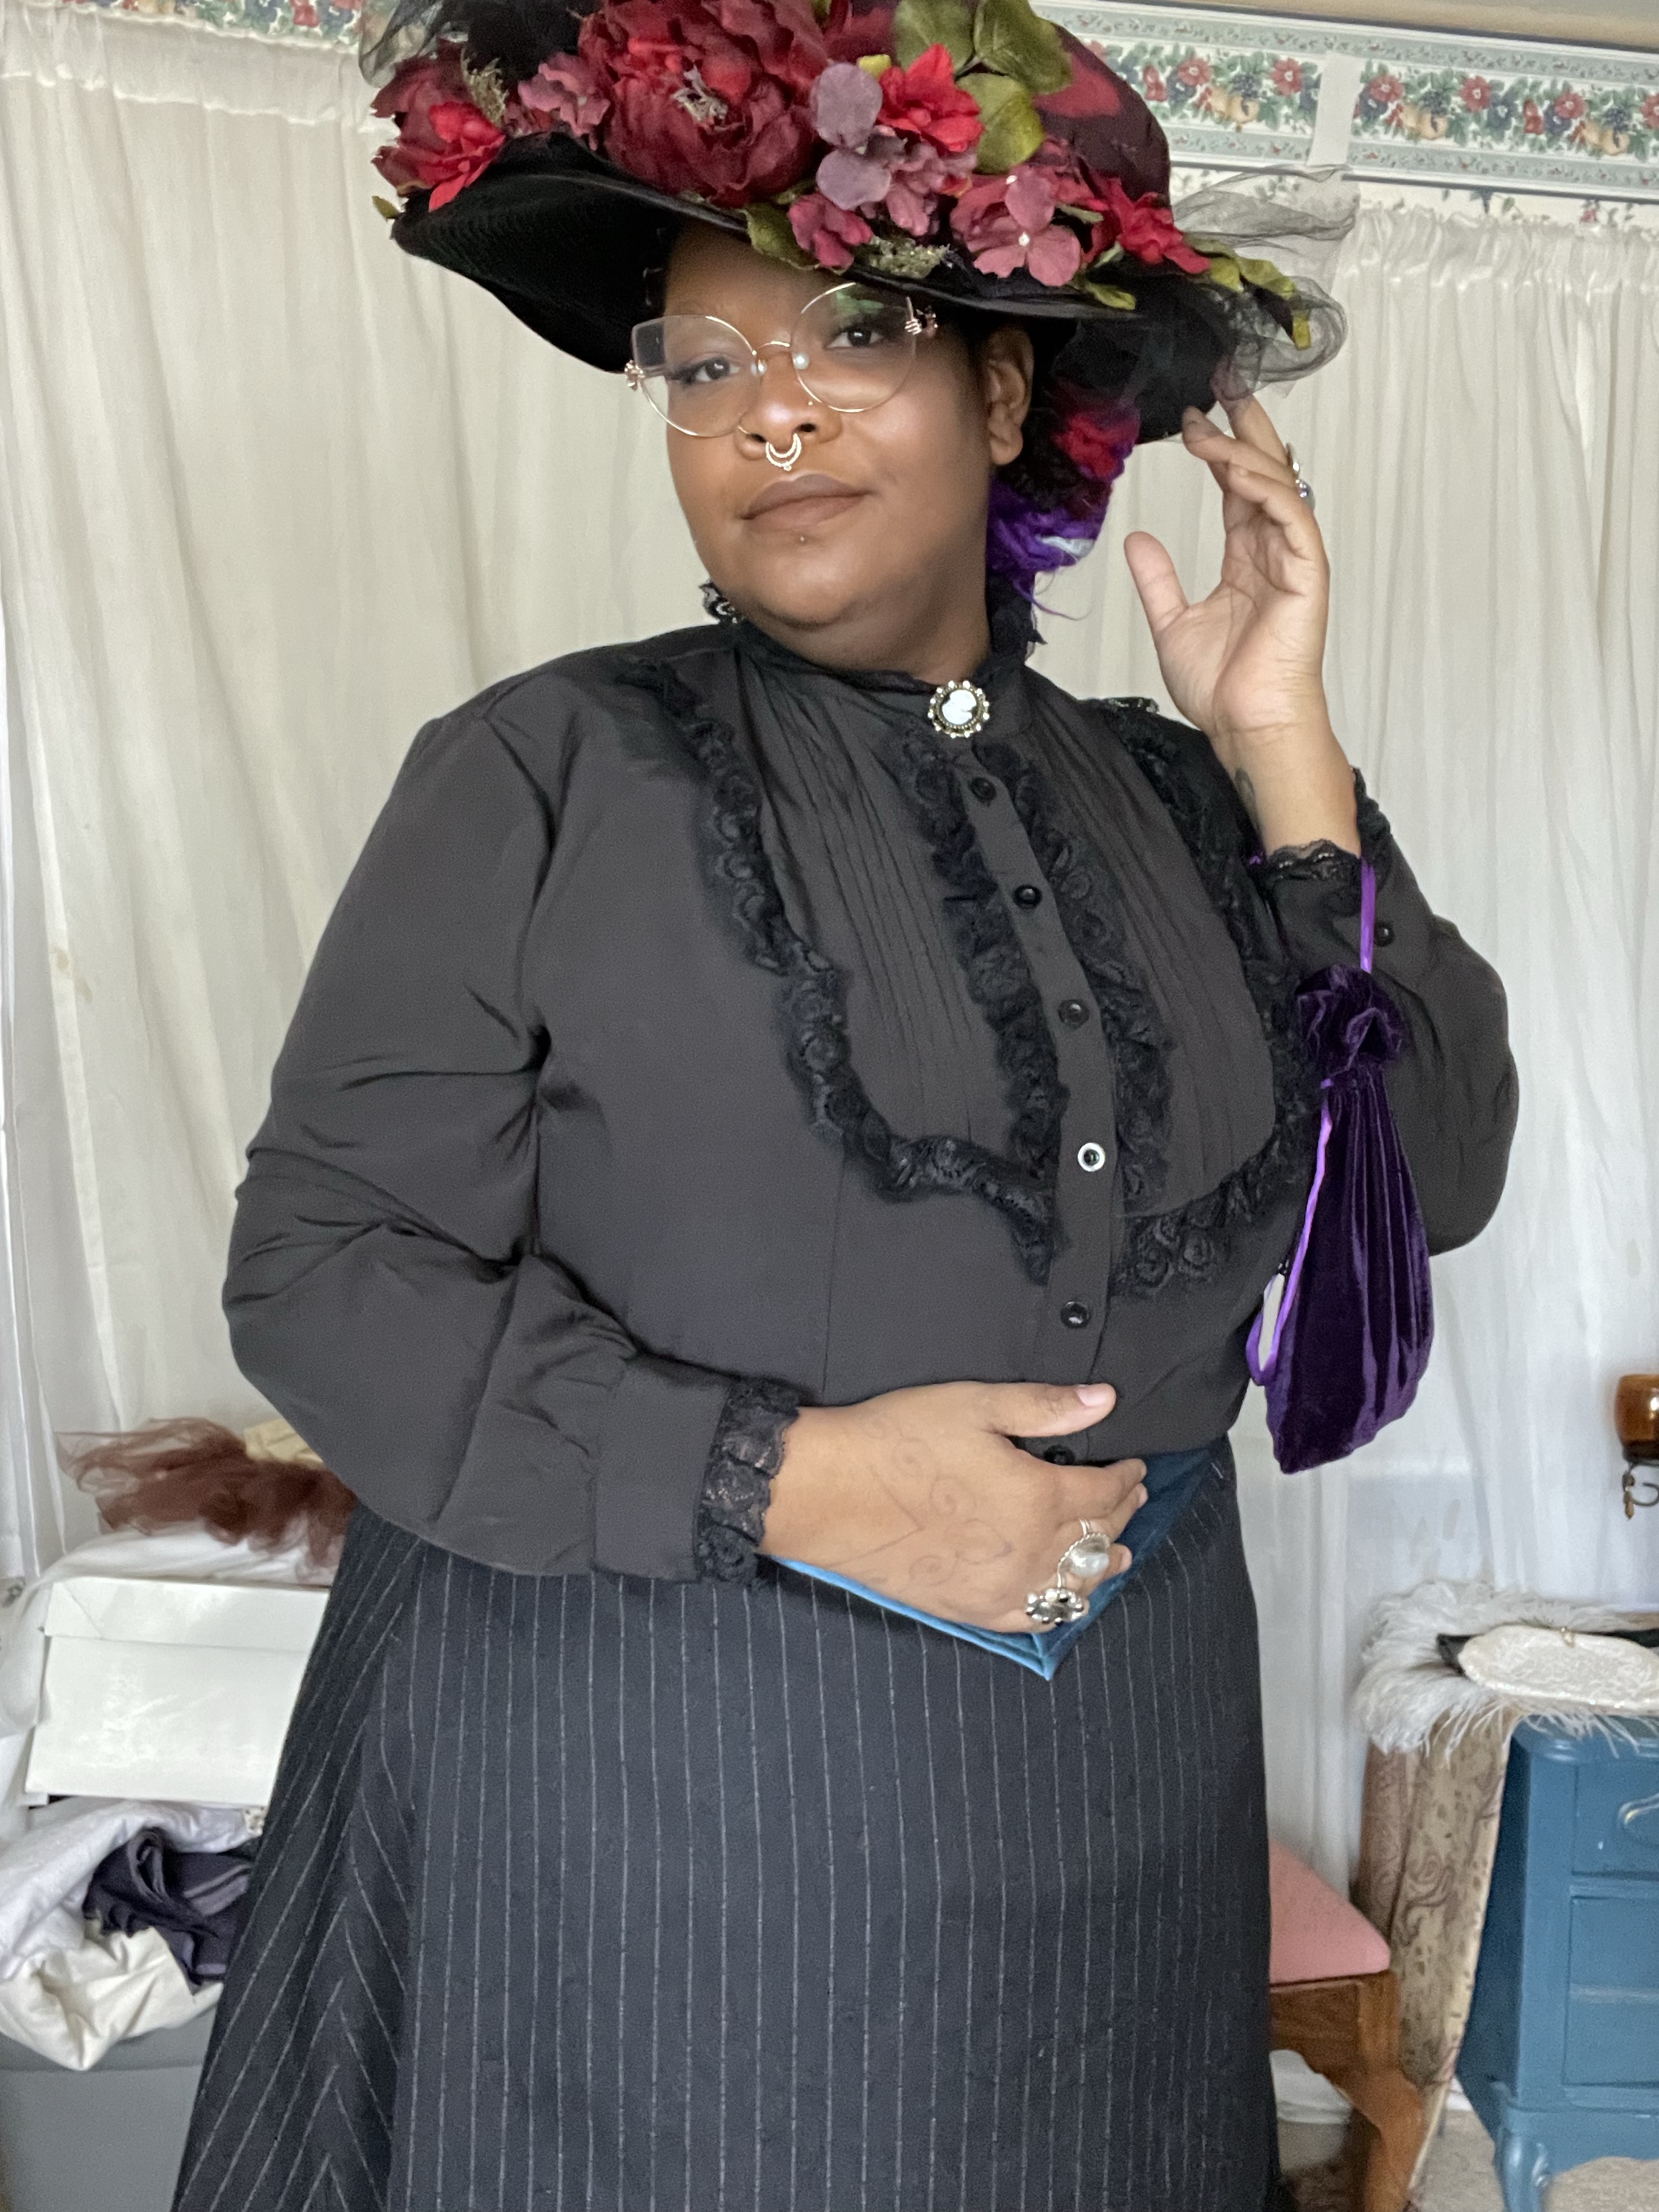
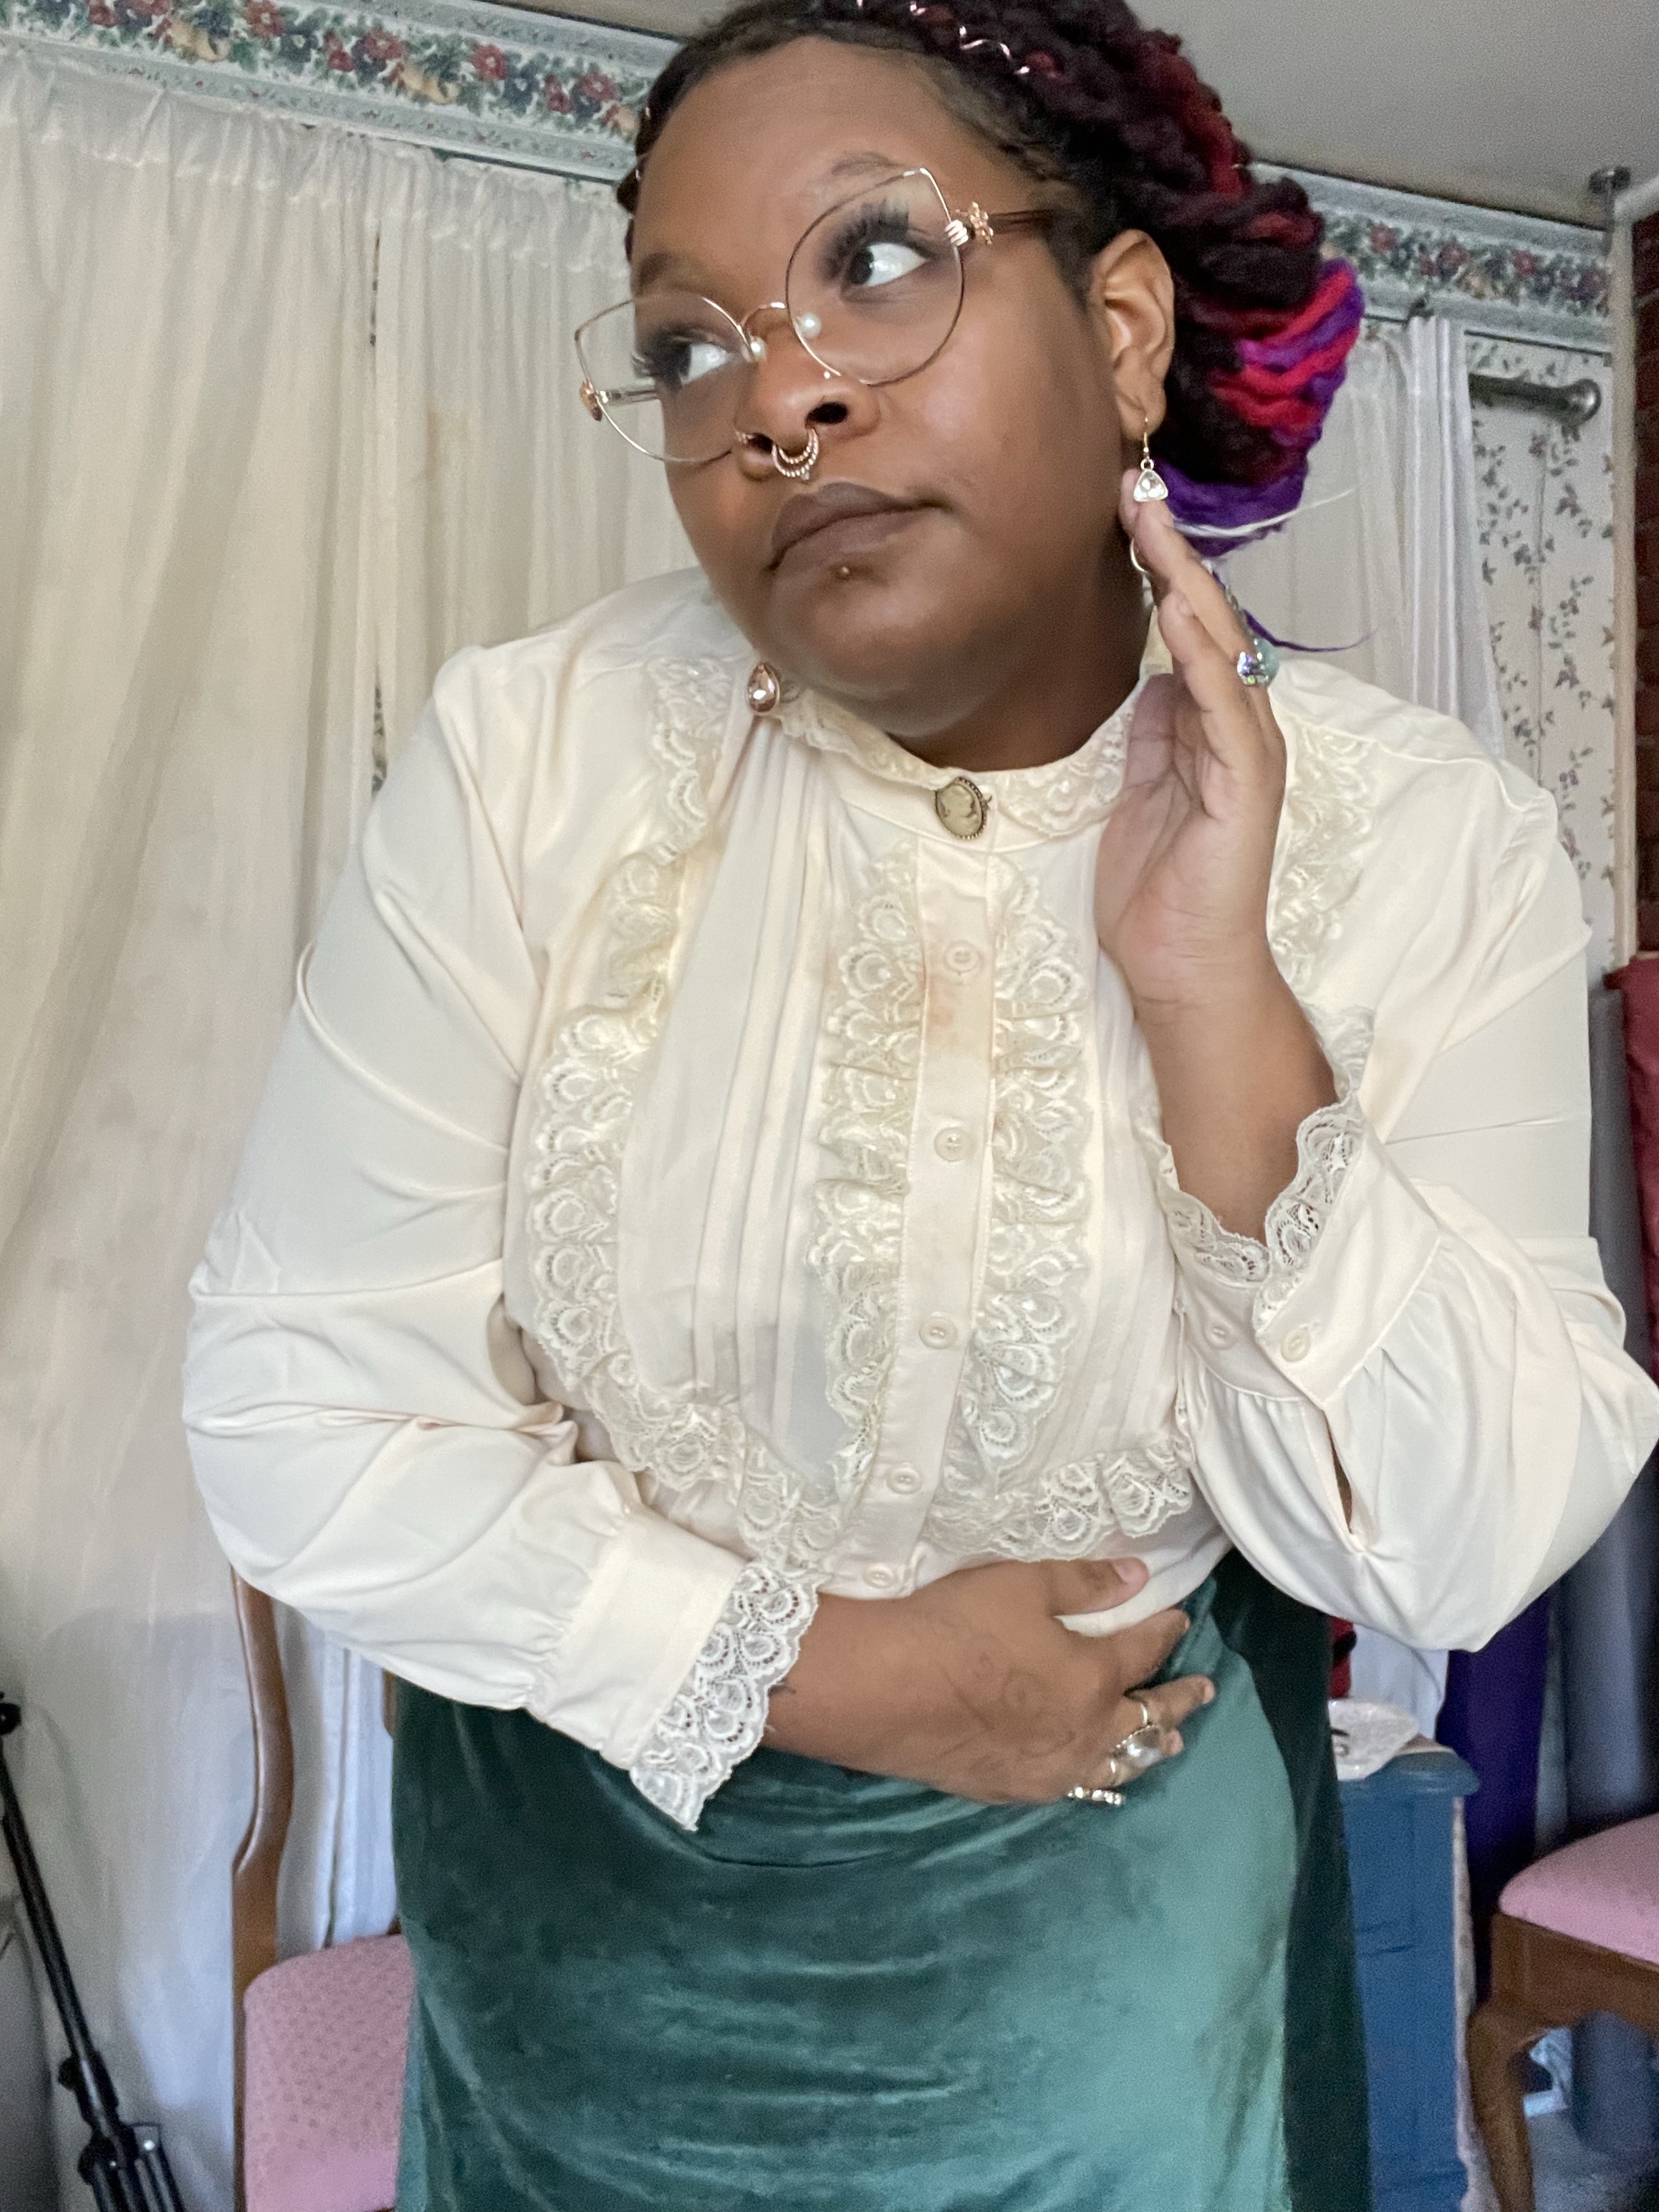
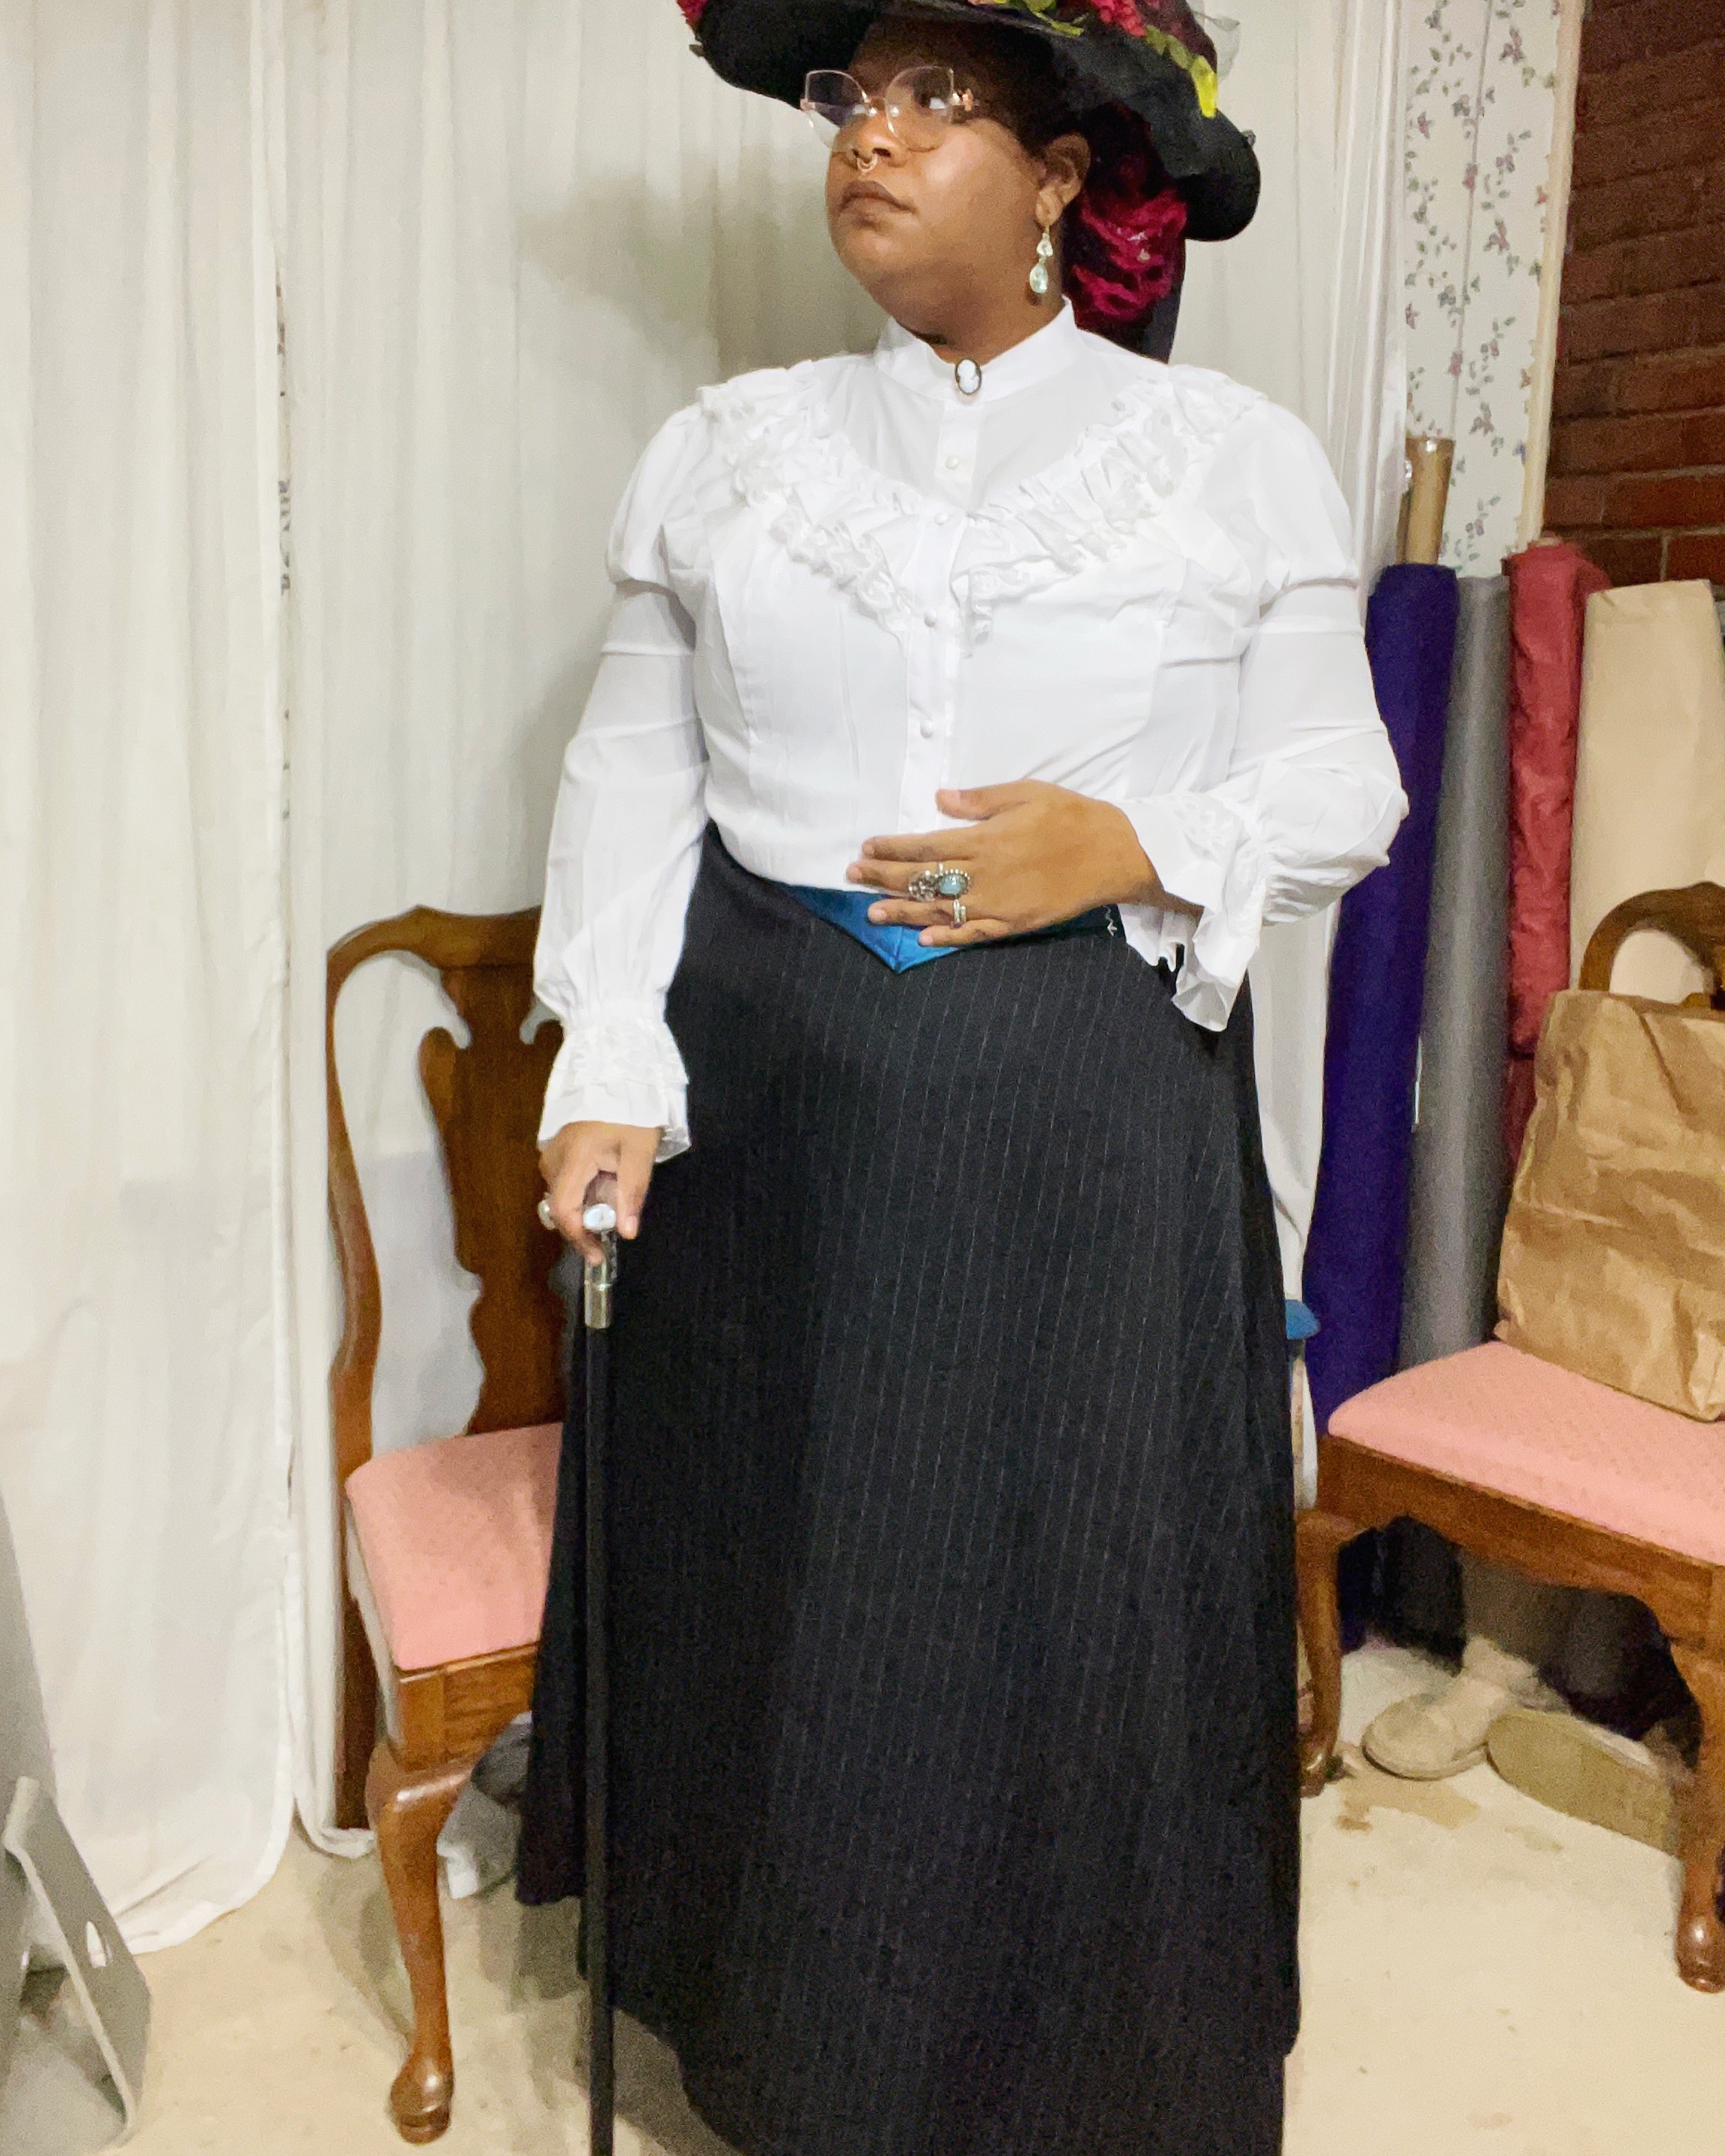
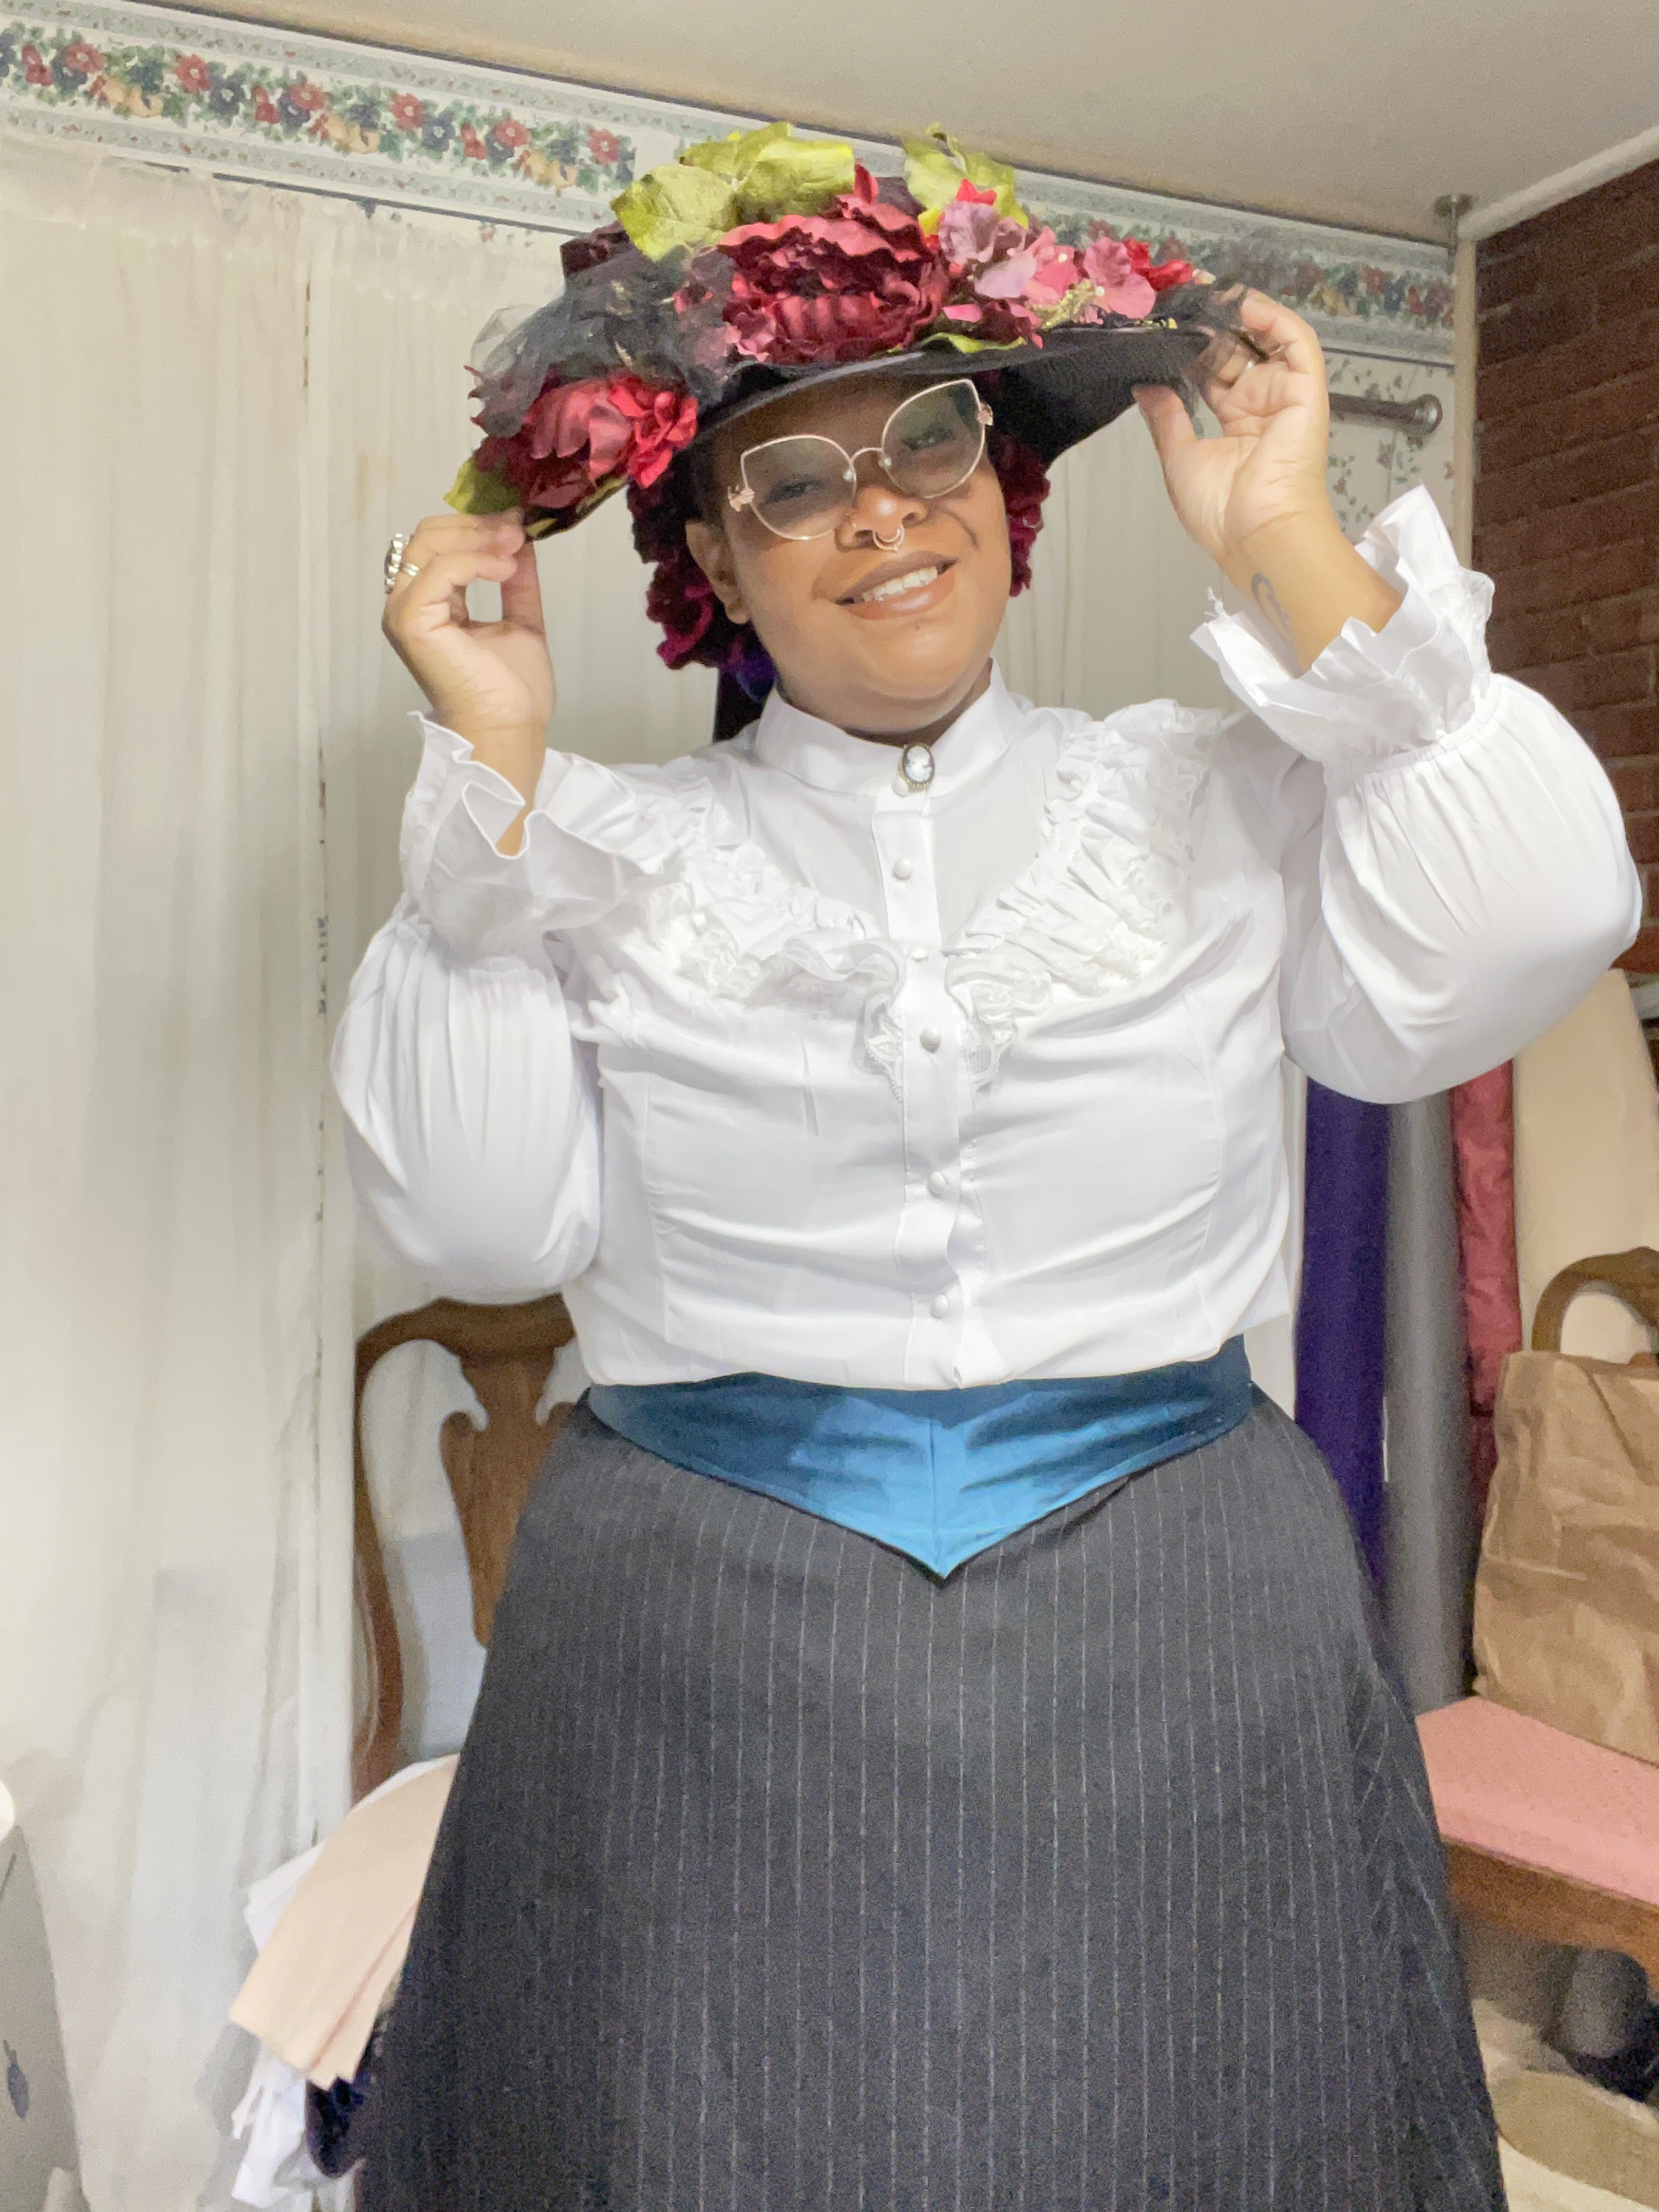
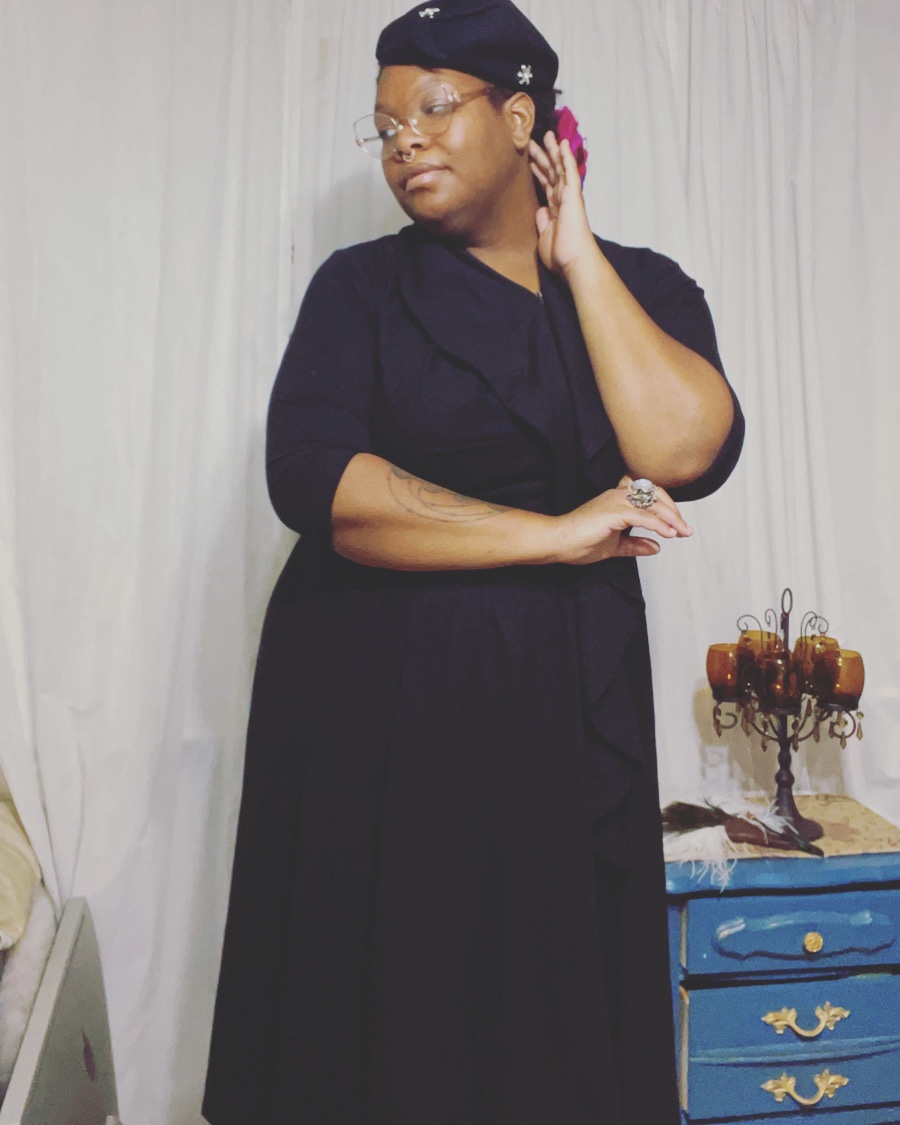
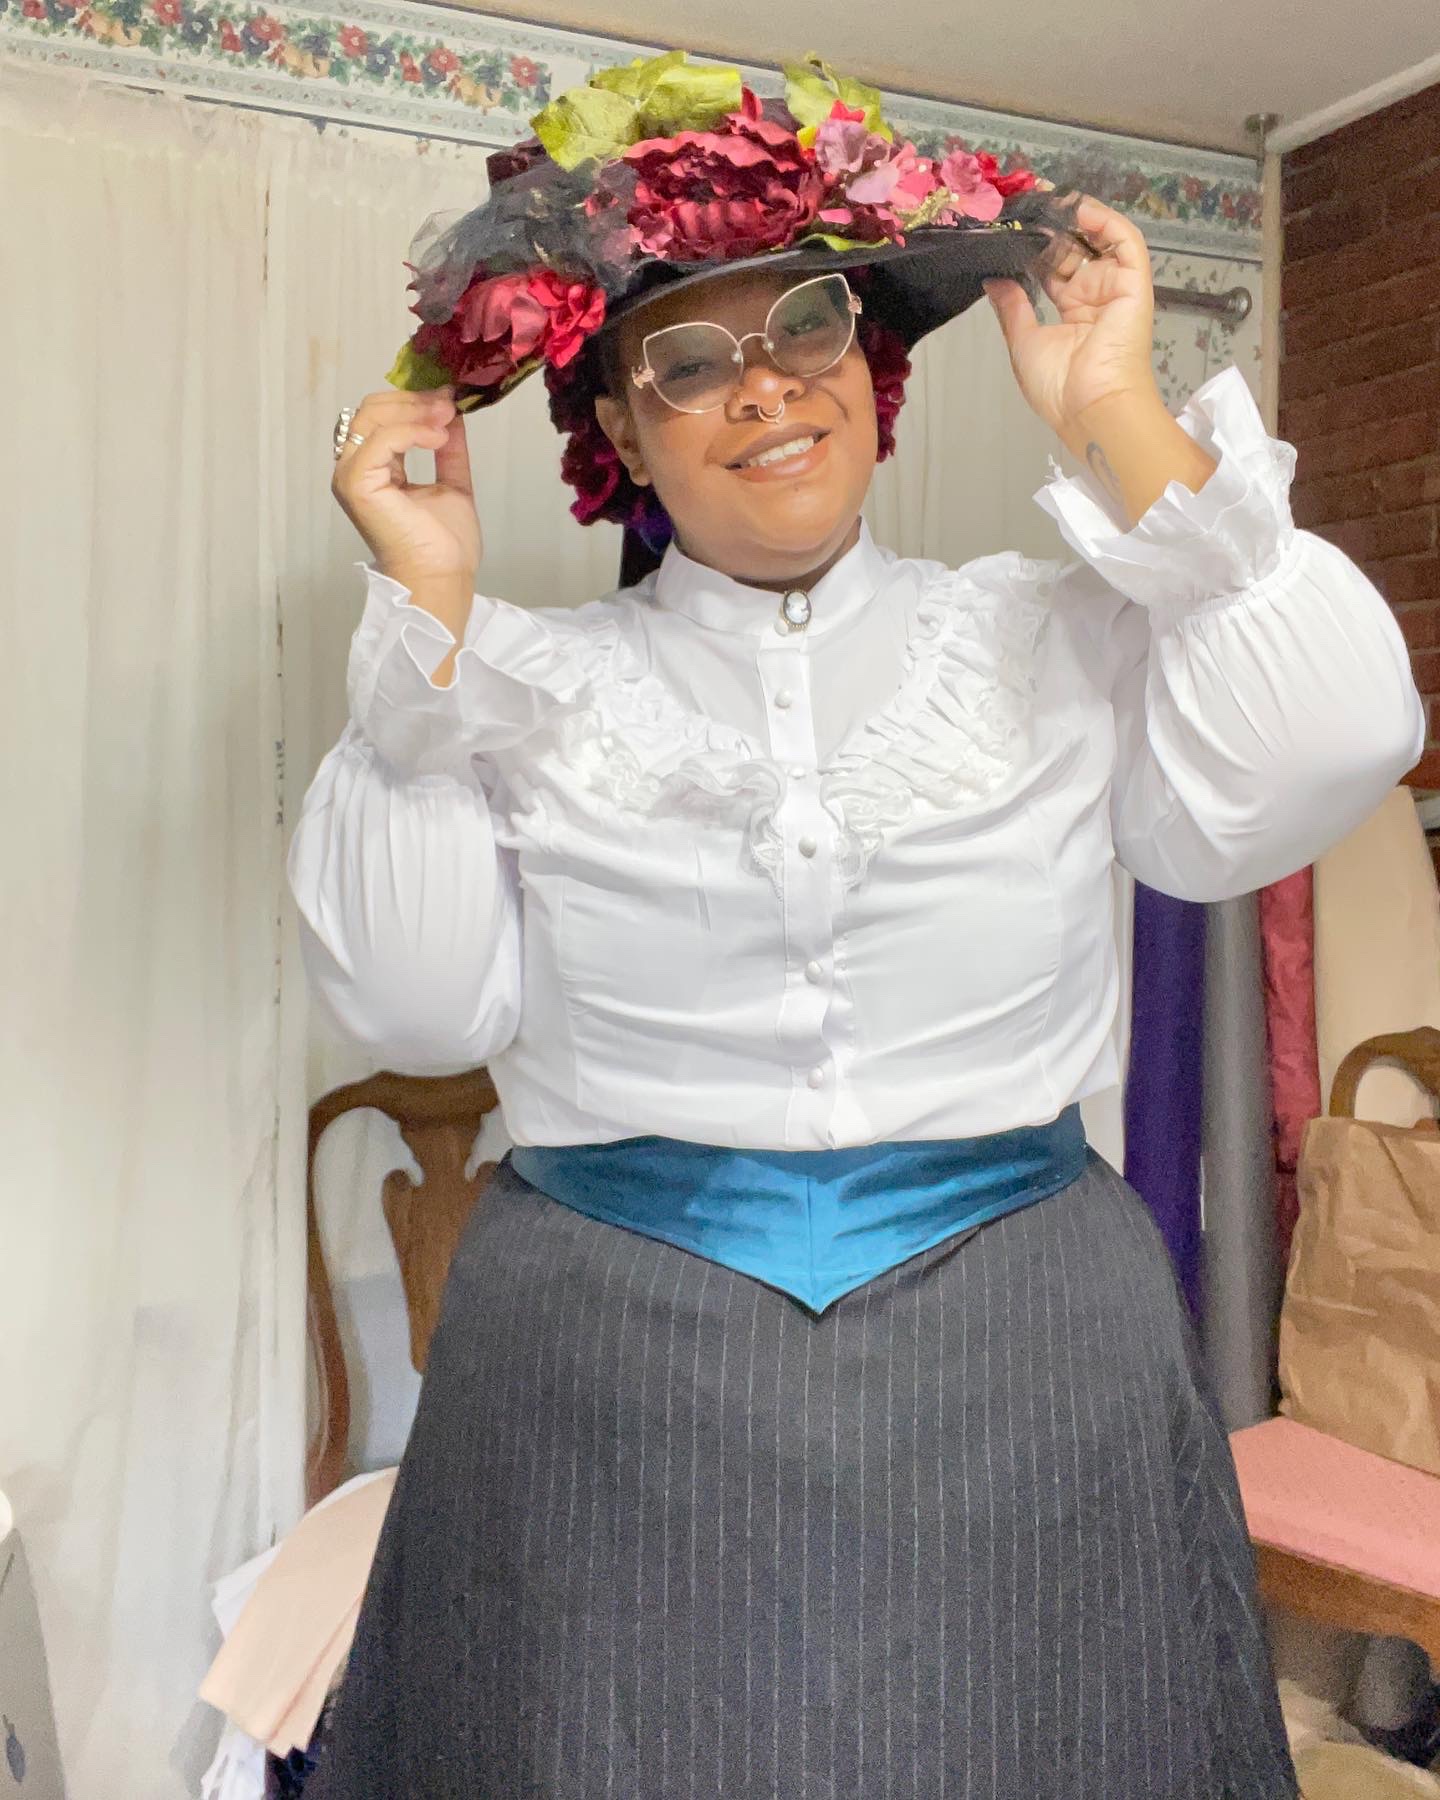
Week 2 of my #28DaysOfHistoricalDressbfocused on the Edwardian era. I’ve dabbled in Edwardian when I would do victorian (I’m not a stickler about keeping things 100% historically accurate), but didn’t realize just how much I would love it.
For the week, I made 2 new velvet walking skirts and 3 dip waist belts, while working on some other projects. The skirts, once I had the pattern drafted (I watched the tutorial video by Pocket full of Posies on YouTube: https://youtu.be/mhSTqUVGp2s ), were fairly easy to sew since it’s all pretty much straight seams. Truth be told, it took a longer time doing measurements and drawing out the pattern pieces on paper, cutting, pinning, etc.
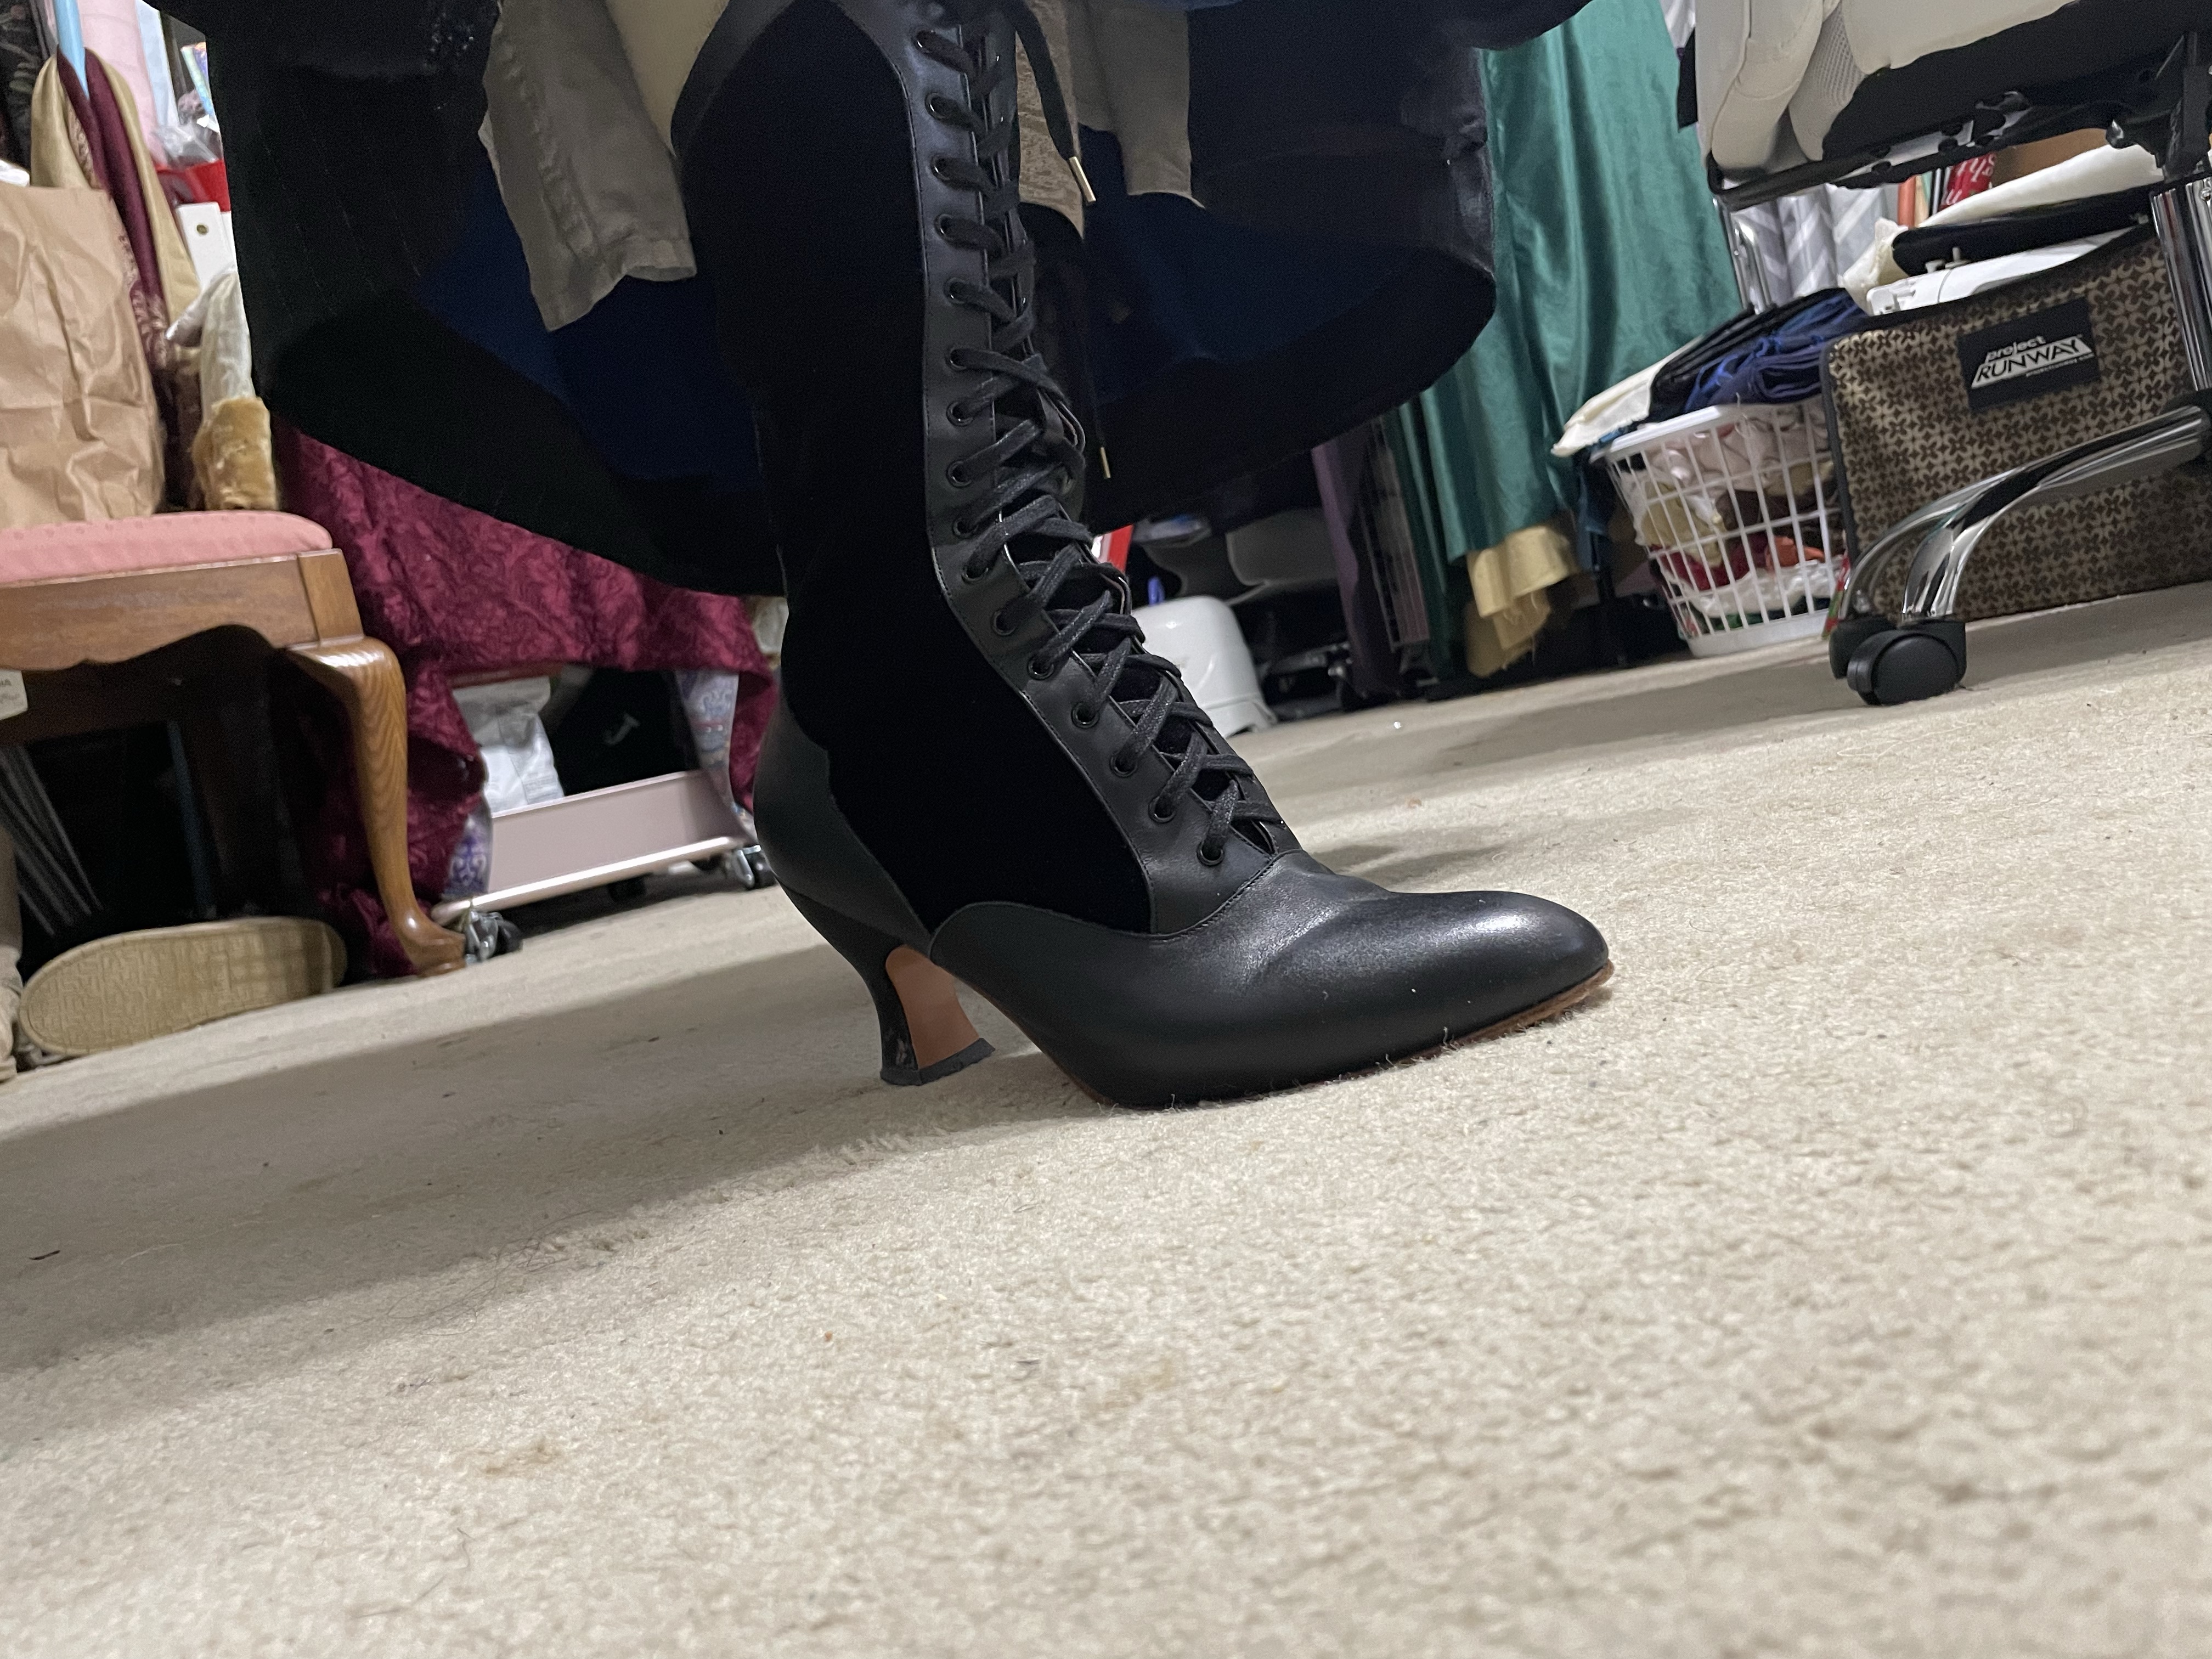
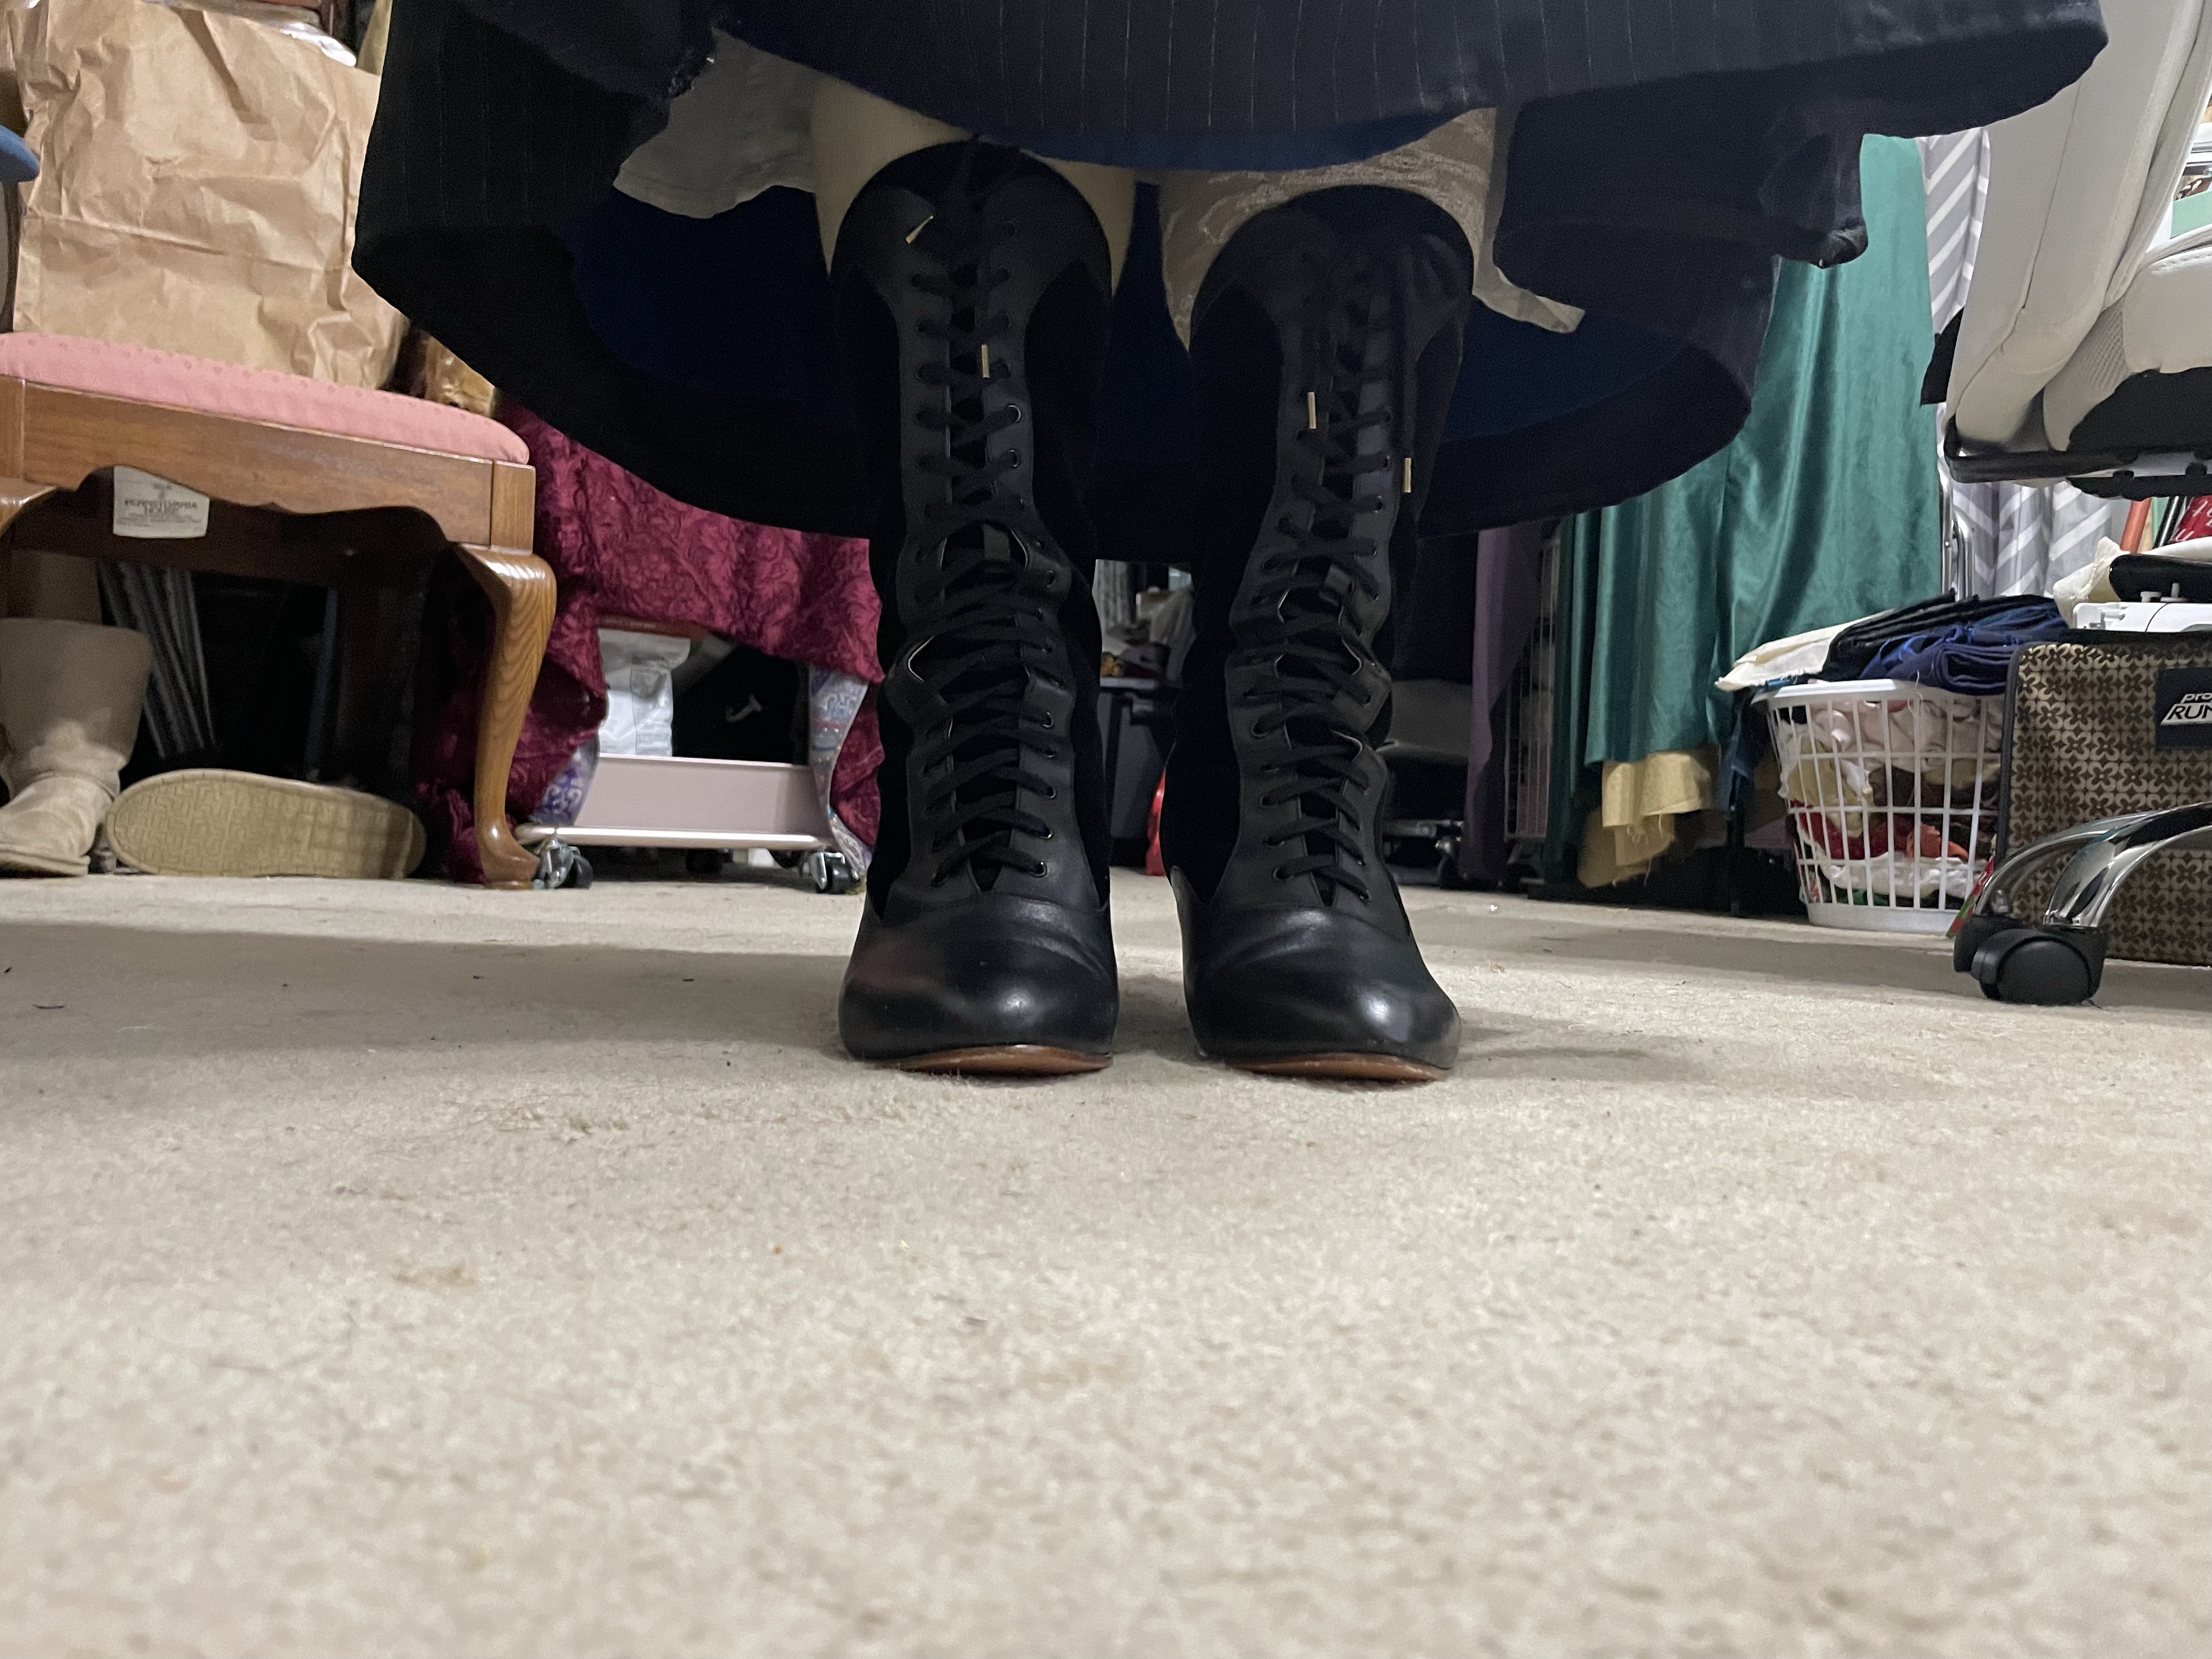
And of course, having the amazing Camille boots by American duchess pulled the entire week of looks together. So let me stop yapping and show you want to see!
Serving you Edwardian all day, every day! Well only for a week!
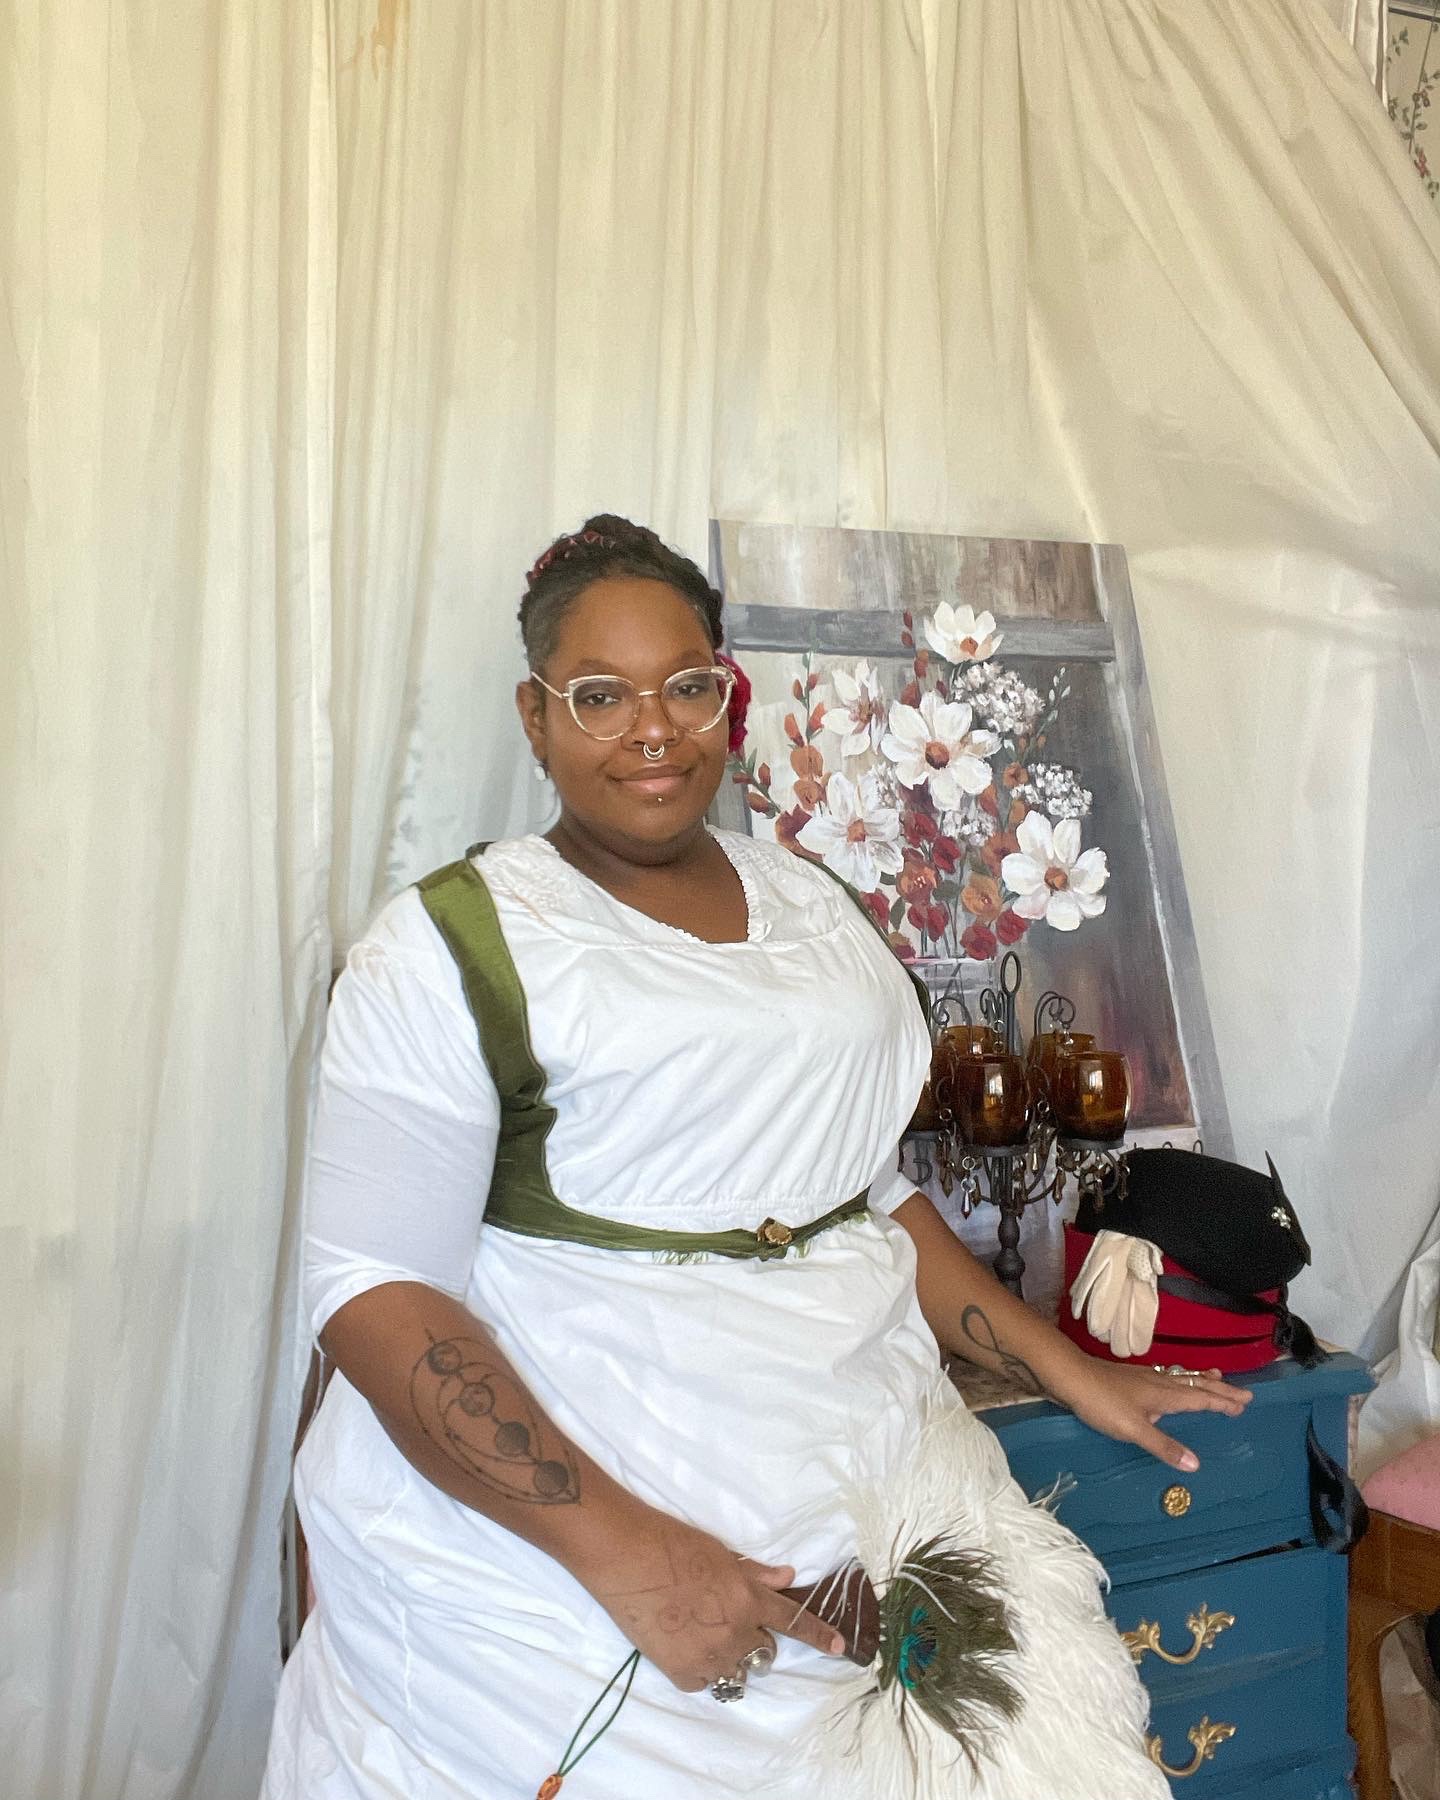
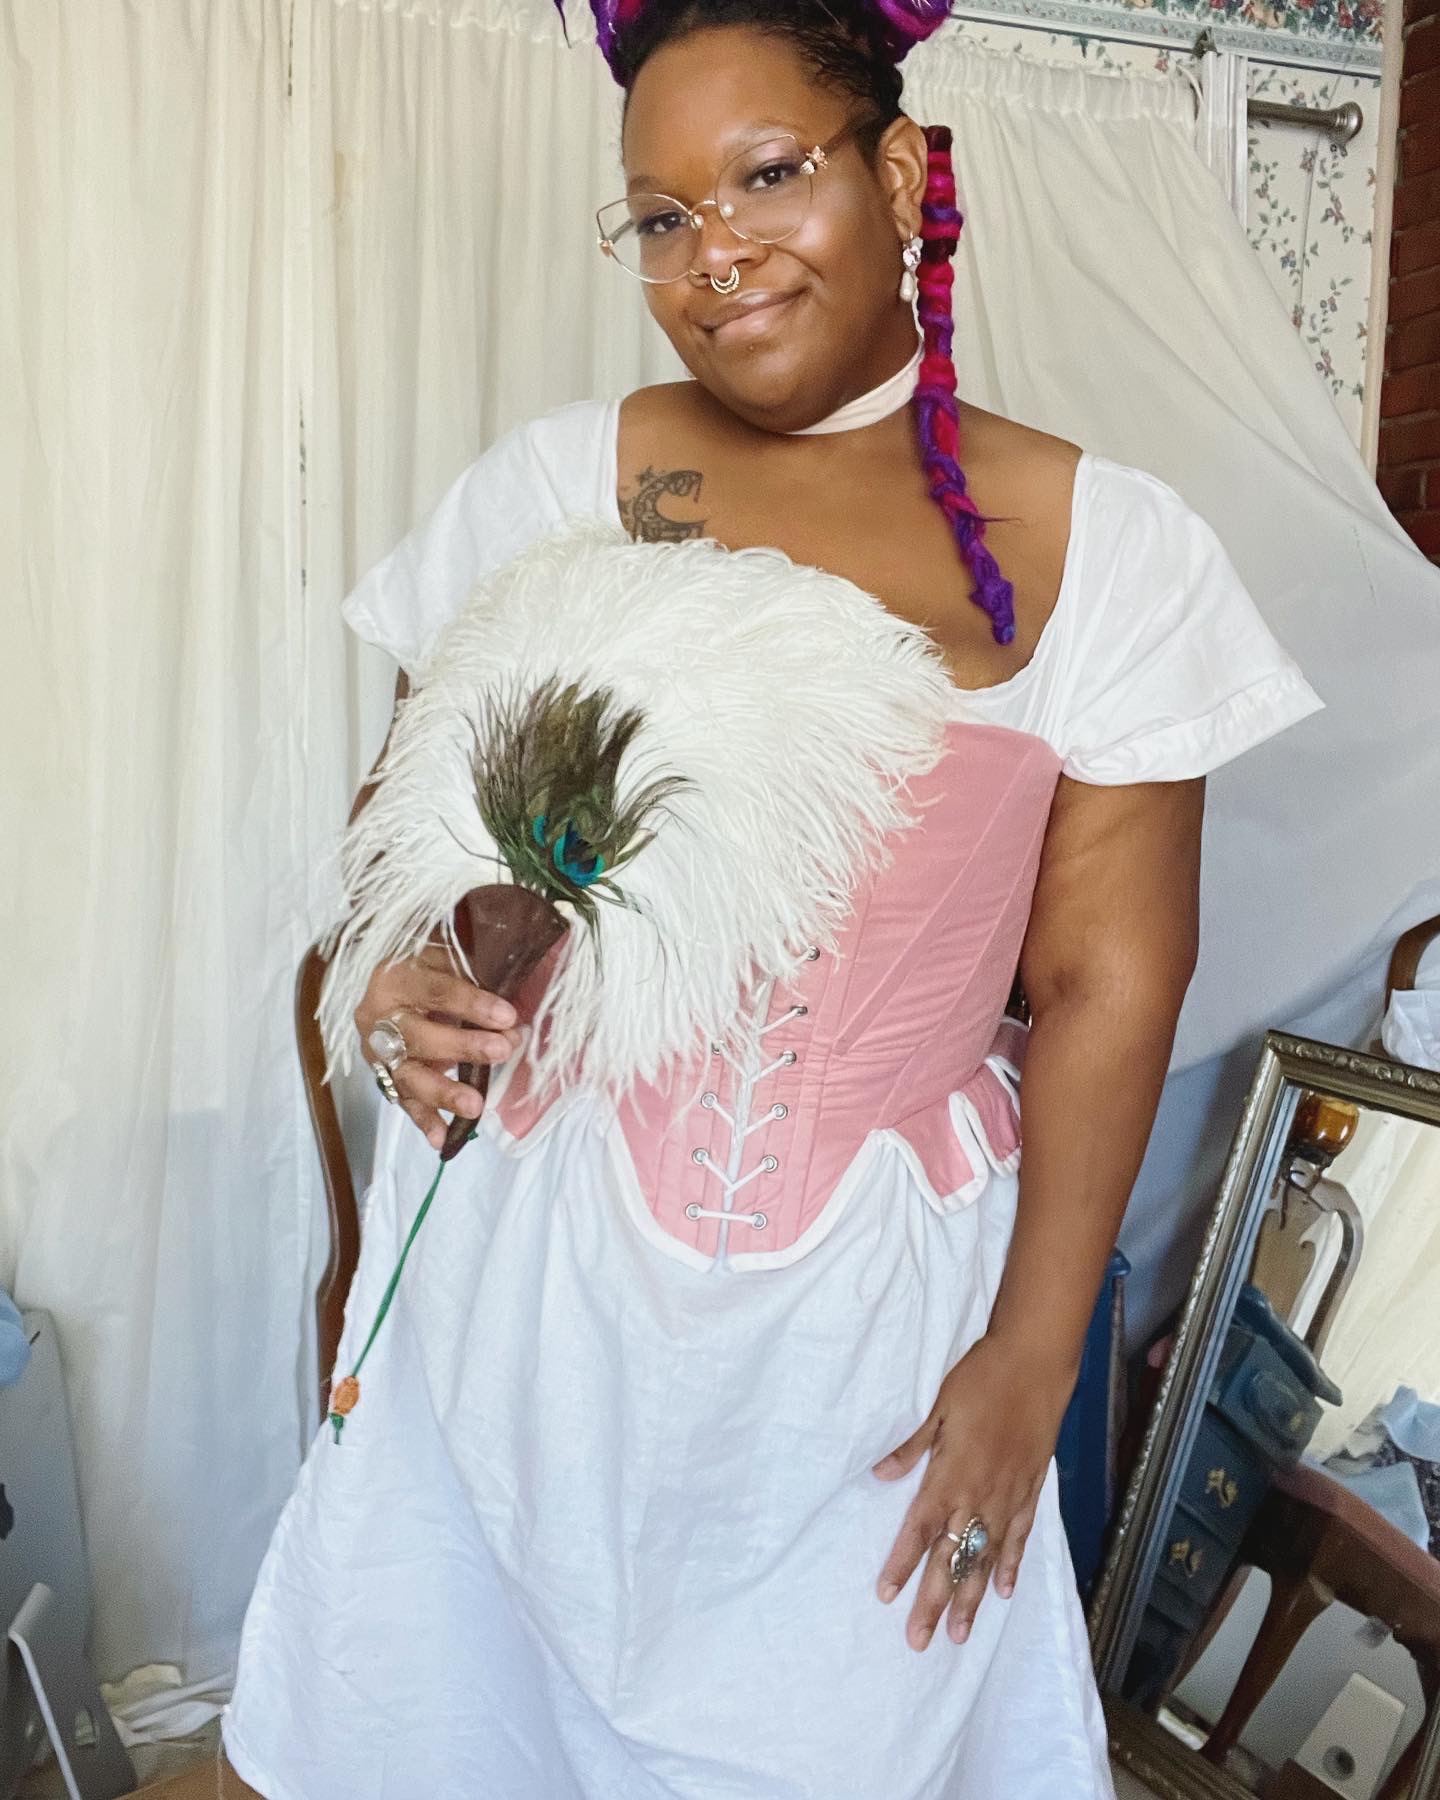
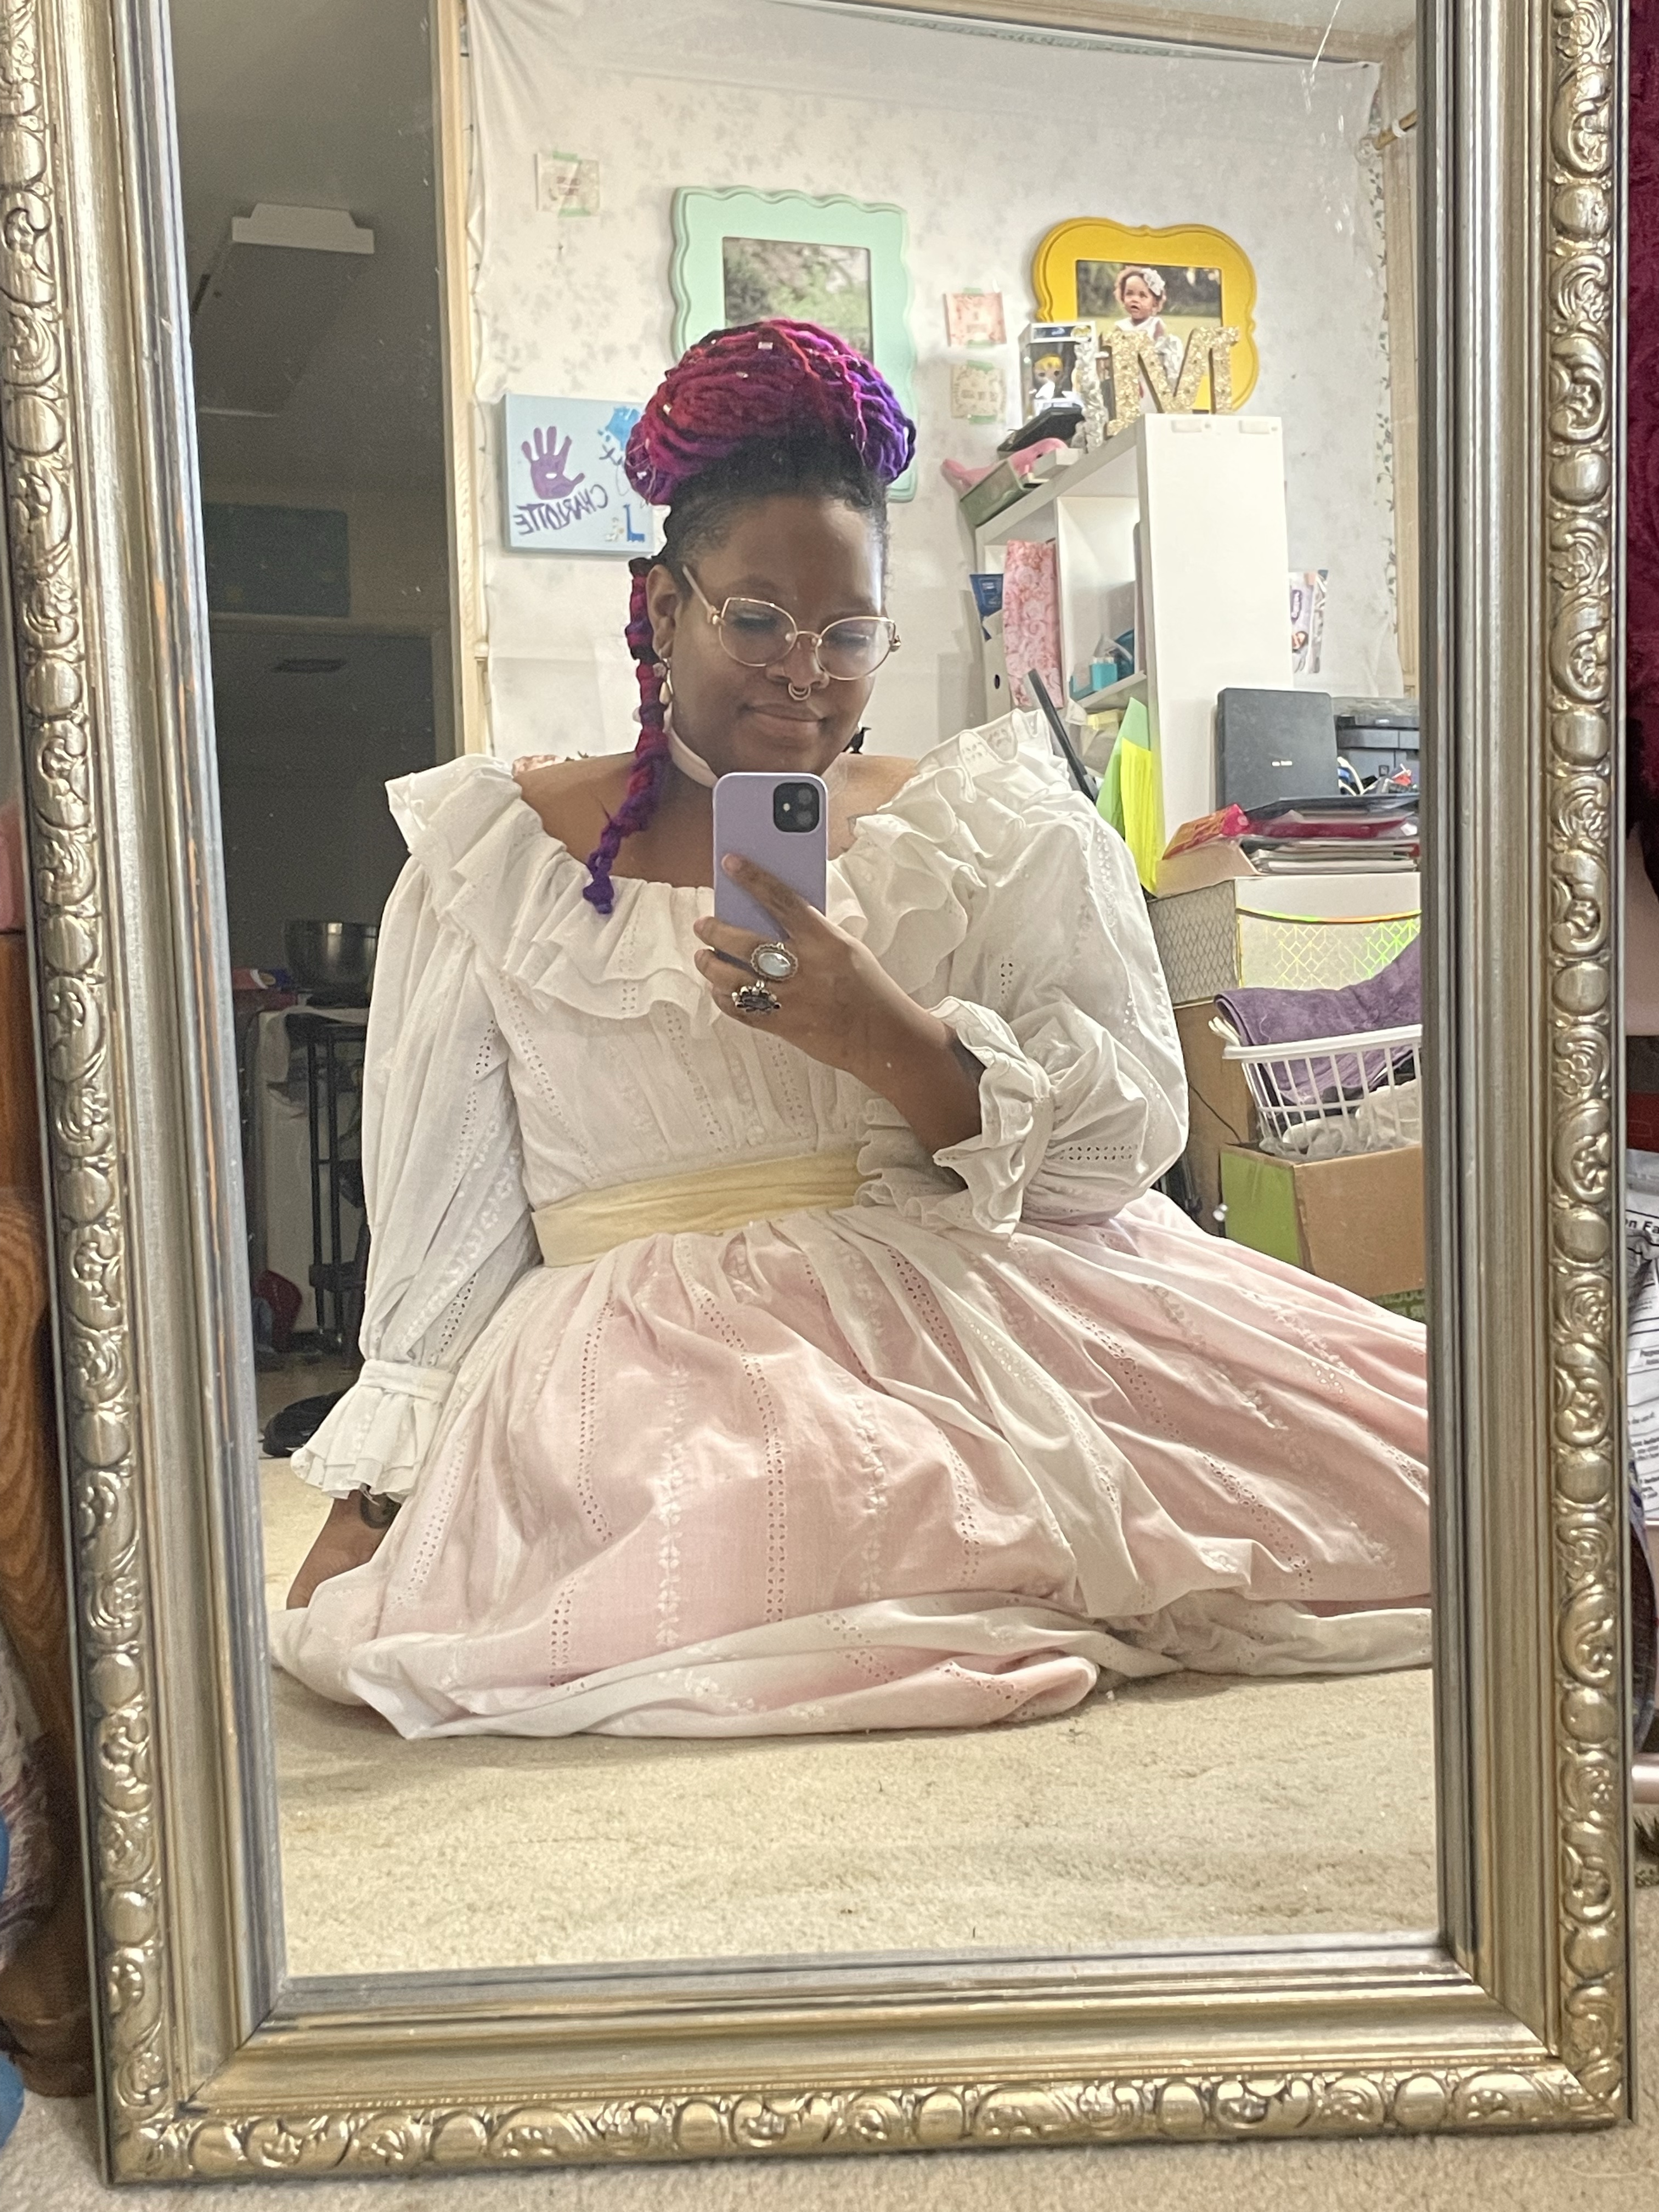
This week will be week 3, and I’m doing 18th century. I sewed a shift, a pair of pockets (FINALLY!) and a petticoat to go with my short gown. However, as habit would be-I *thought* that I recorded the process of making my pockets, but alas, I did not. So here are some pictures instead:
I used the pattern available on American Duchesses blog to make my pockets
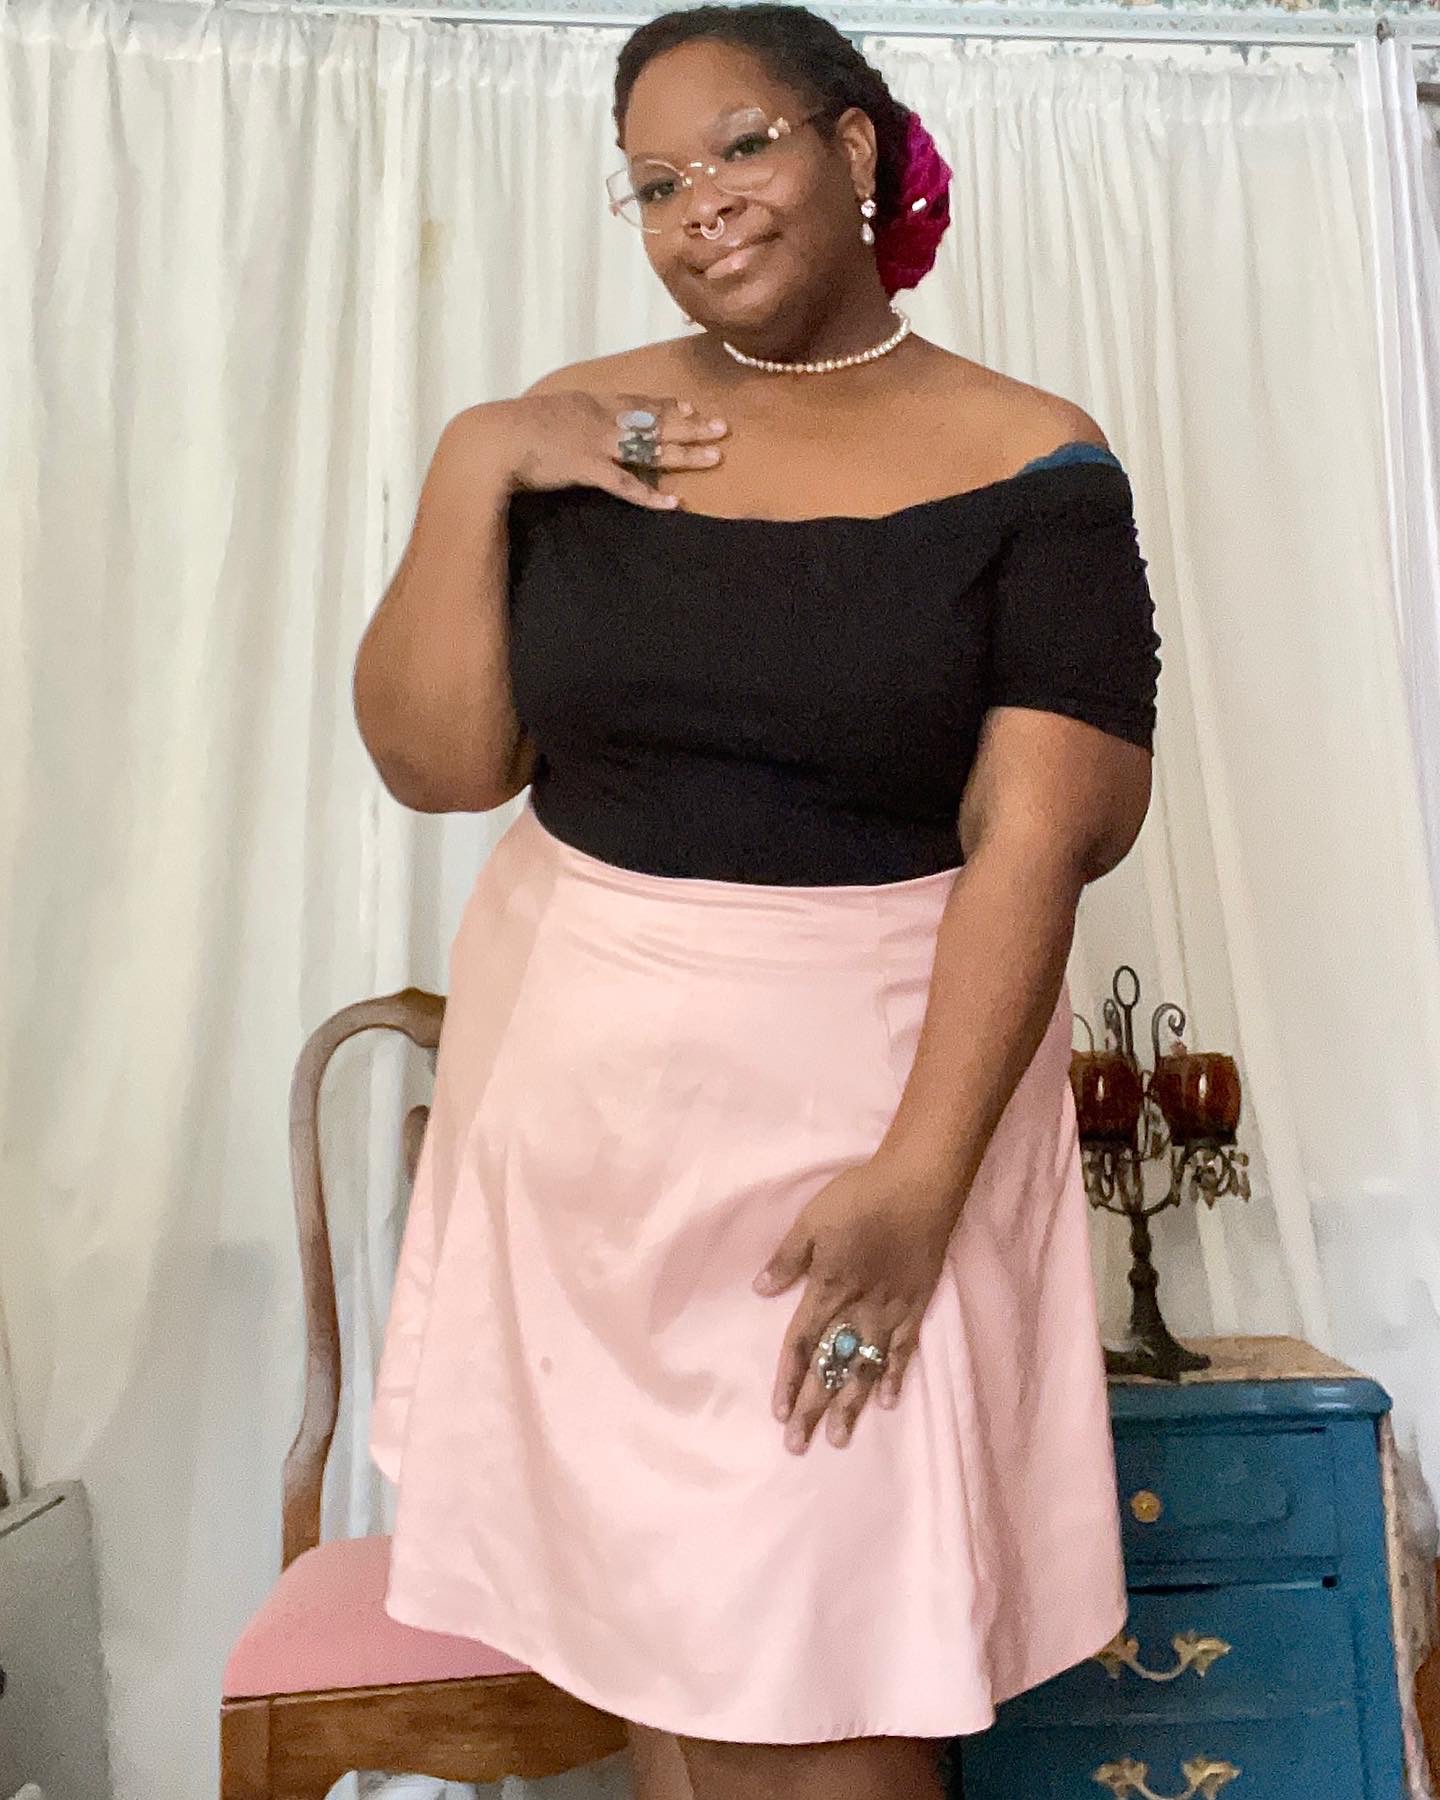
I plan on doing either regency or 1920s for week for. I currently have quite a few flapper dresses, but I know that I would need daytime dresses anyway. So I’m gonna give that one hour 1920s dress a try!
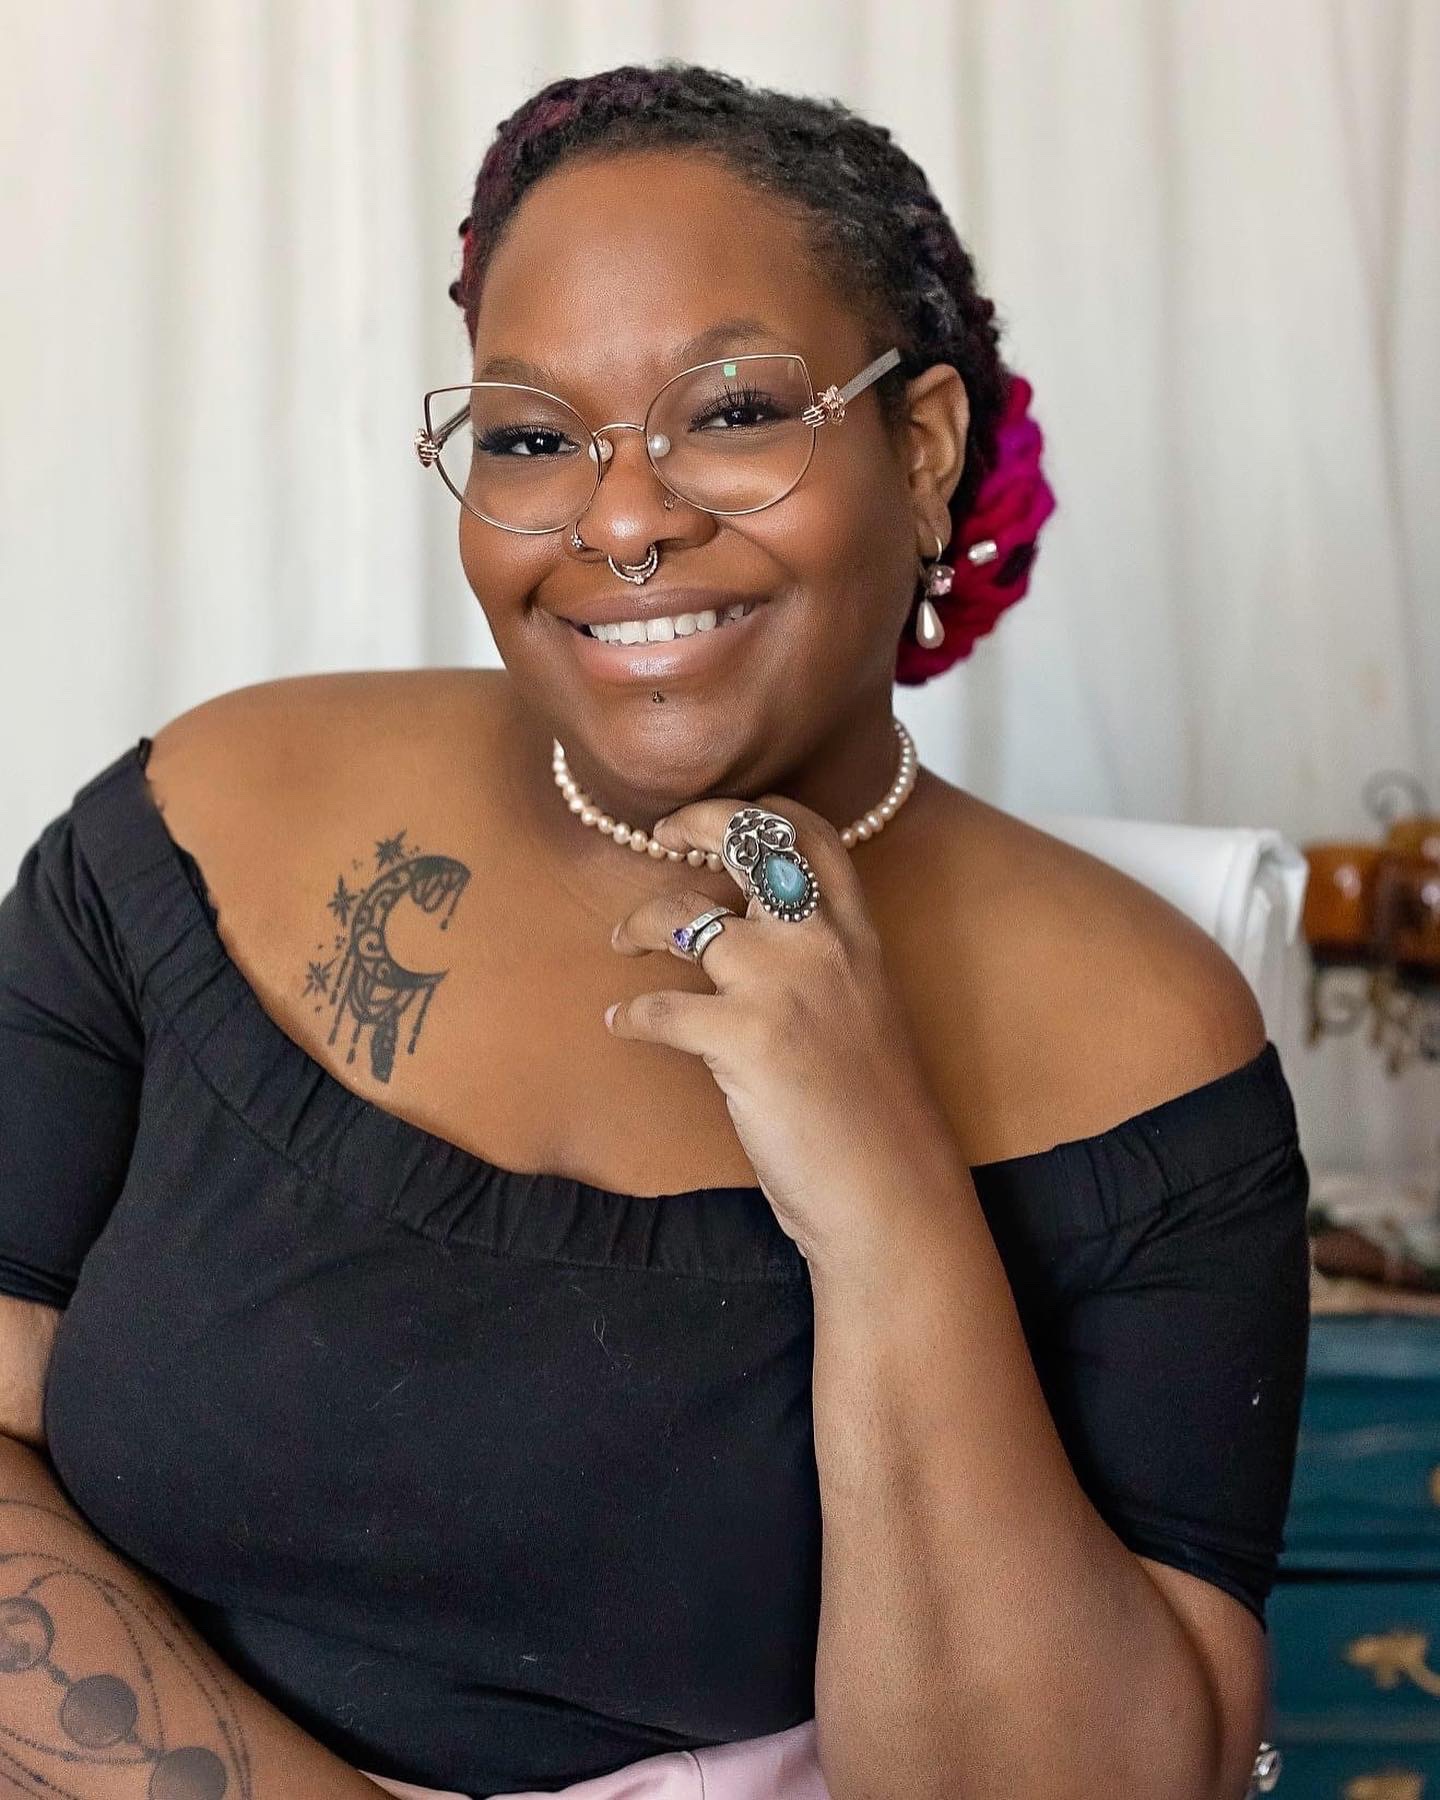
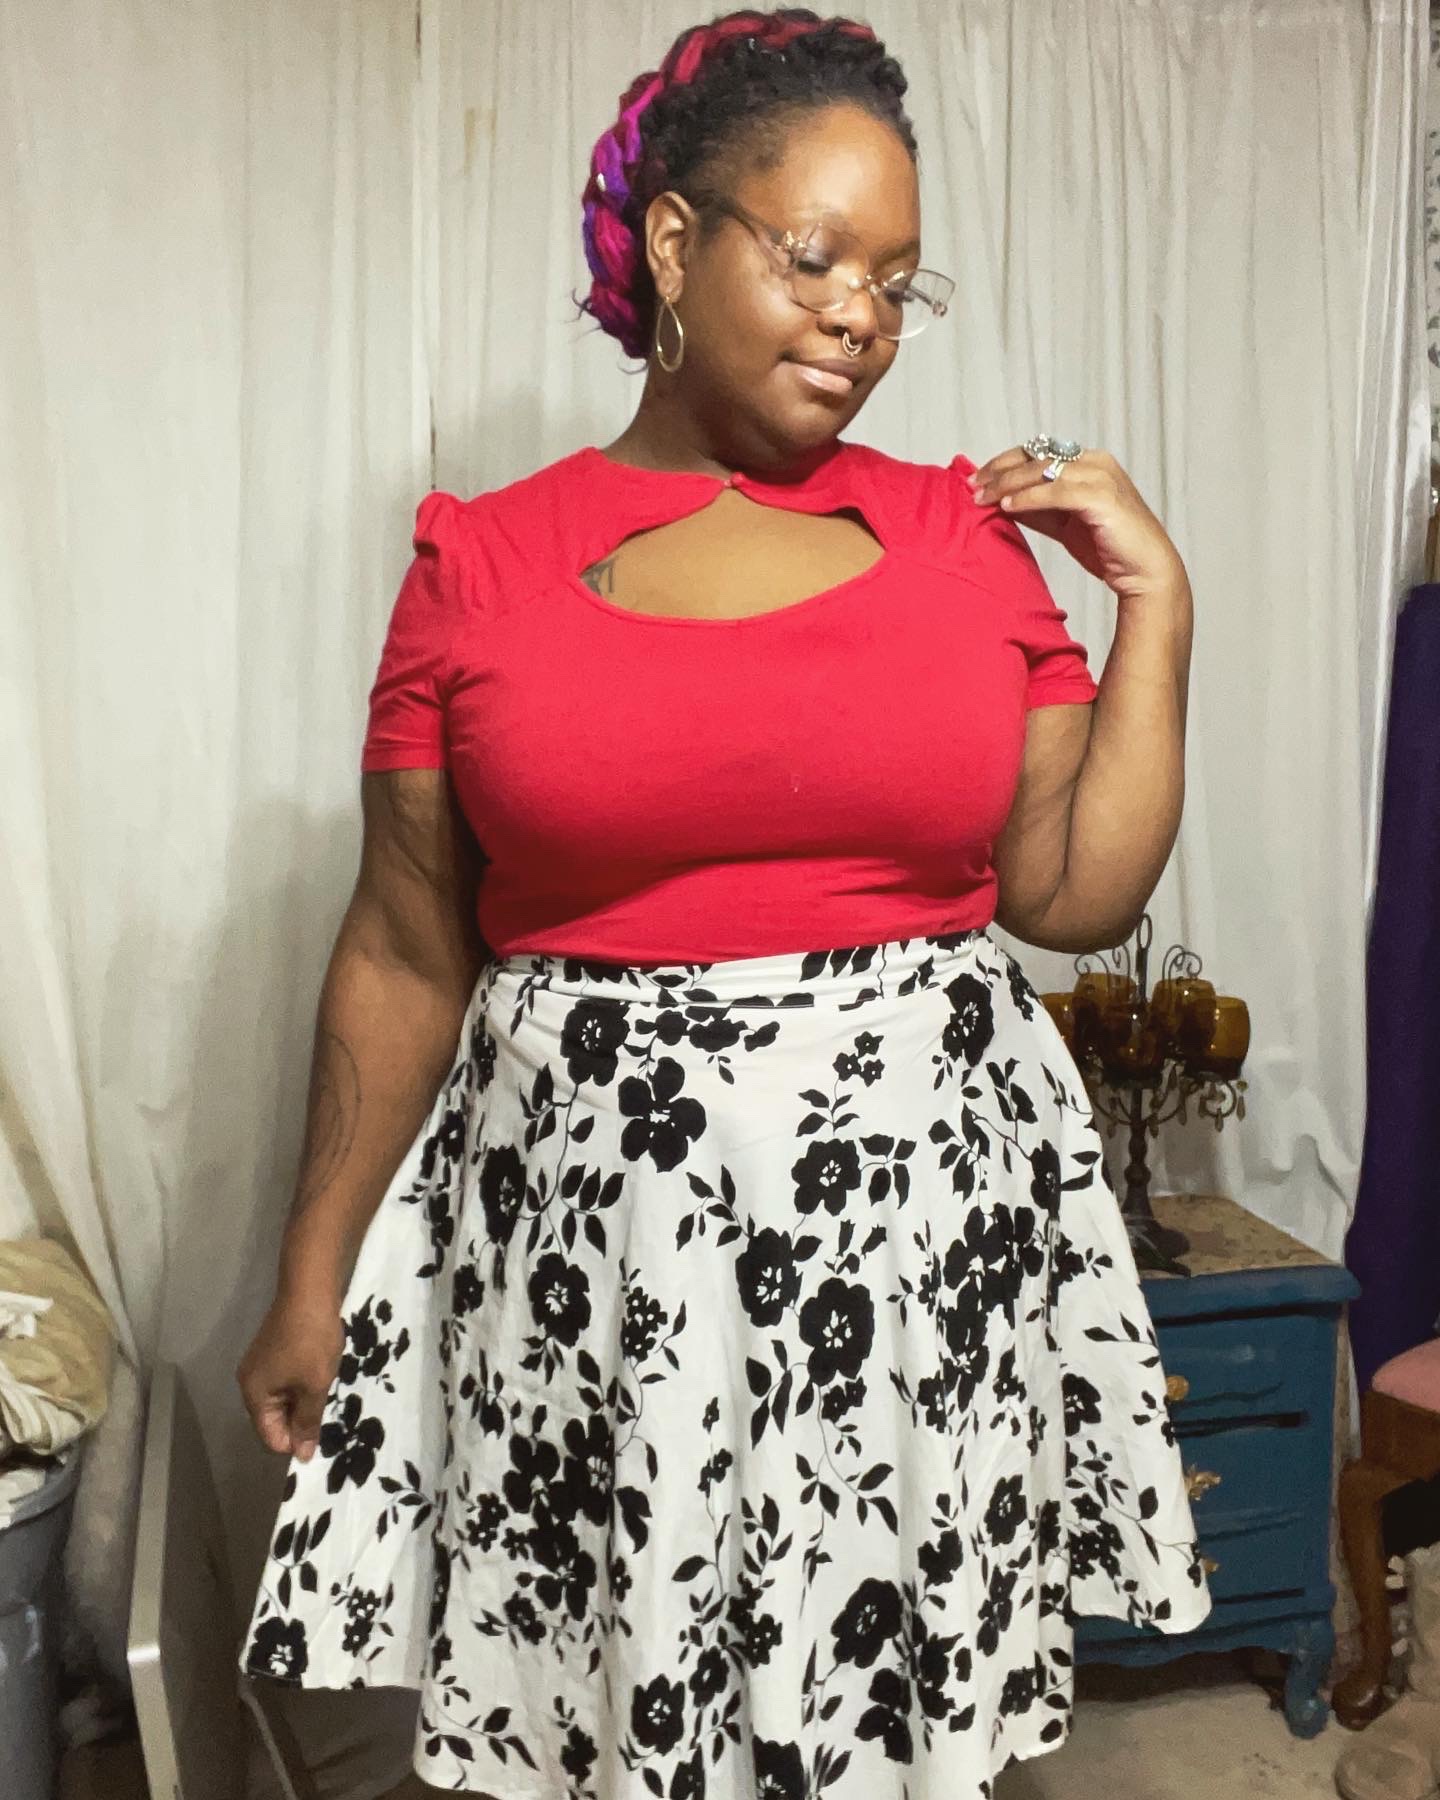
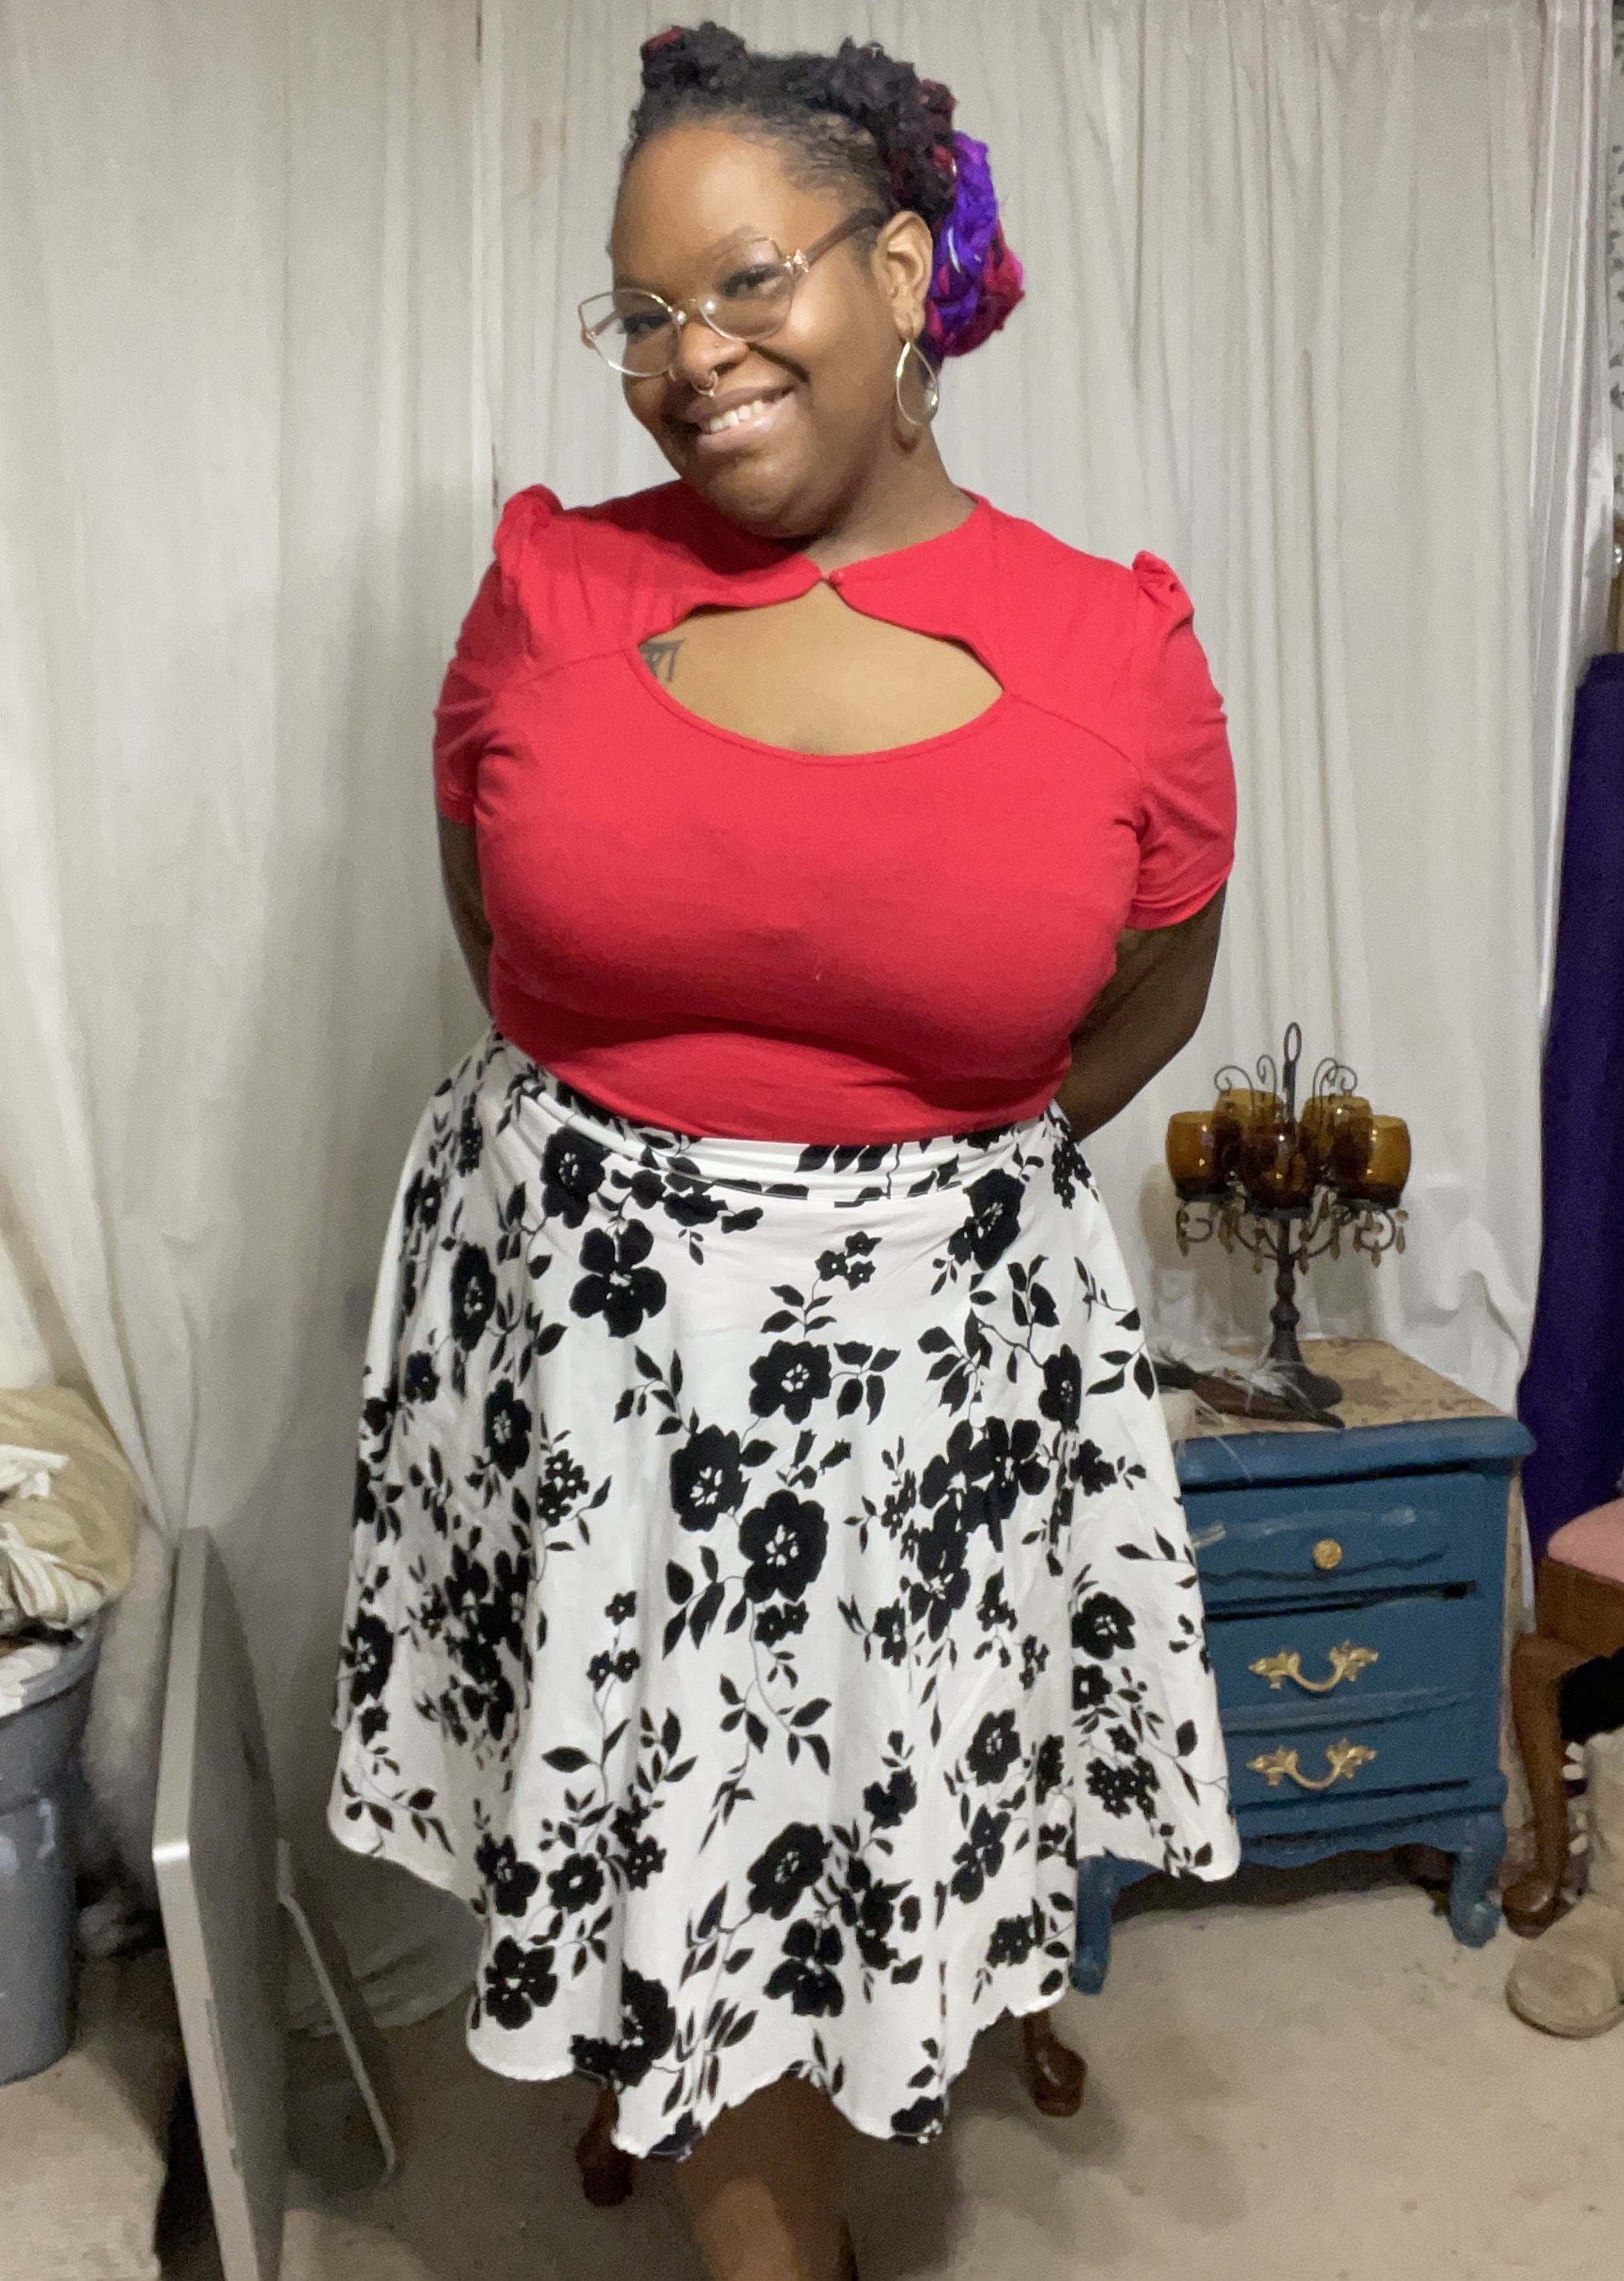
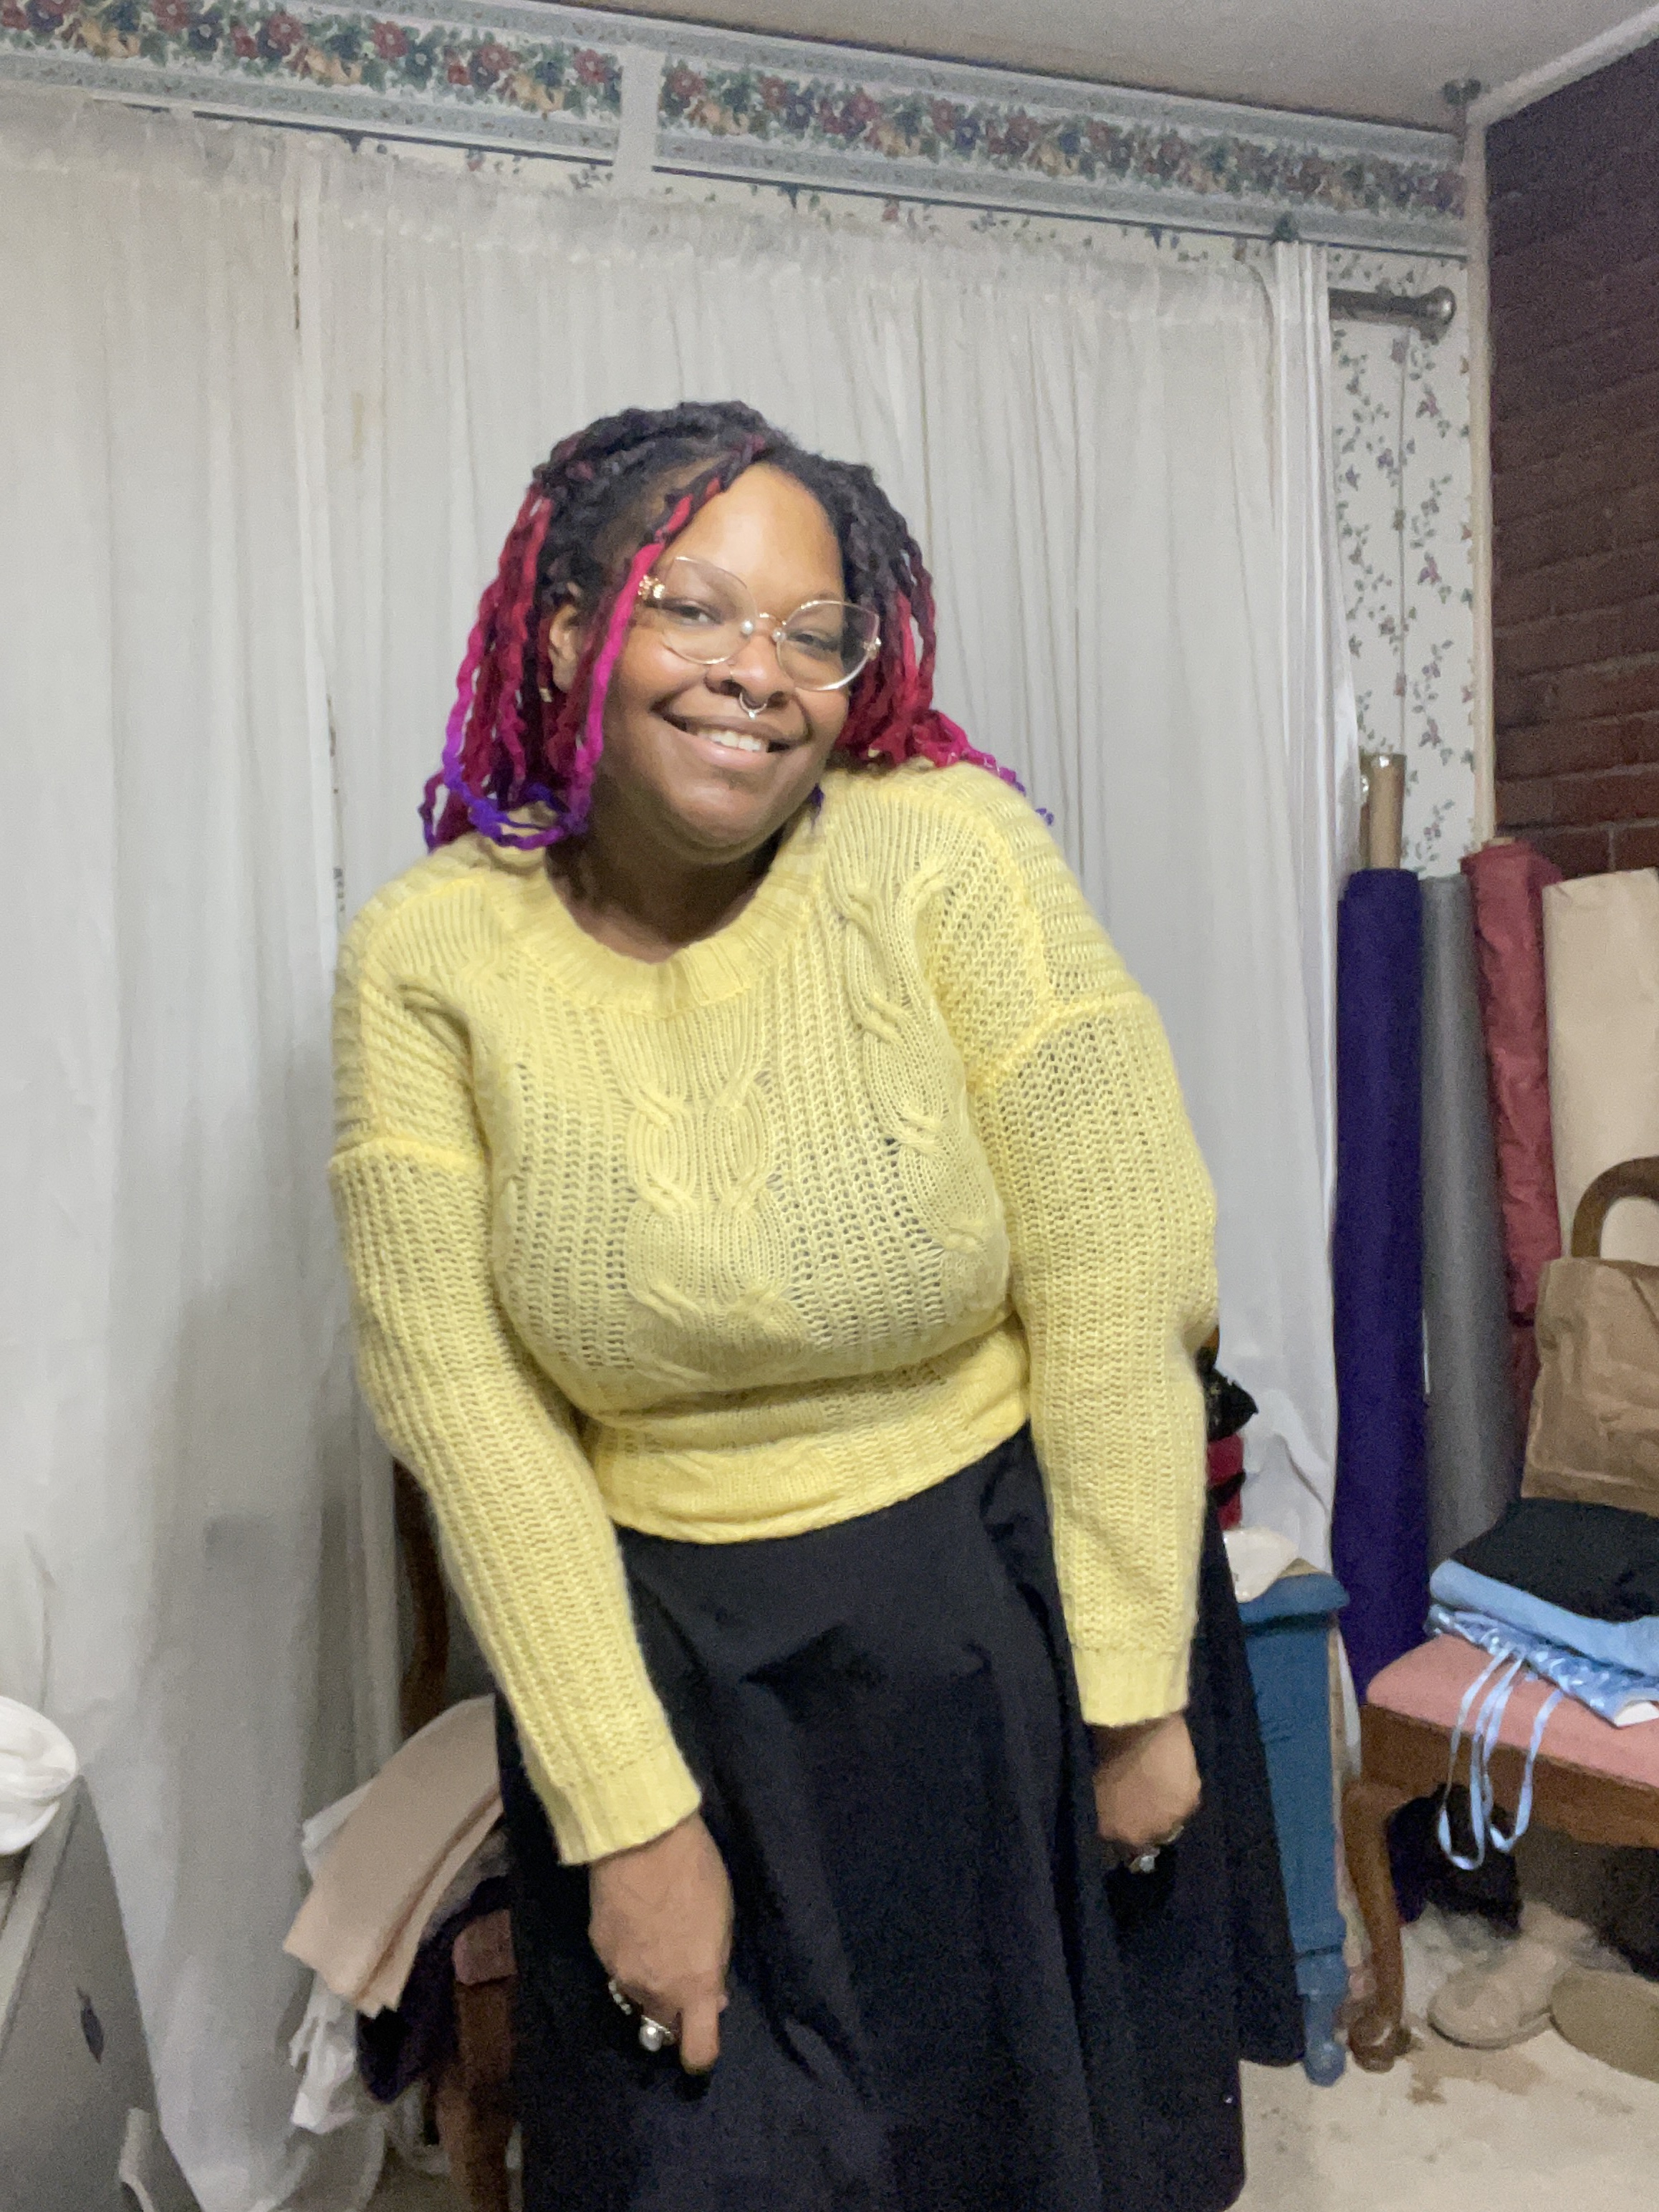
So with the first week of my #28DaysOfHistorifalDress done, I wanted to show off the looks I wore for the first week. Let me just say this, I felt so beautiful! I always feel beautiful when I’m in vintage/historic stuff rather than modern, but something about putting a look together and taking the extra time to do my hair and makeup to fit the aesthetic, was worth it. I received so many compliments whenever I went out. The teachers at my kids school loved seeing me come in with a new look each day. So without further ado, here they are
Day 1Day 1-on my way to get the kids from schoolDay 2Day 2-I roped my 10 year old into doing updated headshots of me in this outfit Day 3Day 4-I ADORE this topDay 5 Day 6 Day 7Day 7
So as you can see, day 7 started with Edwardian. I also have videos of the outfits on my Instagram & TikTok under the “28 Days of Historical Dress playlists.
This week I will be doing more Edwardian era looks, complete with the big hats! So if you want to see the process of all of that, including sewing my two Edwardian skirts, belts, and corset covers then check out my IG, it’ll be a few days before I update here again.
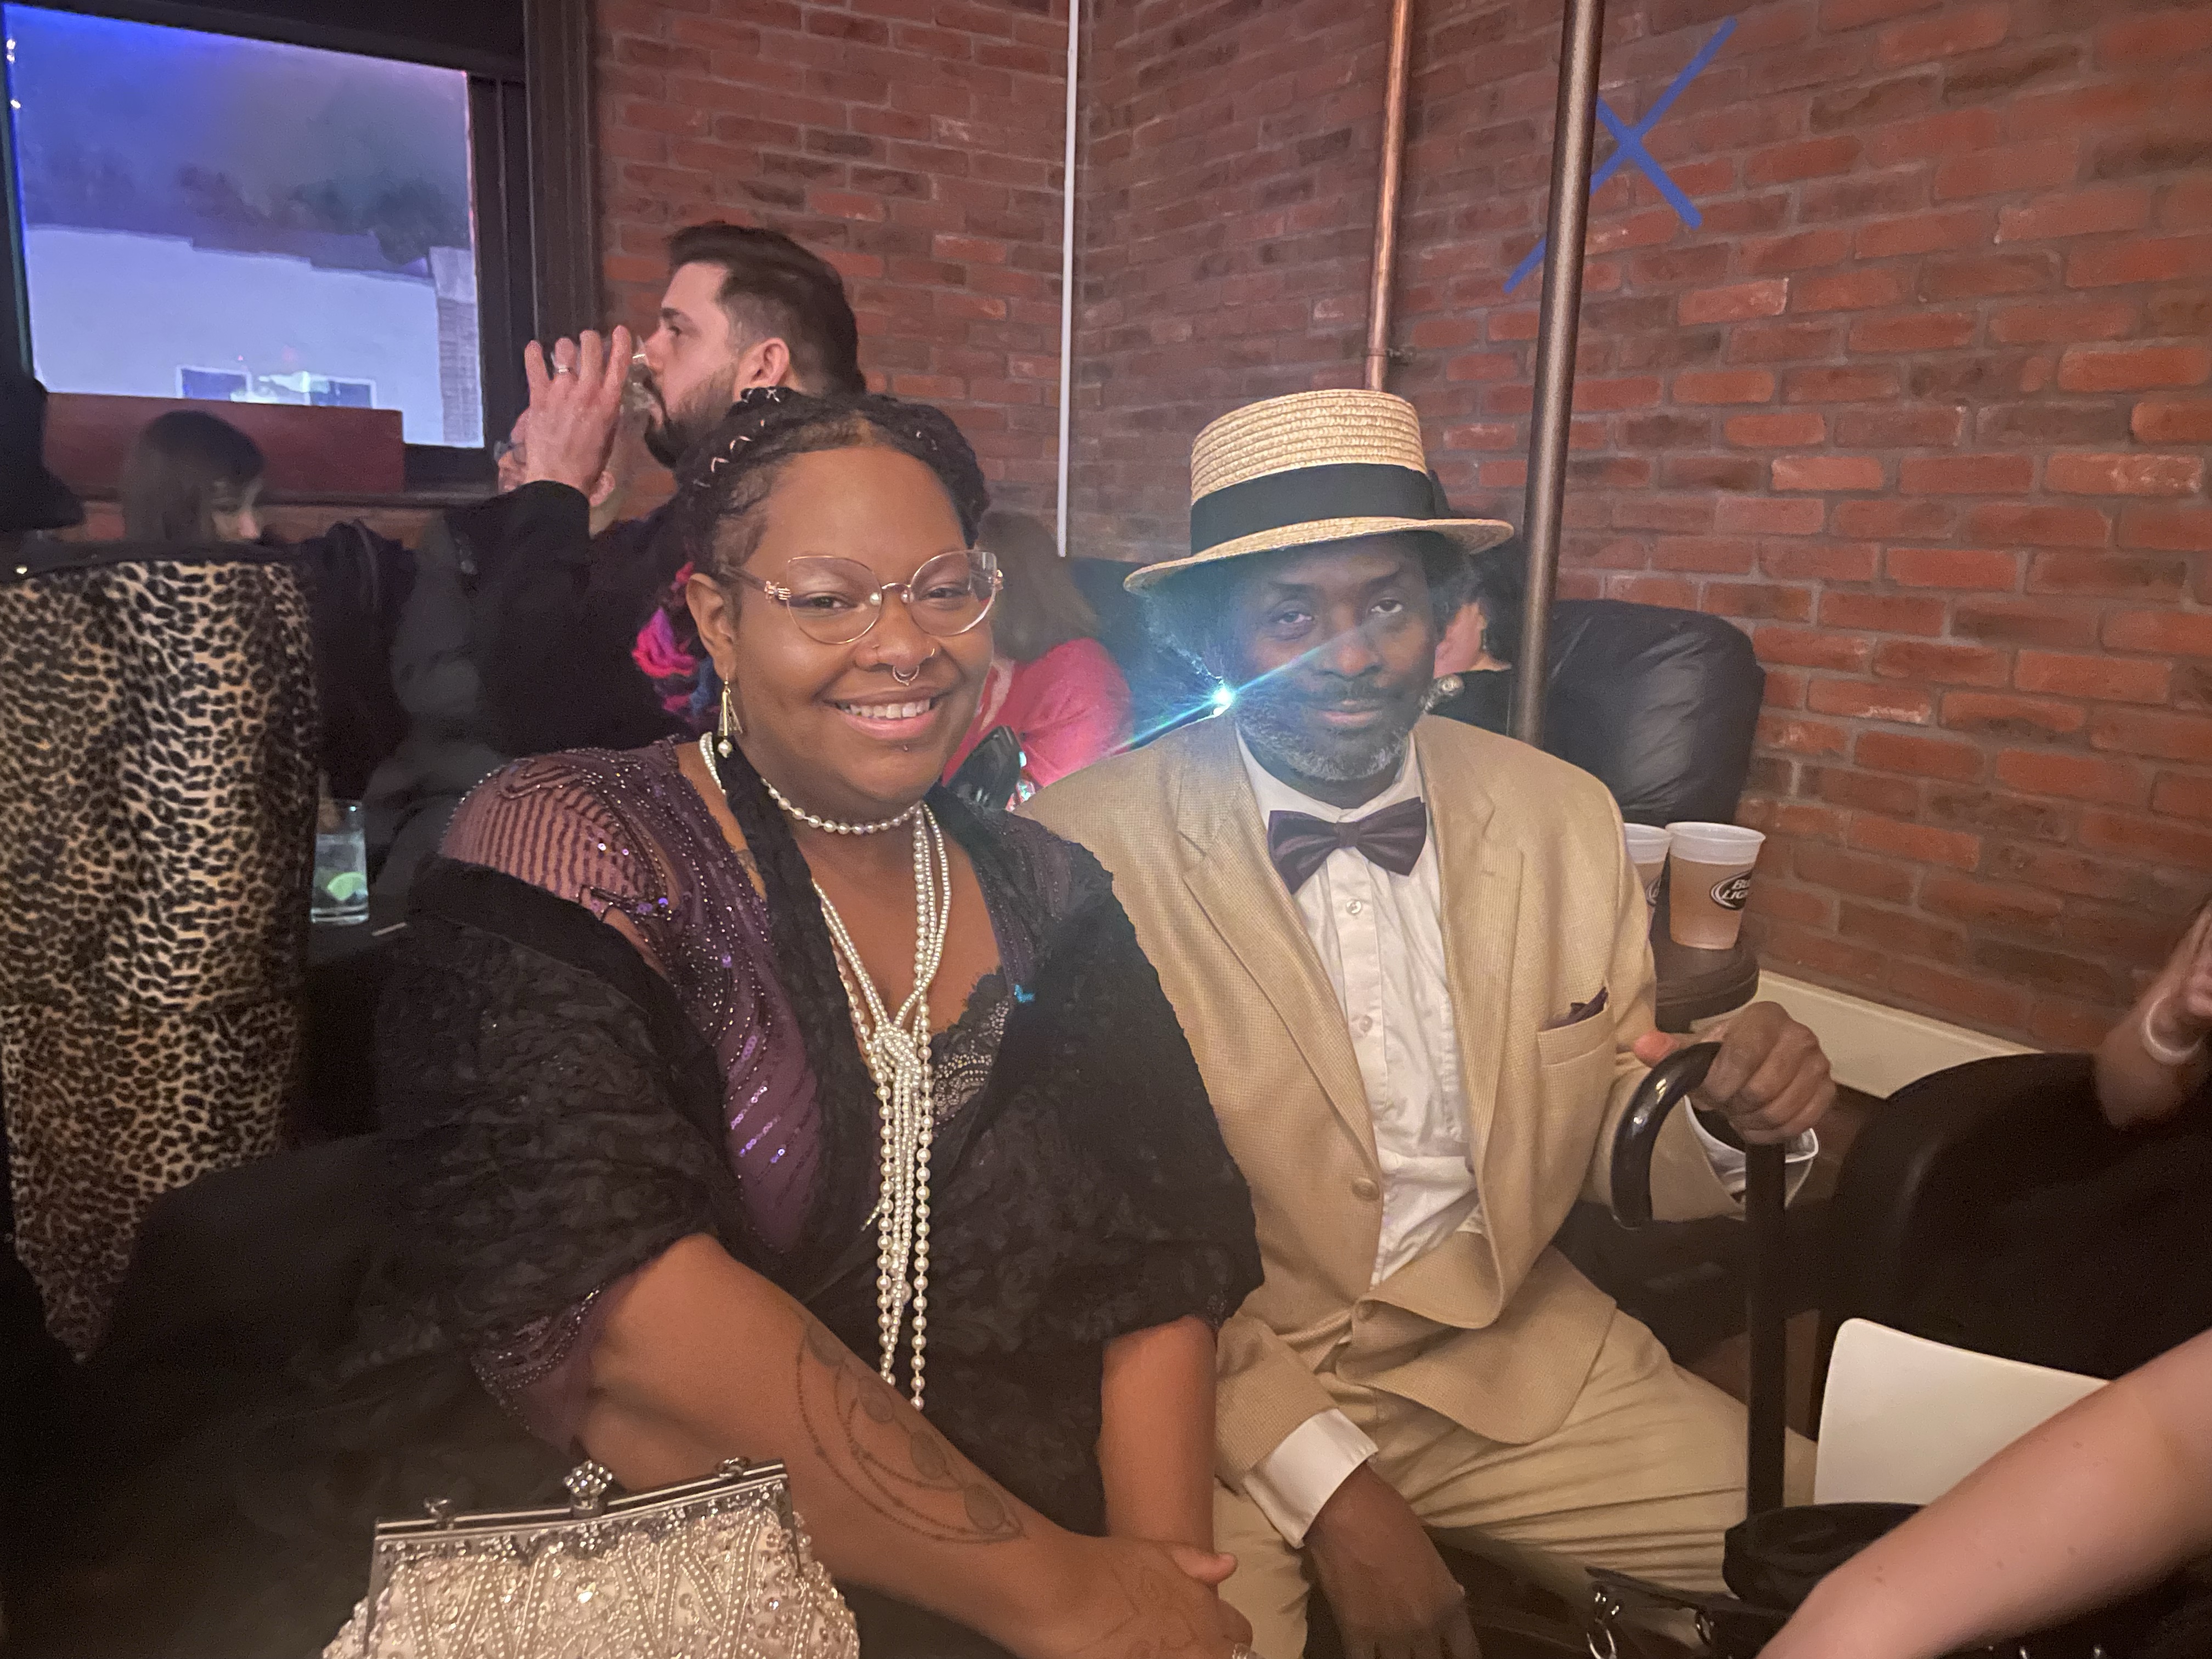
You see…it all started when I suggested that someone should have a Gatsby themed party to ring in 2020. Complete with costumes, a secret password to get in, and awesome music. I was the one that ended up throwing said party, and it was a BLAST! This was right before covid came in and uprooted everything. Ever since then, with ever time period that gives me dopamine, I’ve been obsessed with the 1920s and it’s fashion since then. Now, don’t ask me which era is my favorite, because it depends on the mood, what movie or show I just watched, and a slight shift in the air. I’m joking on the last part.
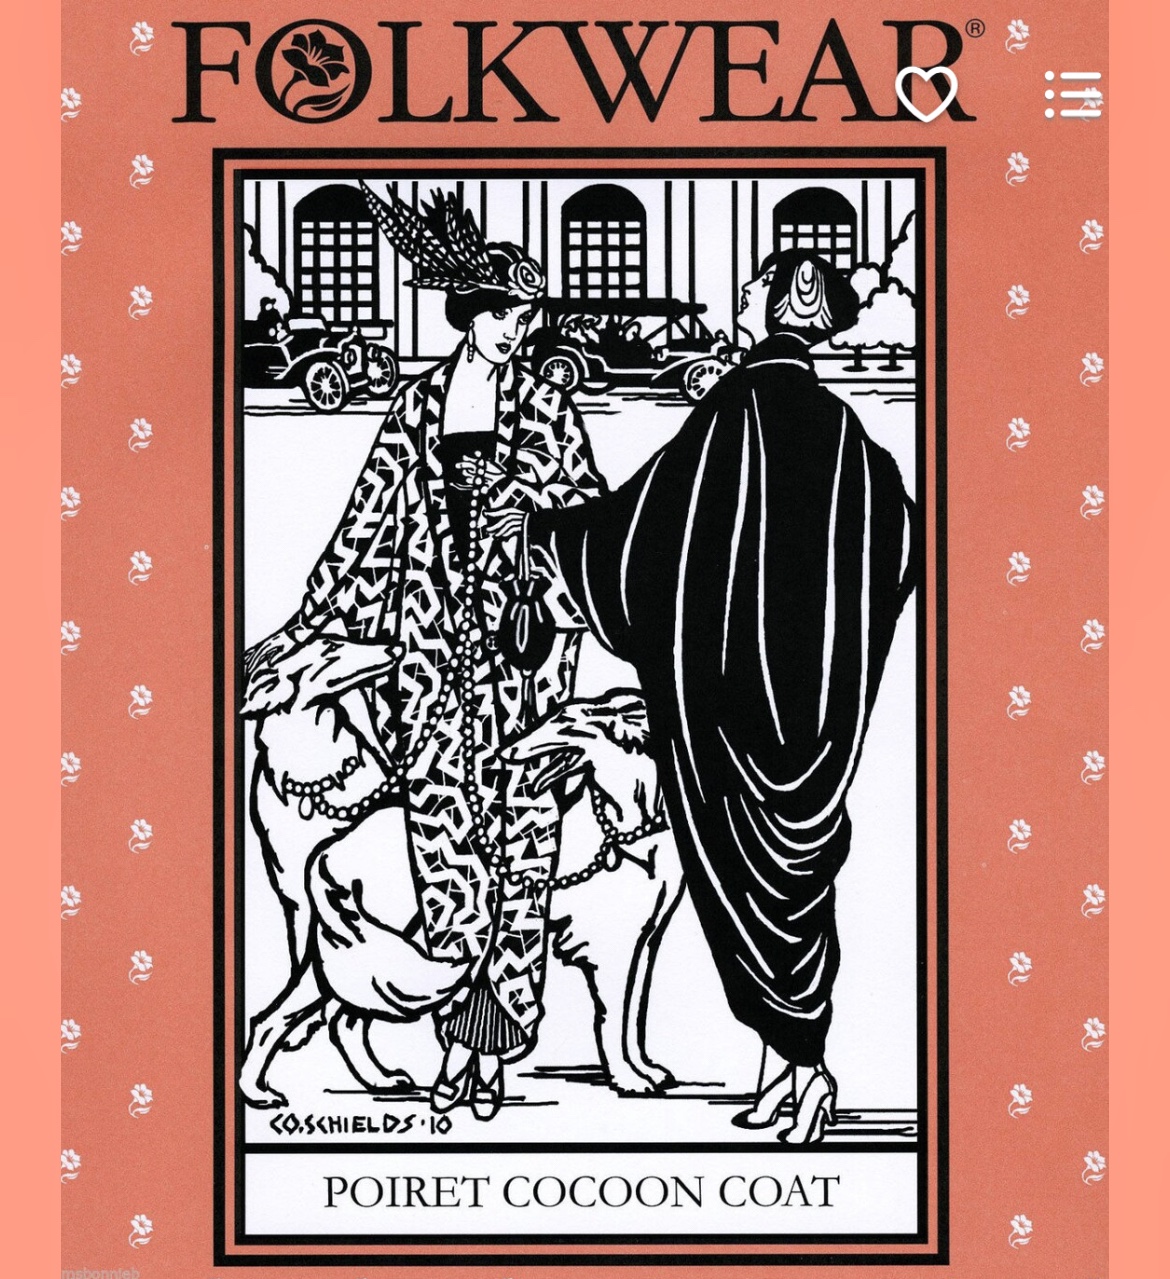
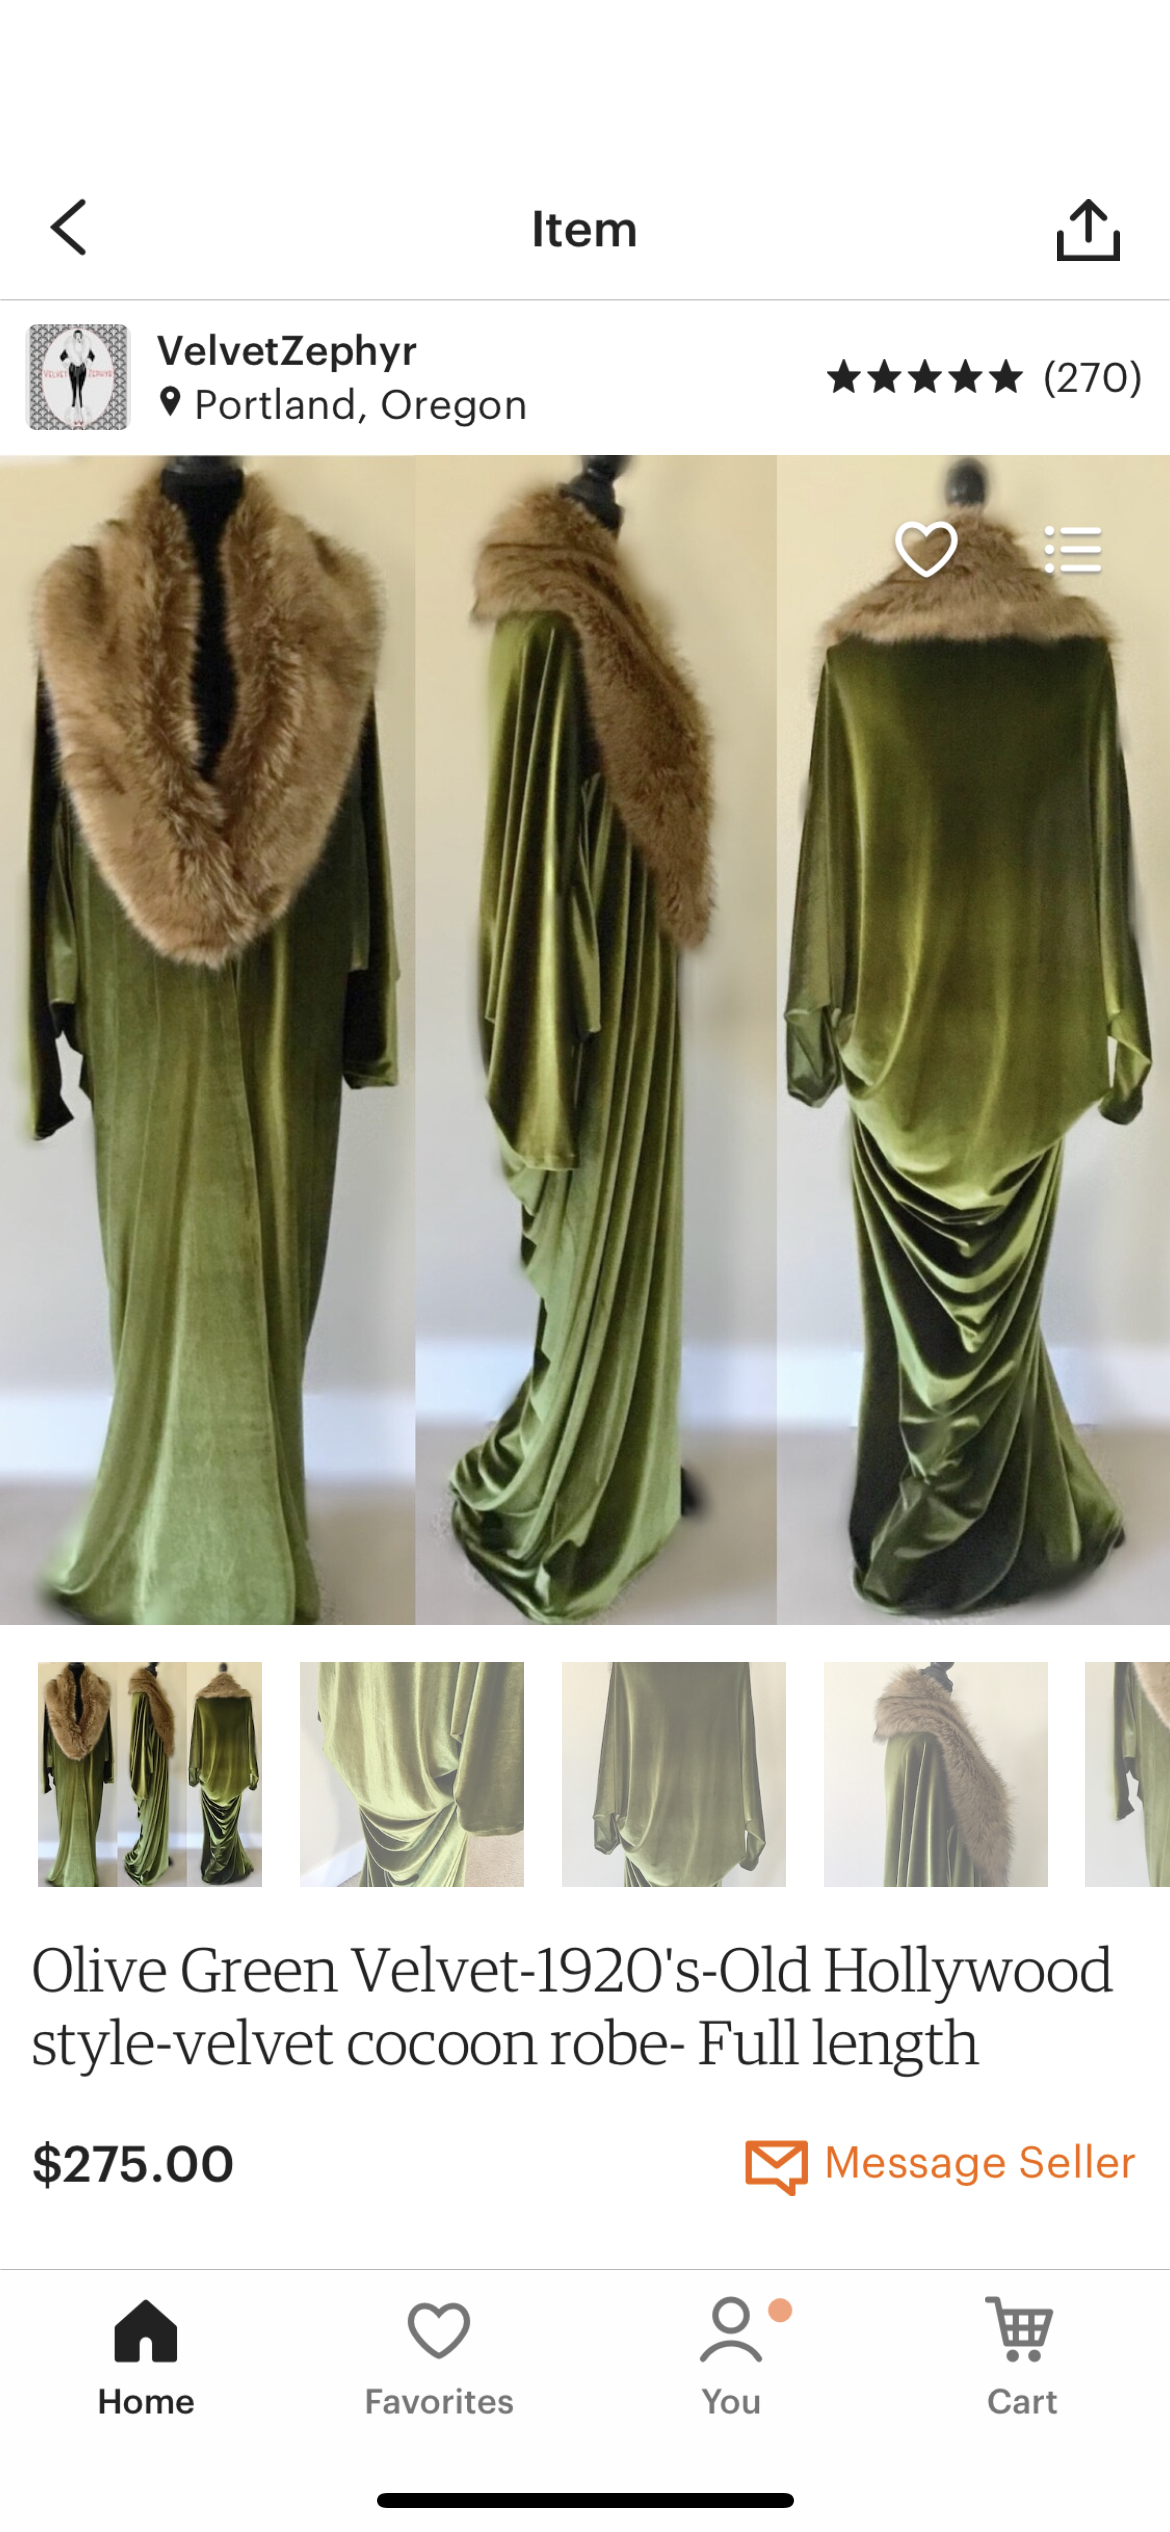
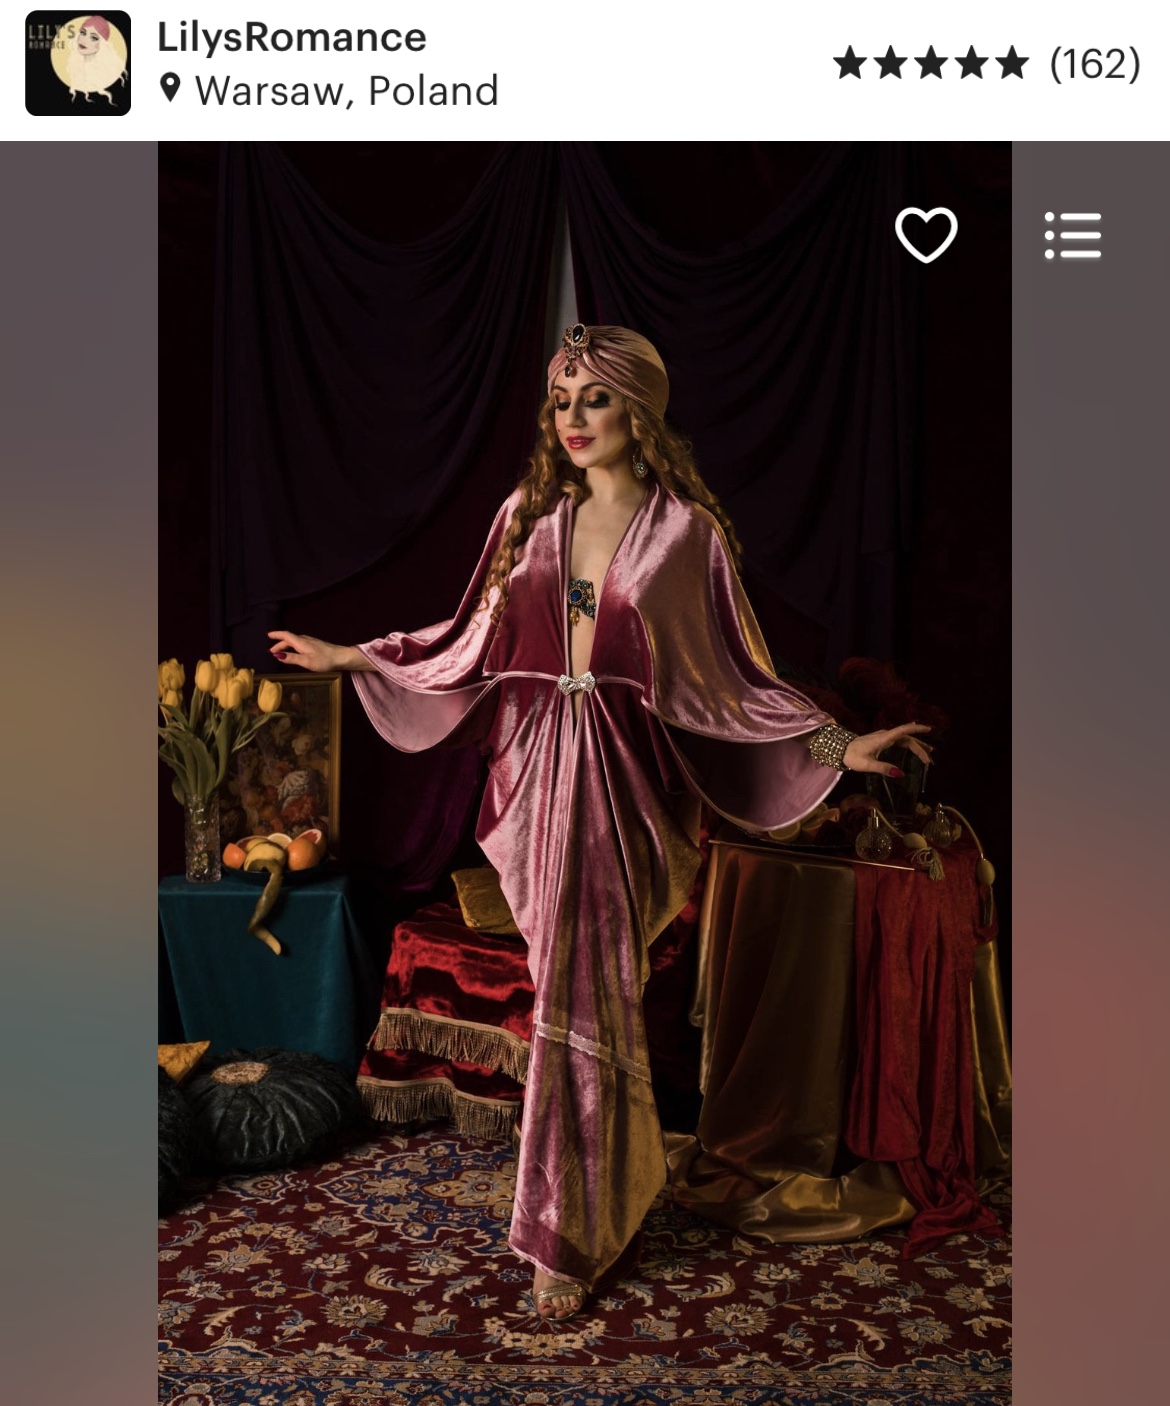
So anyway, I’ve been obsessed with cocoon robes. I’ve actually been obsessed with Mimi’s, caftans and all of that-so it just made sense for me to fall in love with this style of robe.
I started by looking up pictures of cocoon robes on google. I saw the Paul Poiret style, and while beautiful-it wasn’t exactly what I as looking for
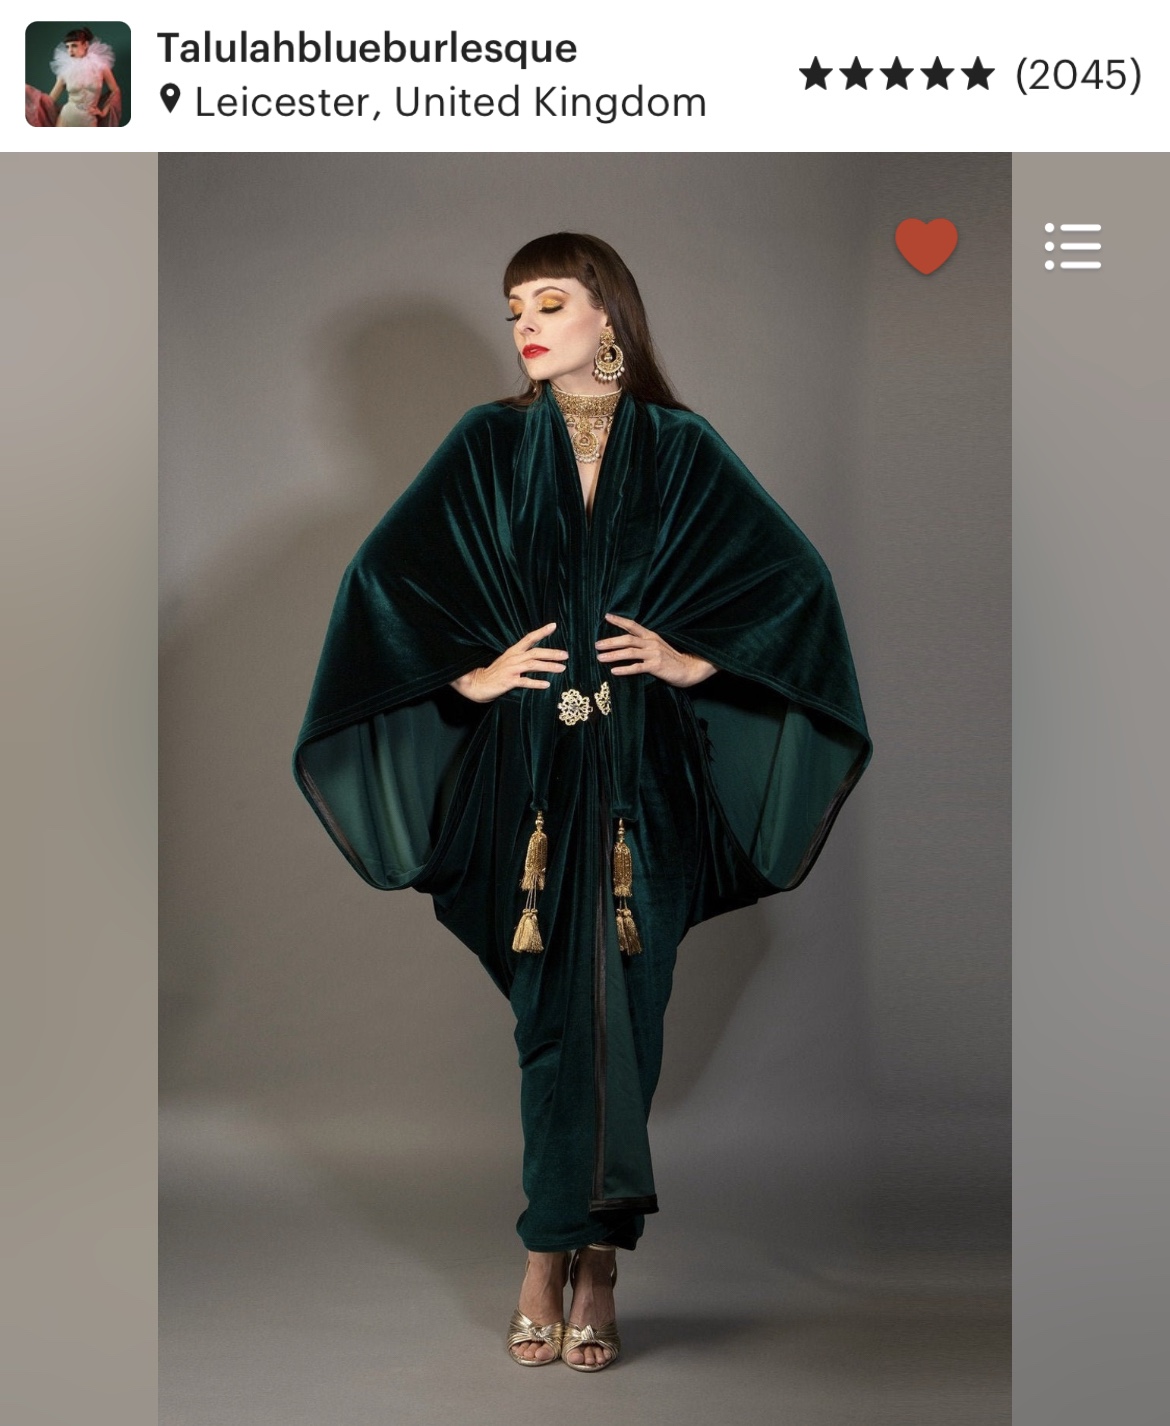
I just LOVE the way it drops, and notice the little neck scarf with the tassels on the left, that little bit of extra did it for me!
On to the sewing!
Now this was super easy to do. I would say for me the hardest part was the draping by eye to get it just right. Typically for a cocoon robe, you can put the fabric over your shoulders, and connect each corner on each side (the top and bottom), leave room from the edge for your hands to get thee, and then sew it. I made a video documenting the process! Overall it took me about 2.5 hrs to do, with most of it figuring out the draping.
Did I just get my sewing mojo back? I think I did! When I say that I haven’t actively sewn anything without rushing it because I pushed it off to the last minute, I mean I haven’t done so in YEARS! So it feels good to get back into my groove.
I actually took the time out and started writing down the projects that I want to accomplish this year. I used to tackle projects one by one, and with having ADHD -I would lose focus easily because my brain would also want to do 101 other things. So I would convince myself that I can’t start a new project until I get through my current, and because I lose focus, it took me longer to want to pick it up again to finish, and that in turn frustrated me. It was a weird little vicious cycle. I decided that this year, by having the projects already written, I don’t have to stick to a set order. And I plan on dedicating at least 1 hr a night to sewing. Whether it be hand sewing or machine work, or just drafting and cutting out the patterns, 1 hr is a good springboard for me. And hey-if I feel like keep going even after I hit the one hour mark? Even better!
So anyone, with all of that said-I want to show you a quick little project that I did over this past weekend. Most of being done while hanging out at my sisters house.
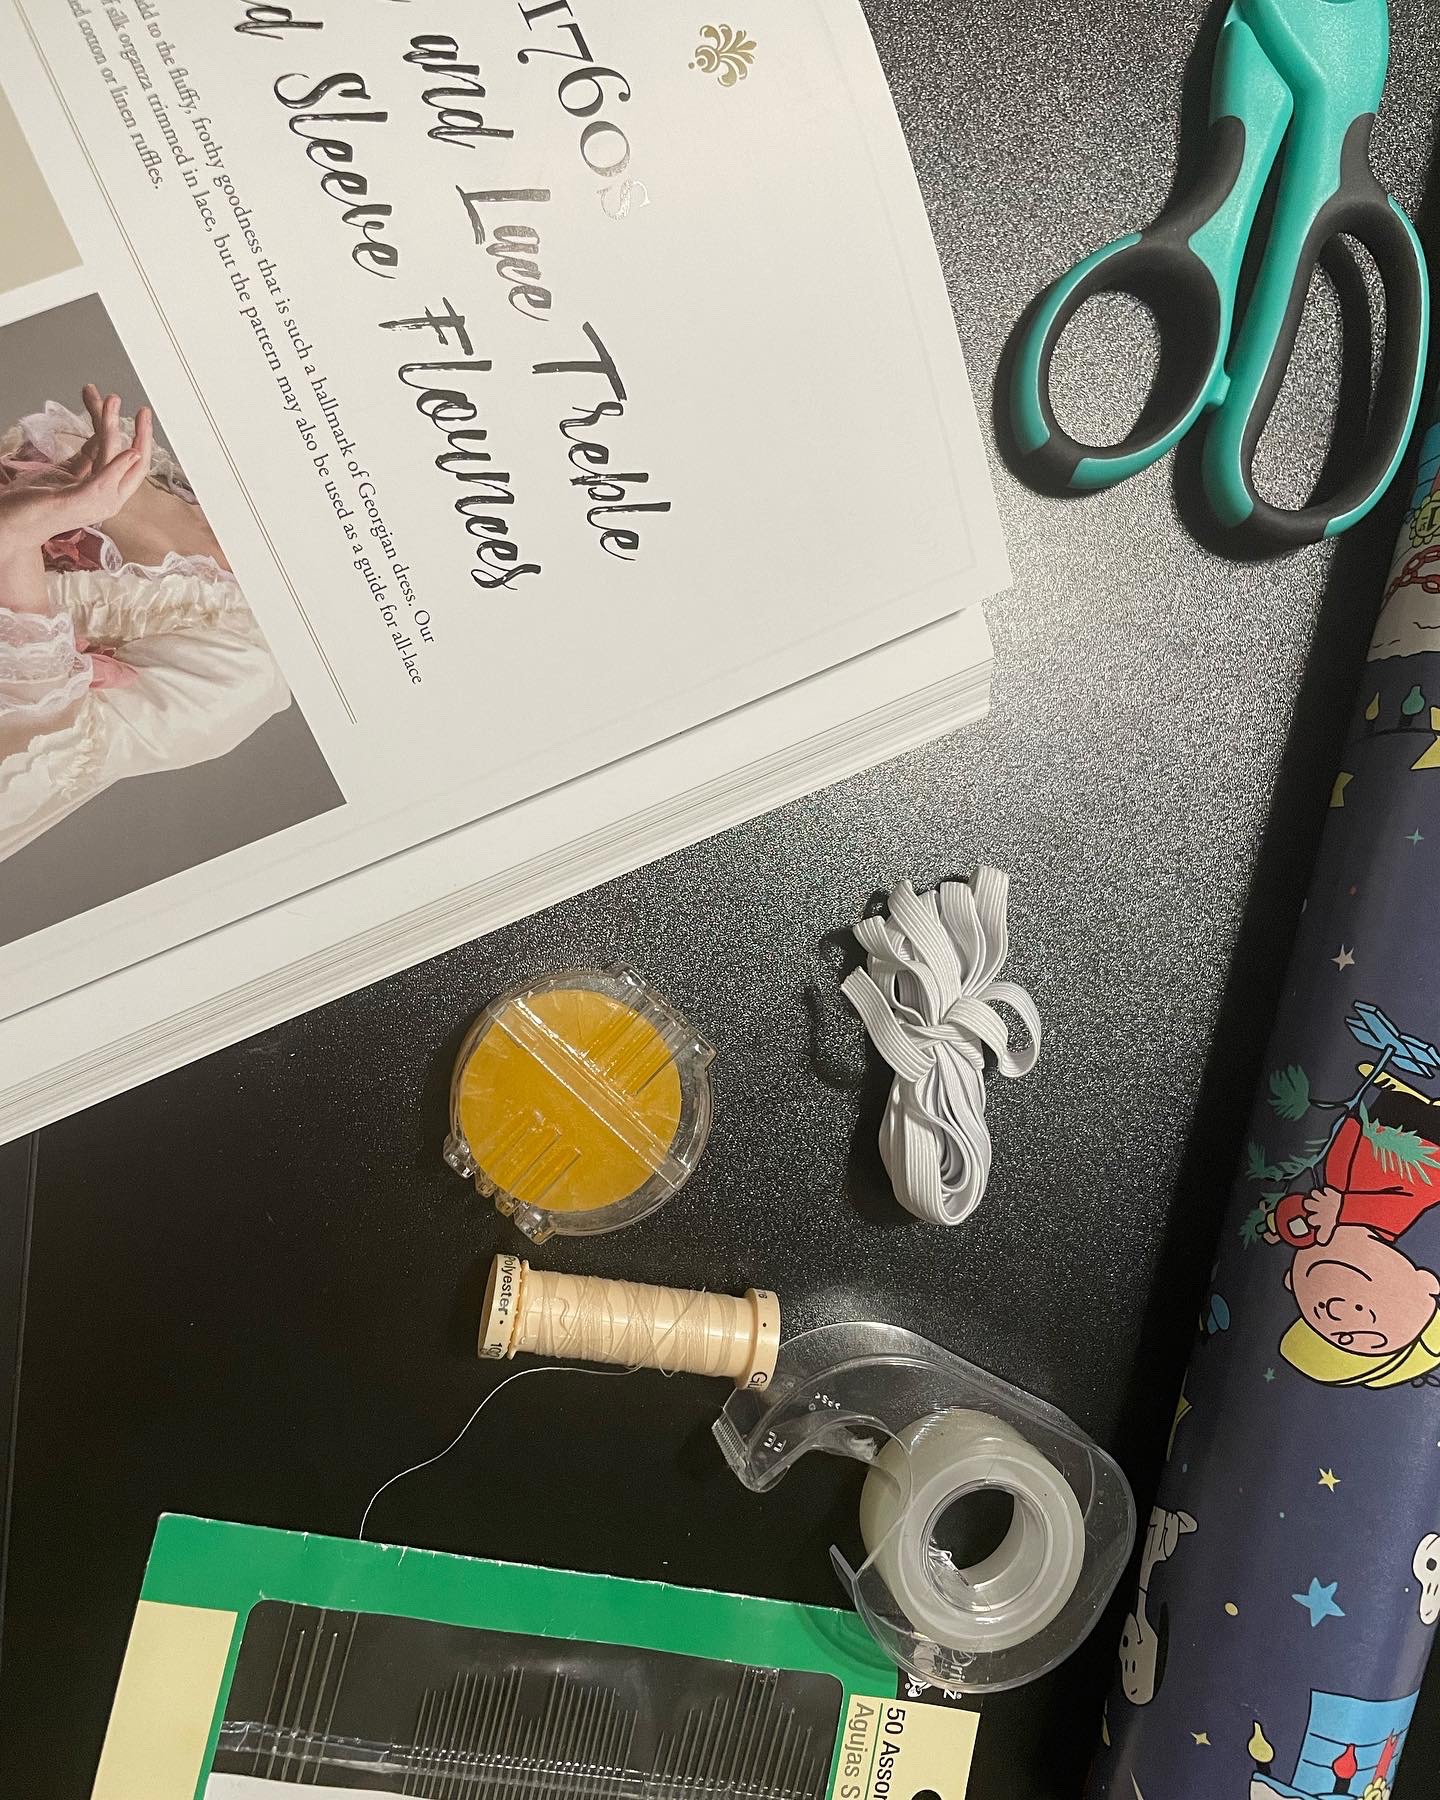
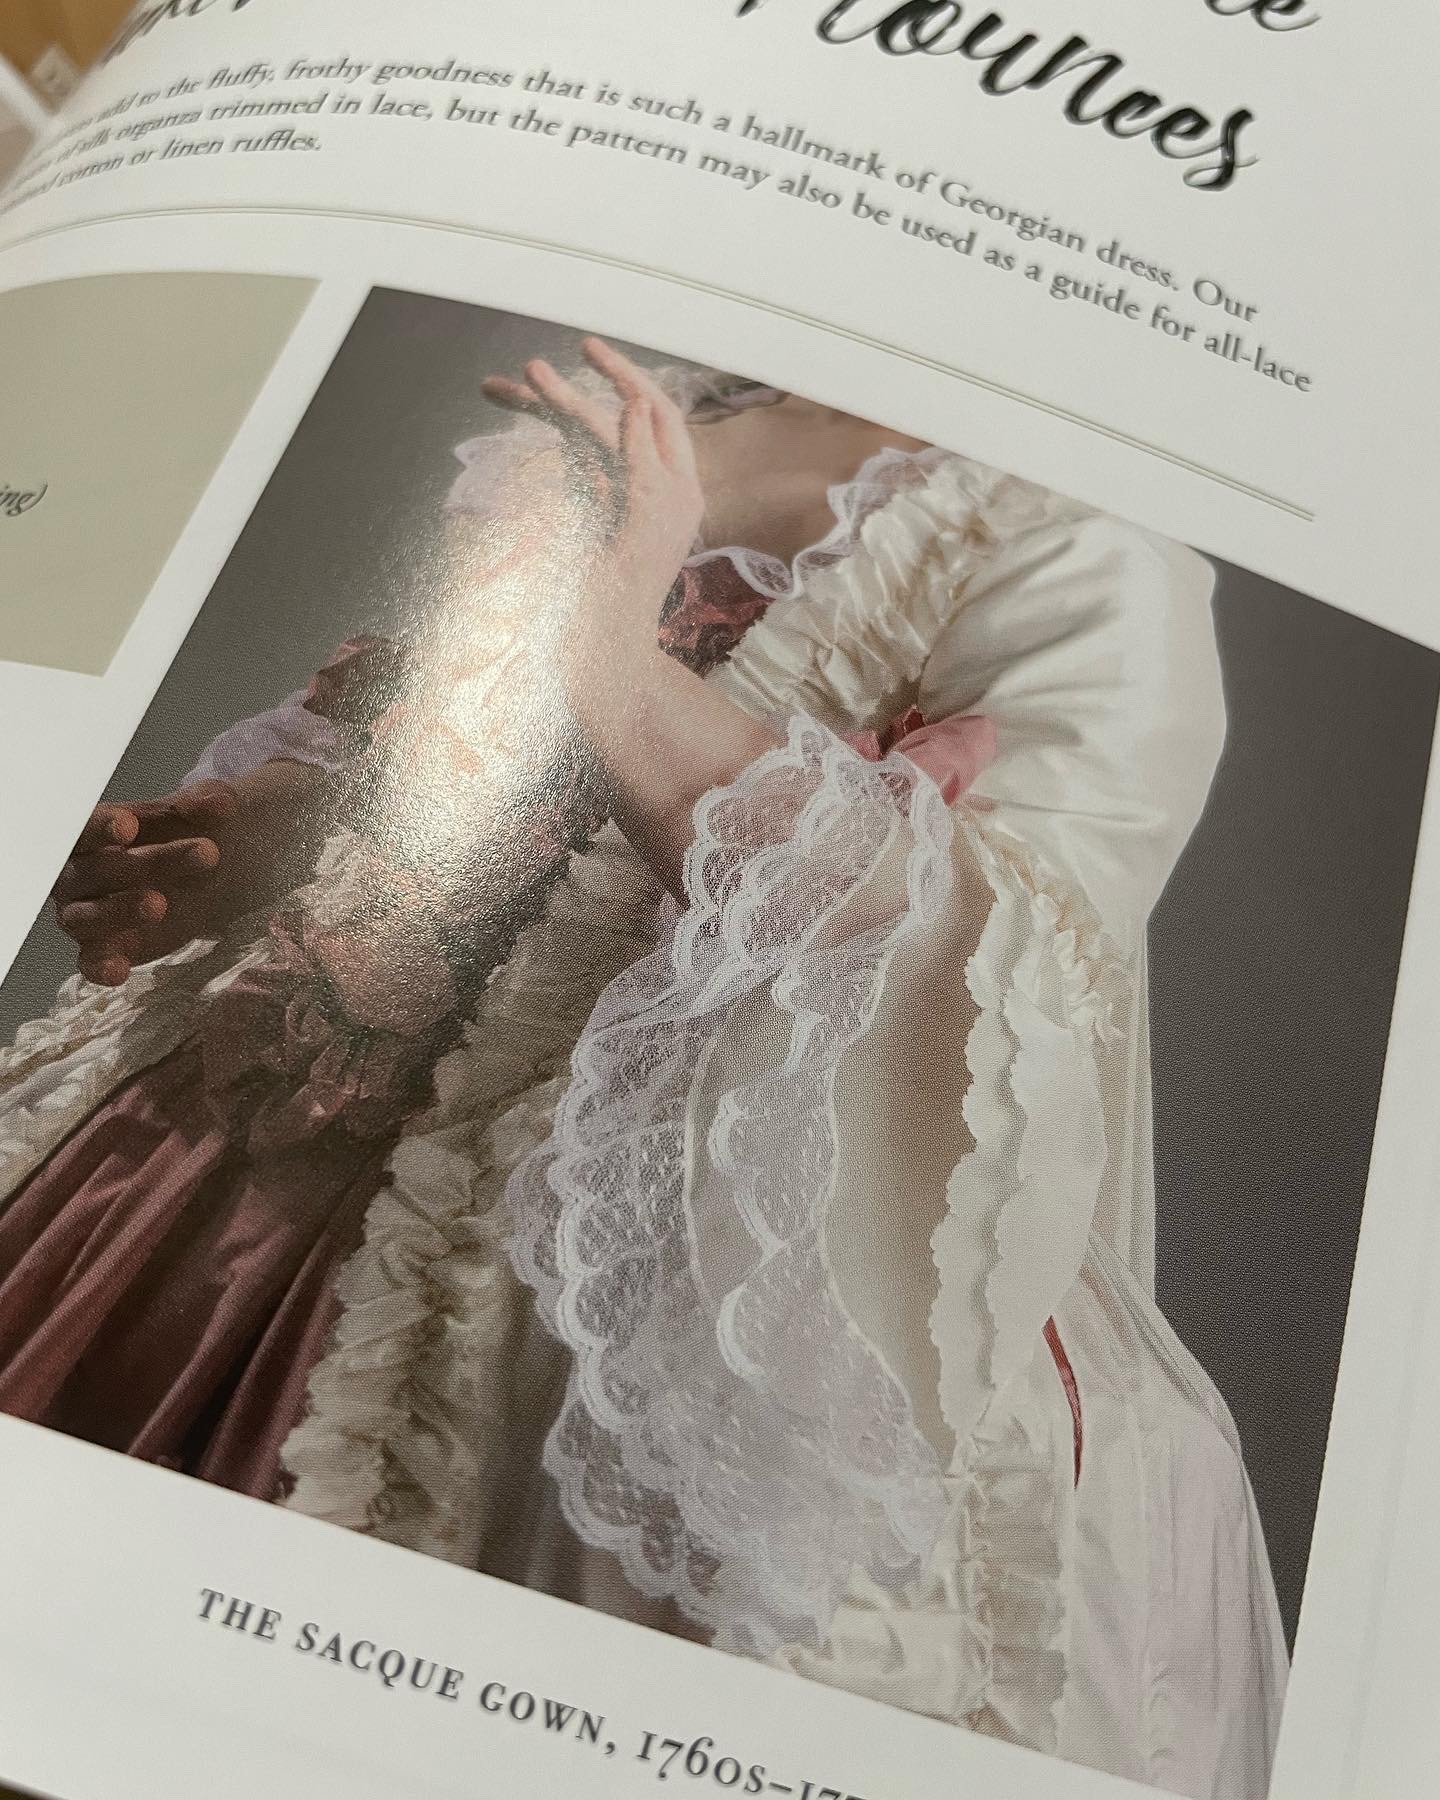
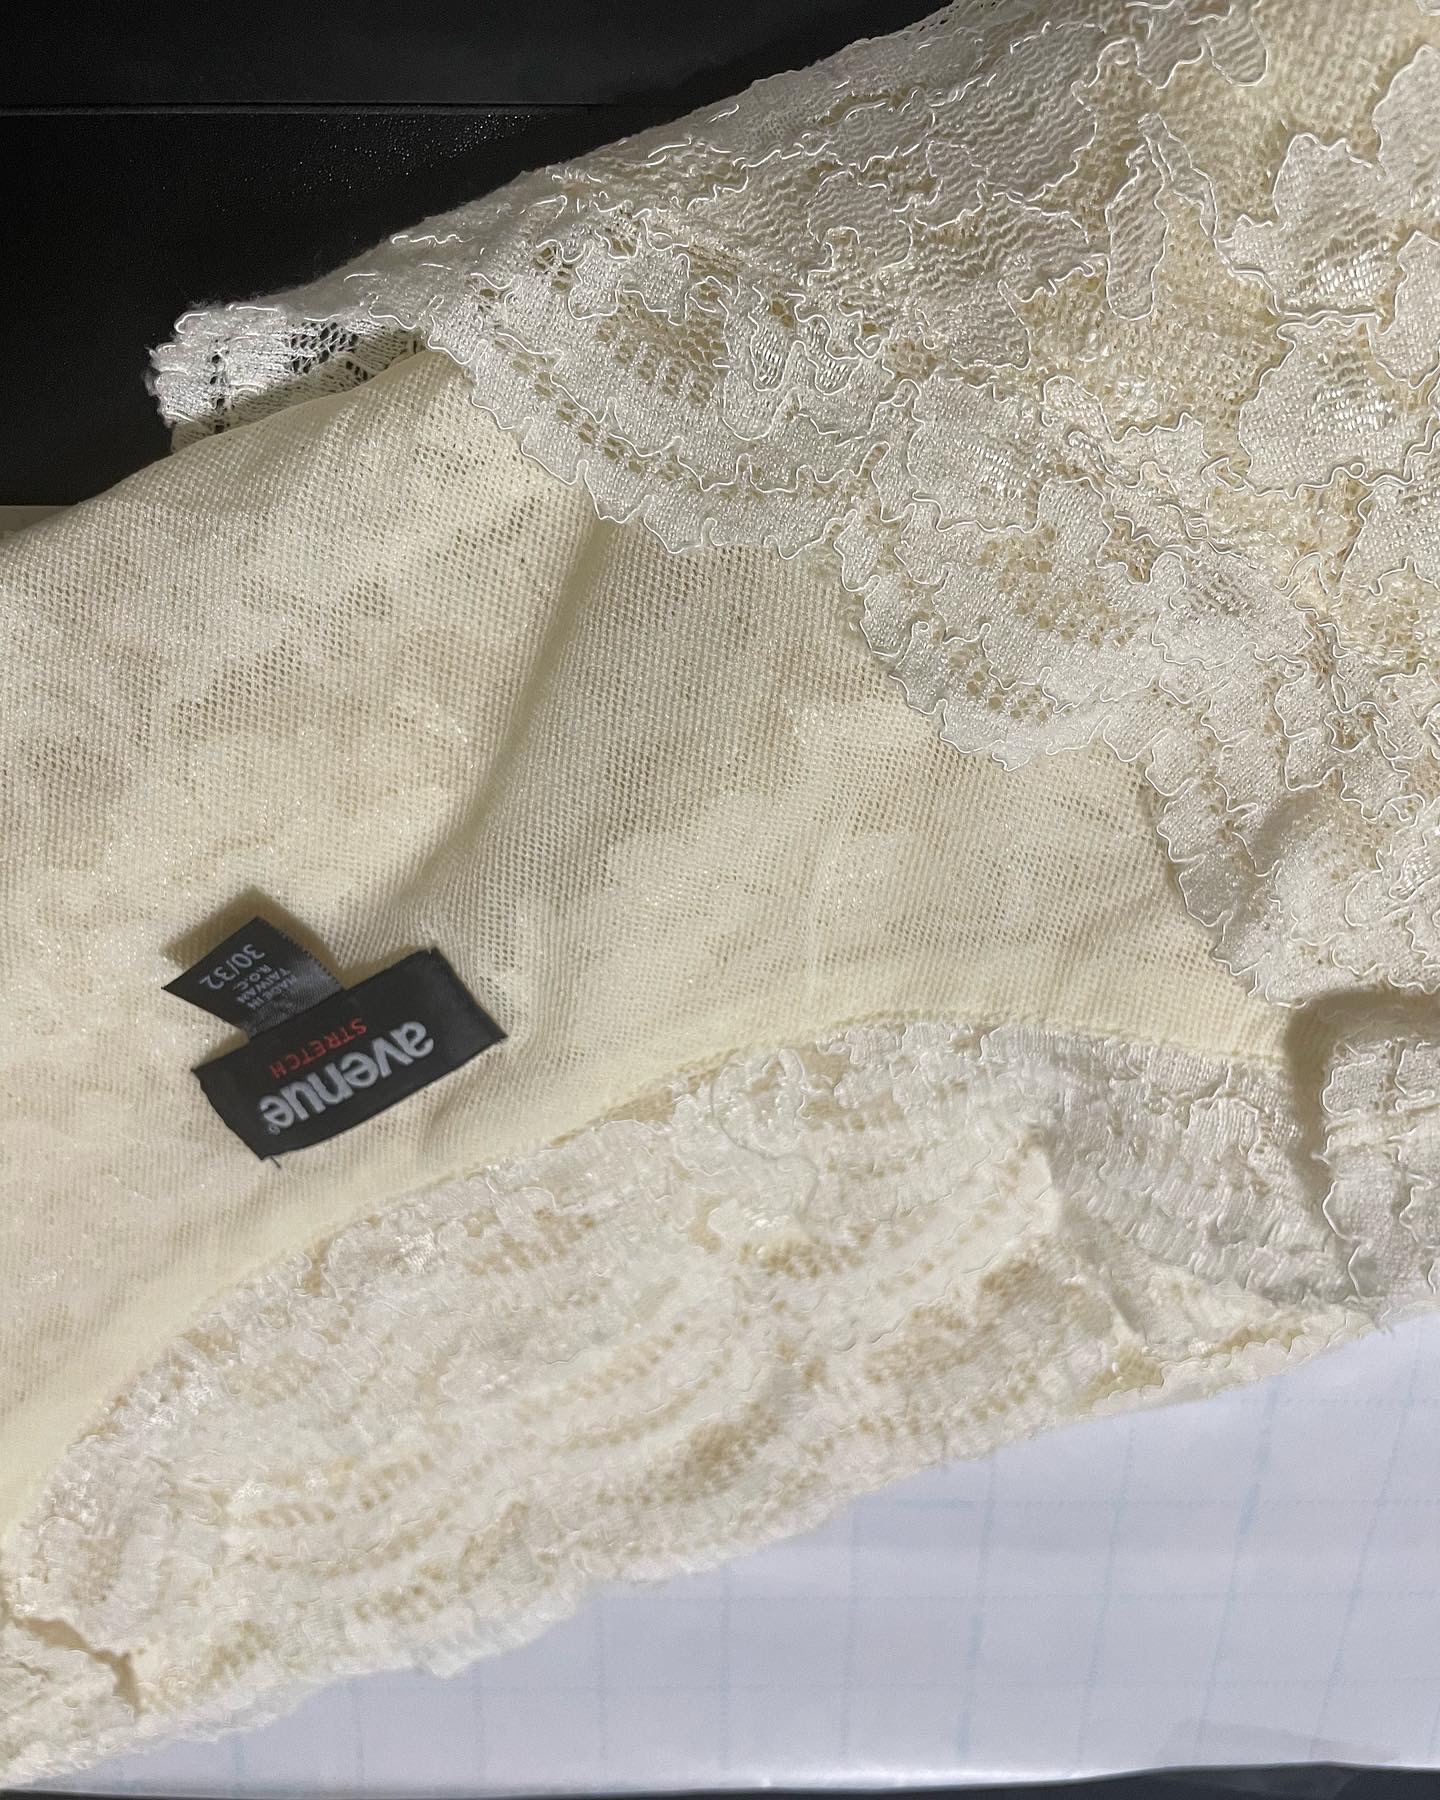
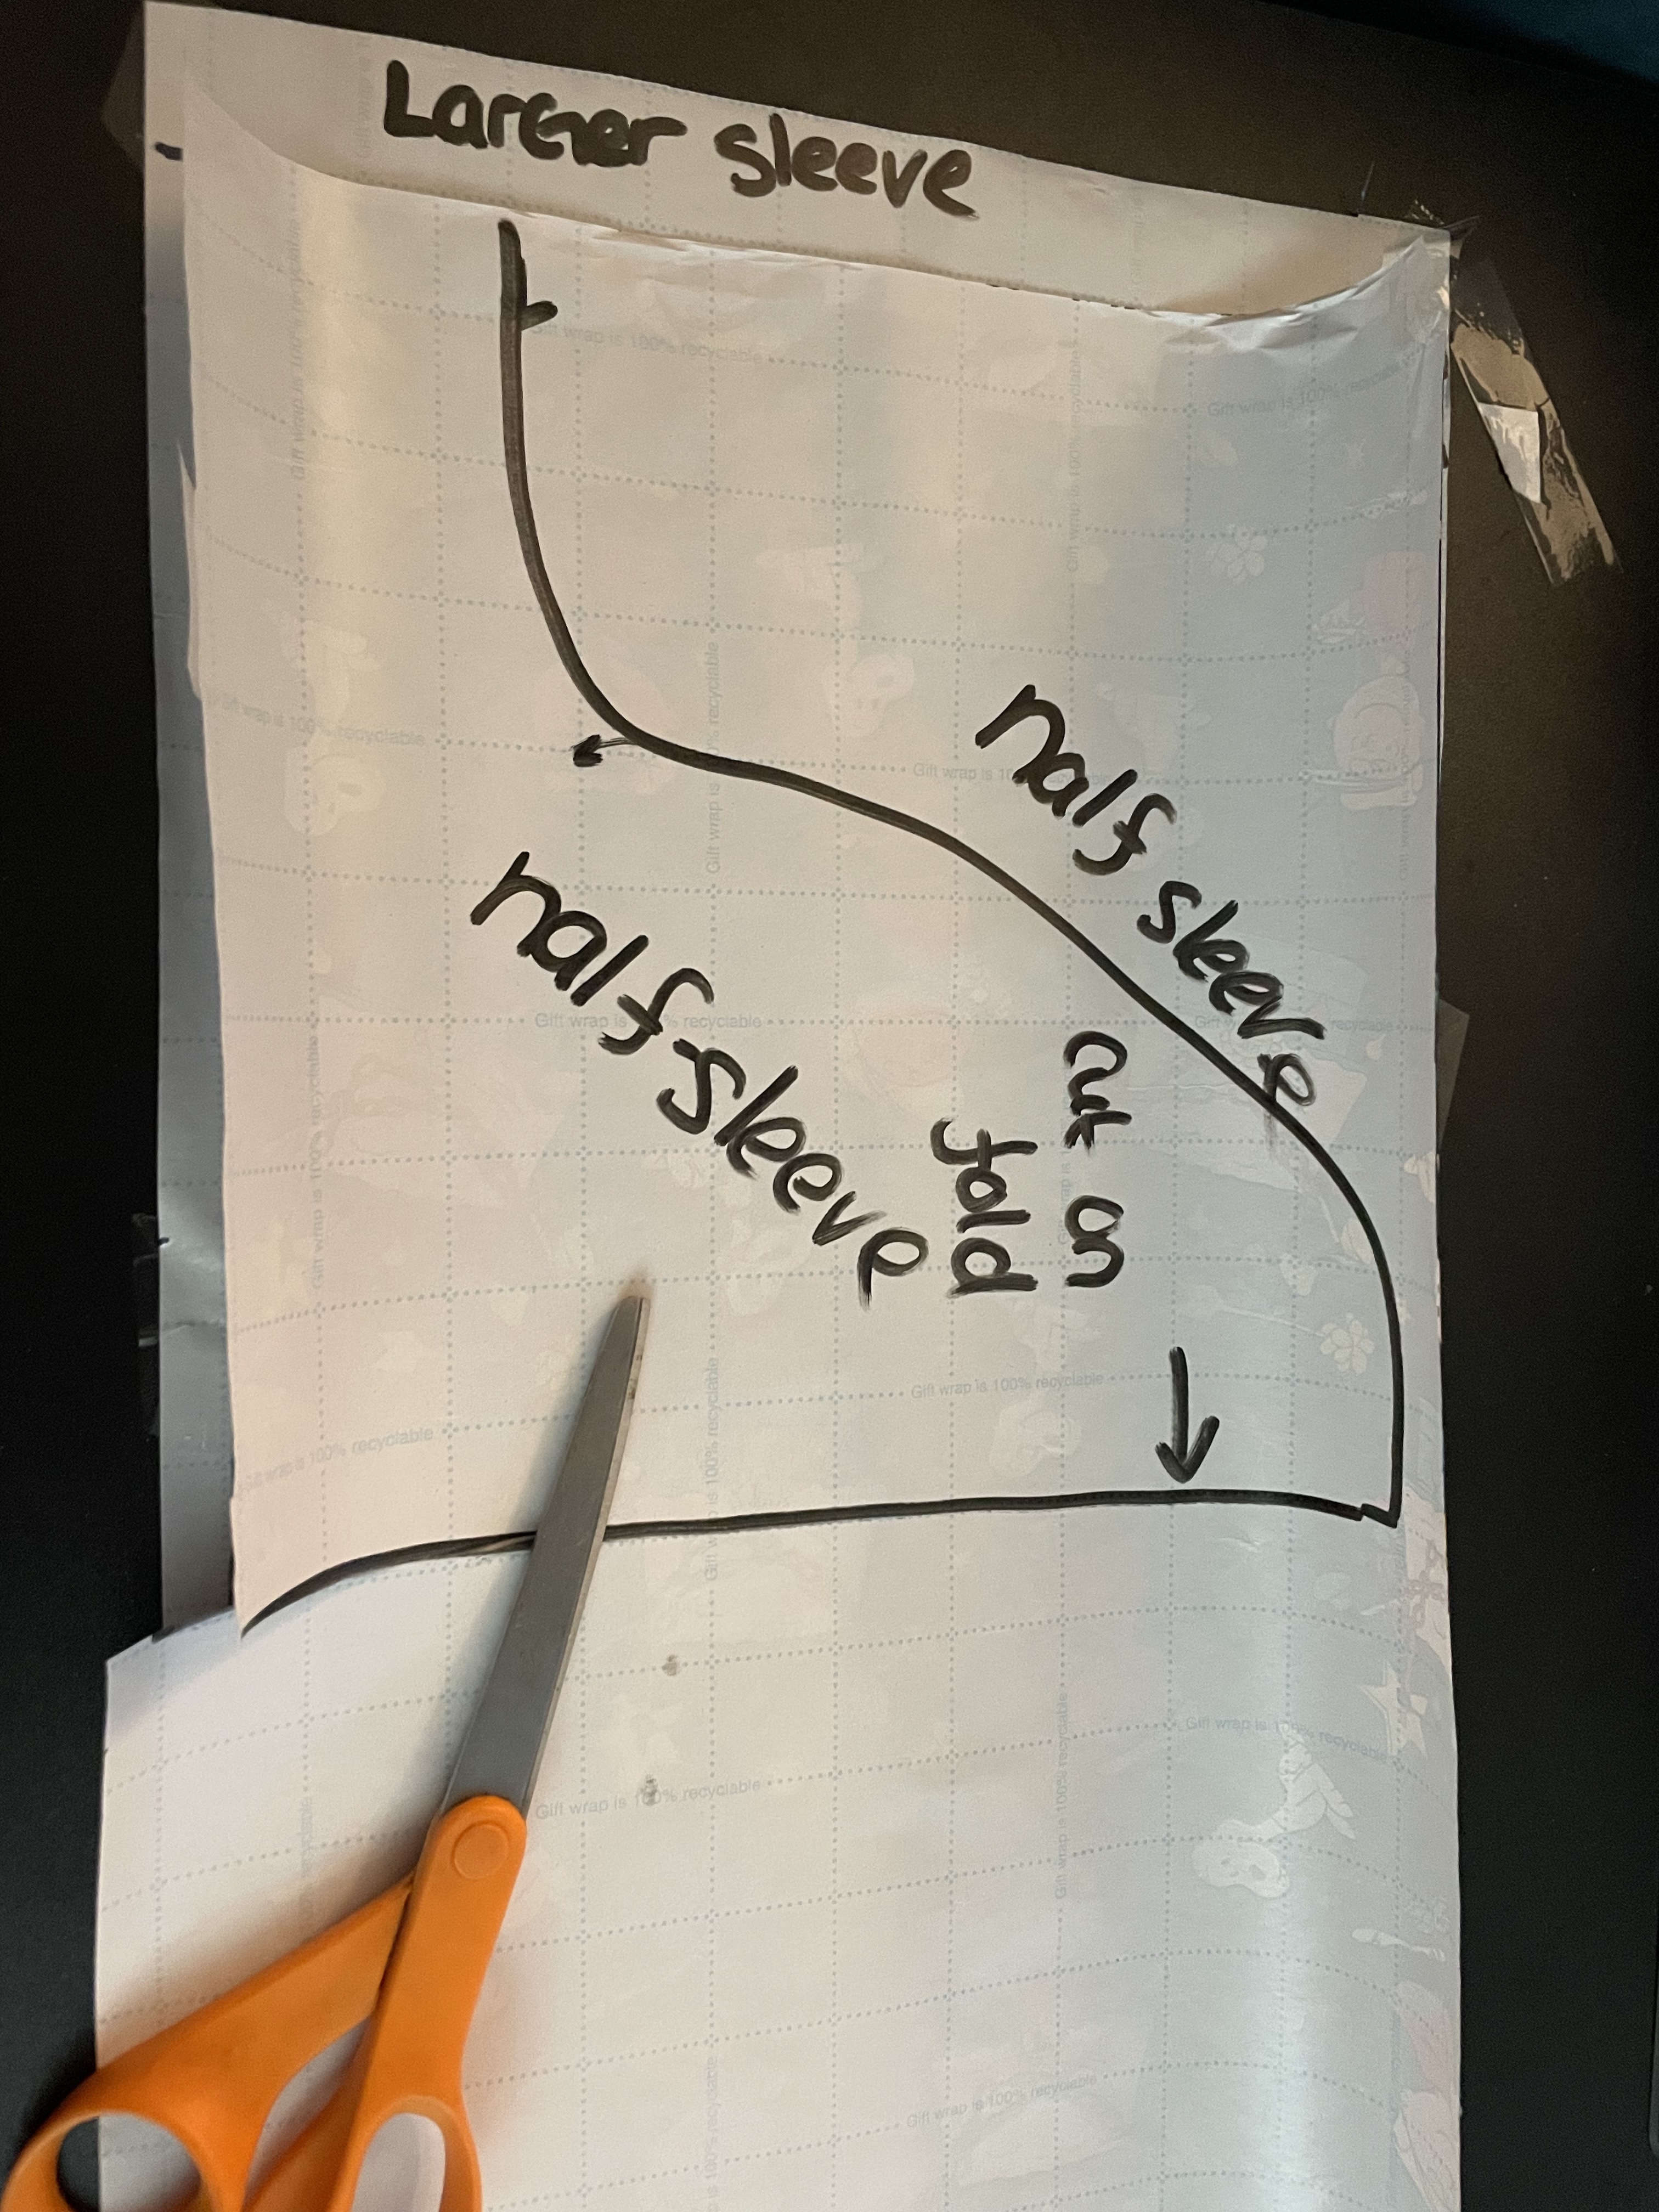
I hand stitched a pair of engageantes for my 18th century gowns! Better yet, I upcycled a lace shirt that I snagged at Goodwill to make it. I have enough left over to make a lace tucker, and I believe just enough after that to make a lace ribbon choker! And I spent maybe $2 on that shirt!
I haven’t photographed them finished with the complete ensemble yet, but here are some progress pictures.
I used The American Duchess Guide to 18th Century dressmaking for guidance & the grid pattern.
I still need to edit and narrate my 1920s cocoon robe video and post it here and on my Instagram reels for you guys to watch. And then of course make a blog post for that detailing the process. Which wasn’t hard at all actually!
So I am going to try to get my measurements and draft out a scaled down pattern to make an Edwardian walking skirt before I go to bed. Happy costuming!
One of my goals for the new year was to actually start a blog for my costuming, along with my family’s youtube channel. So here we are! And I apologize for all of the sewing puns that you will encounter, but come on! It’s SEW EASY! (I crack myself up)
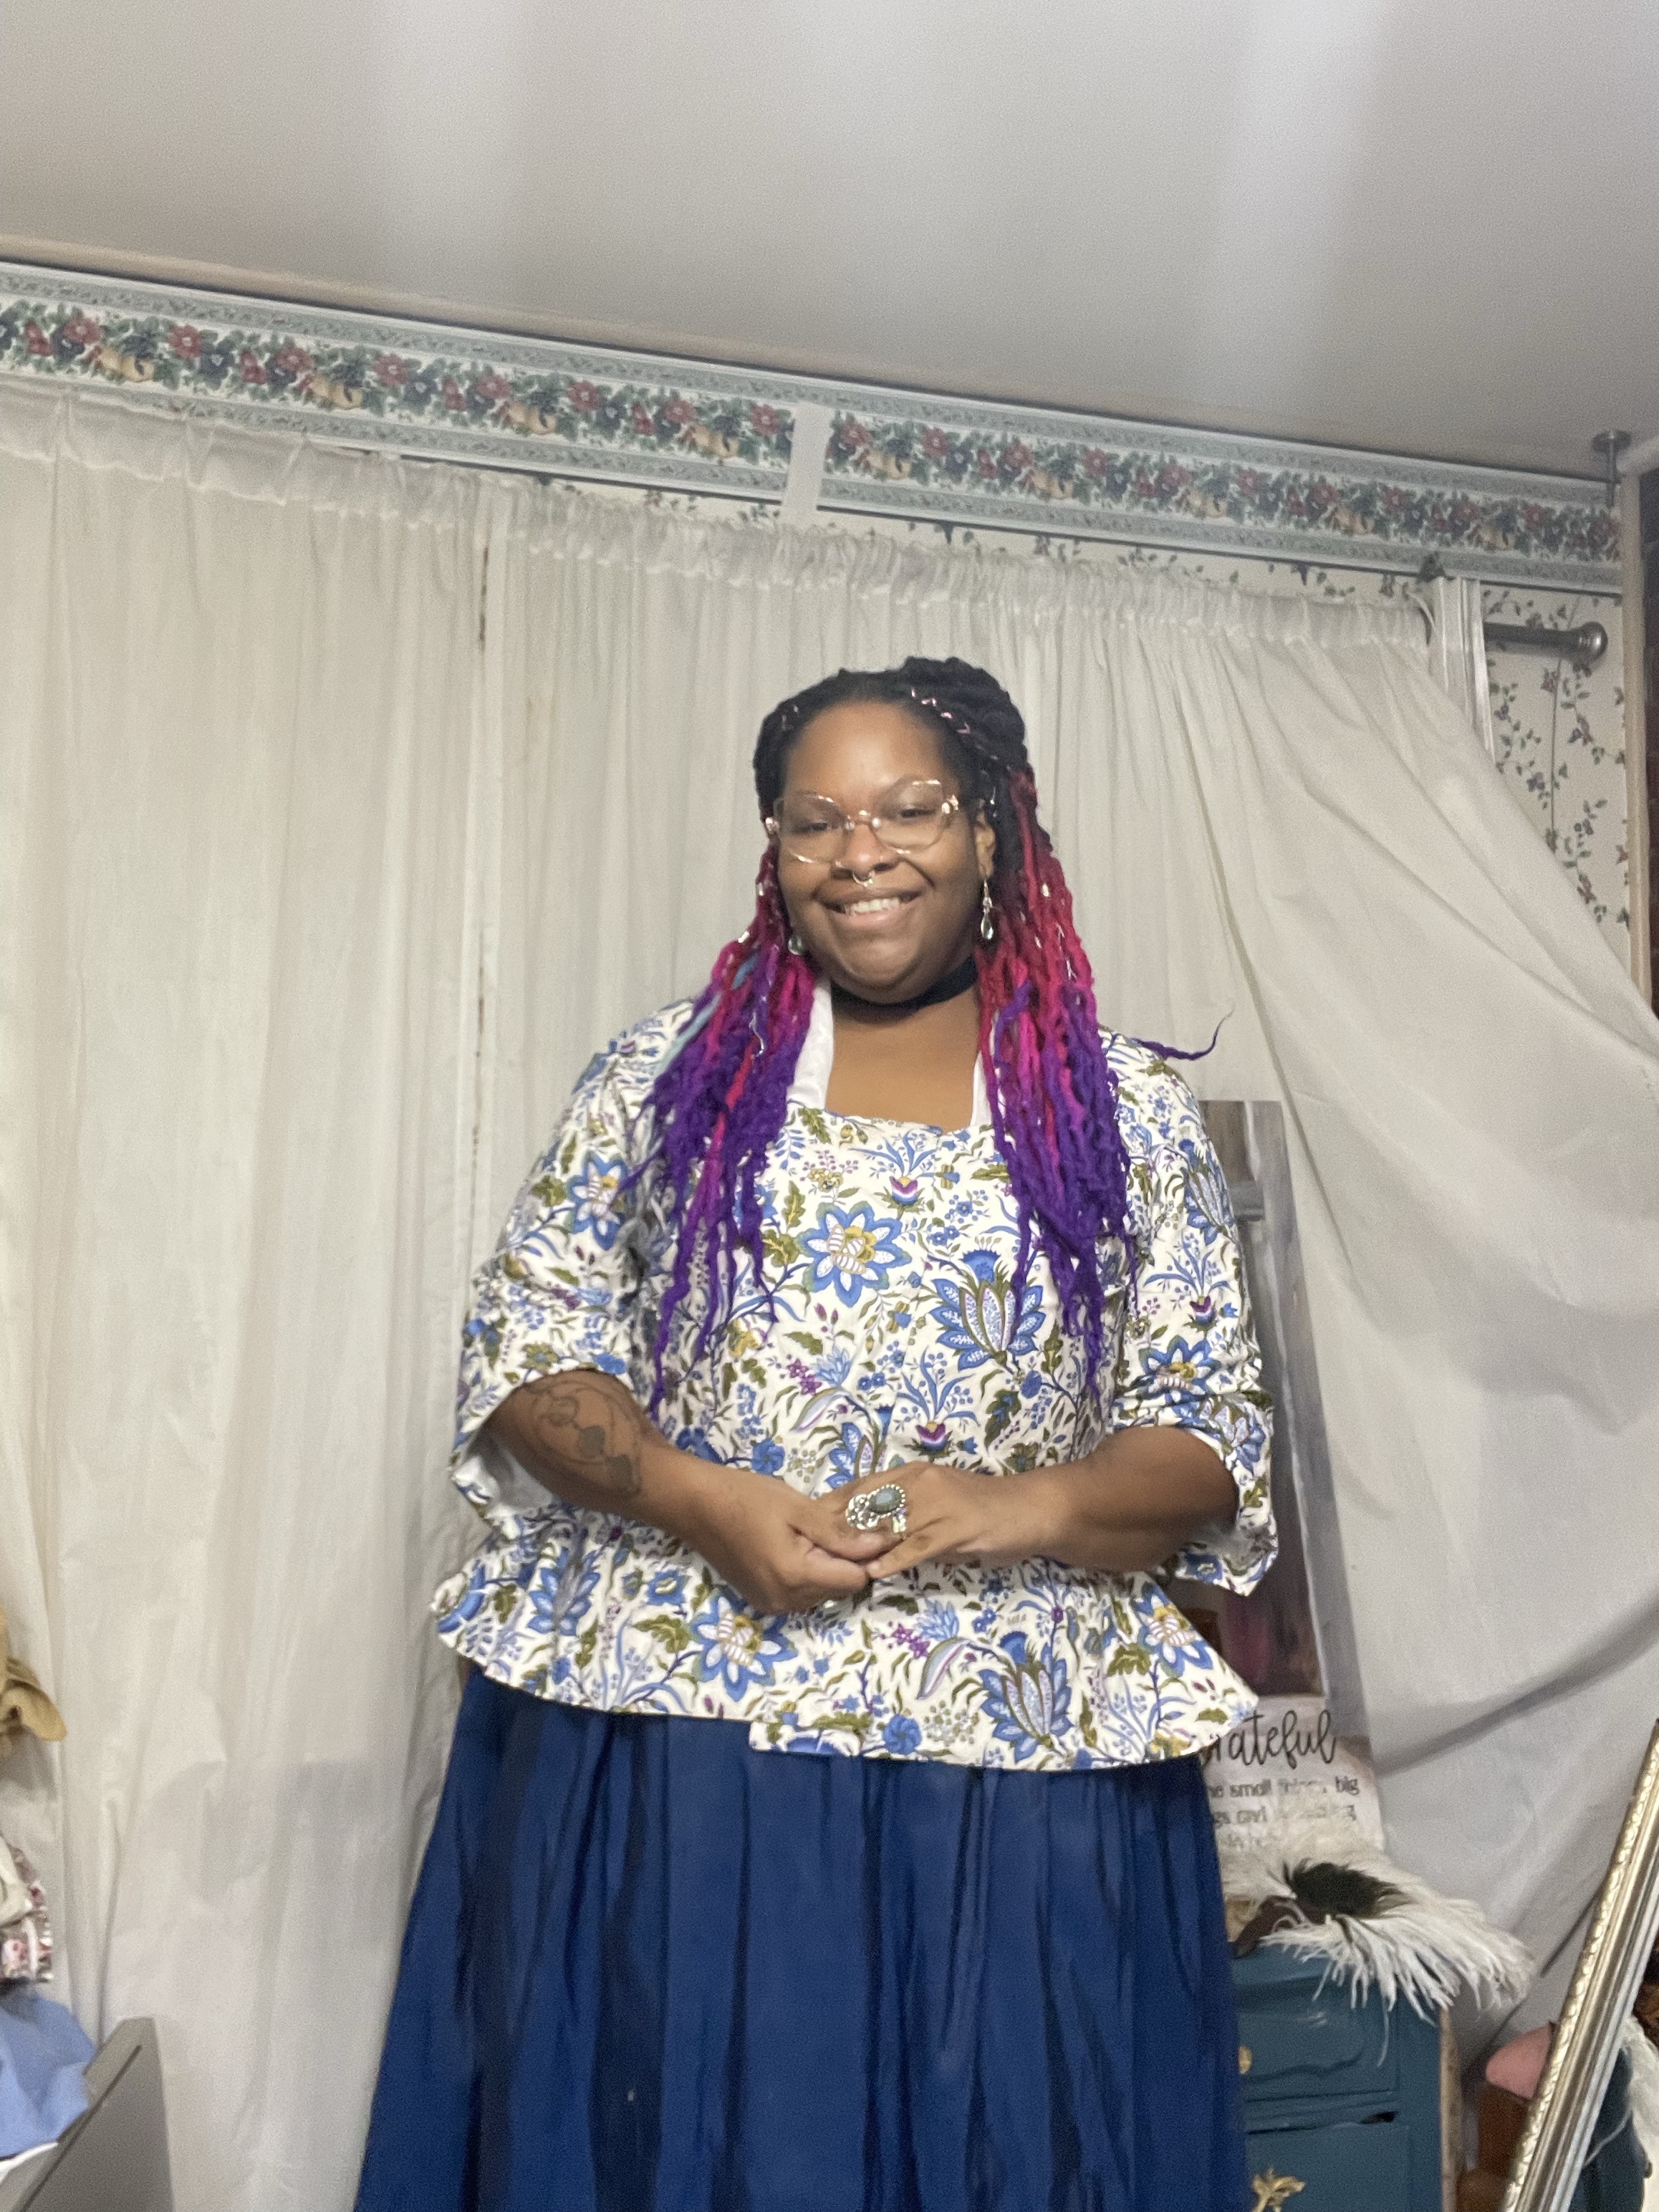
I haven’t started my official list for the projects that I want to start on this year, but a lot of it will involve the 1920’s, regency, and 18th century. I especially need to make pieces for my daughter Charlotte, who is now 10 and grows like a weed. However, January will more than likely be dedicated to 1920’s projects. I have been obsessed with The Frankie Drake Mysteries and Miss Fishers Murder Mysteries as of late.
Additionally, I think this was finally be the year in which I do my costuming challenge! For the entire month of February I plan to dress in my historical or vintage clothing. I have clothing ranging from the Norse period (which is quite comfy and warm), all the way up to the 1950s. It’s too early for my ADHD brain to plan whether I am going to do set days of the week for a specific style, or just randomly what I feel like when I wake up in the morning. This also means that I do need to whip up a couple of more undergarments.
But other than that, welcome to my blog! I’ll be updating and creating pages and such as time goes on, but I *needed( to get this blog published today or it would have never gotten done (yay ADHD problems!).
Other than that, it’s time to cook dinner. Catch yall later!