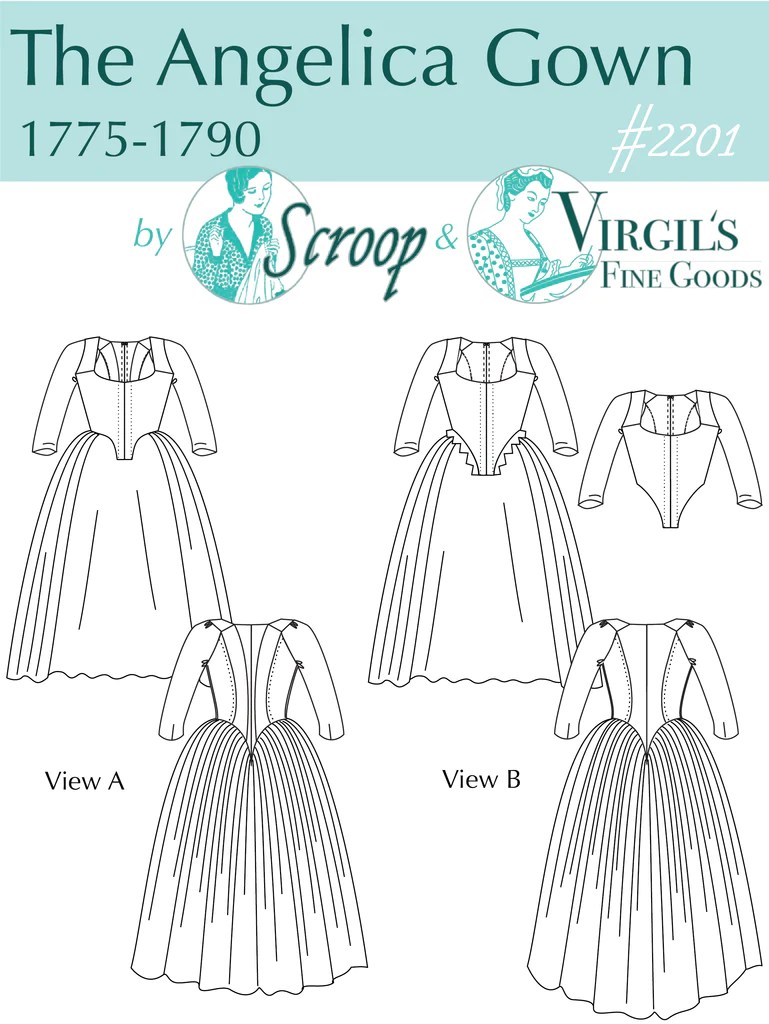
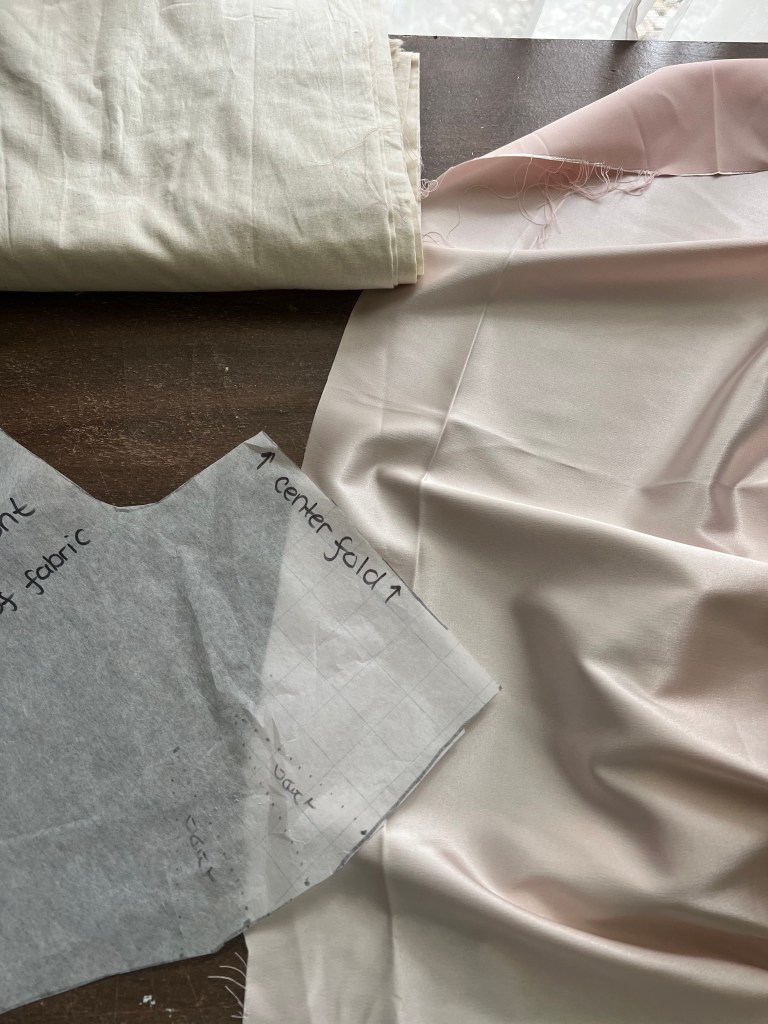
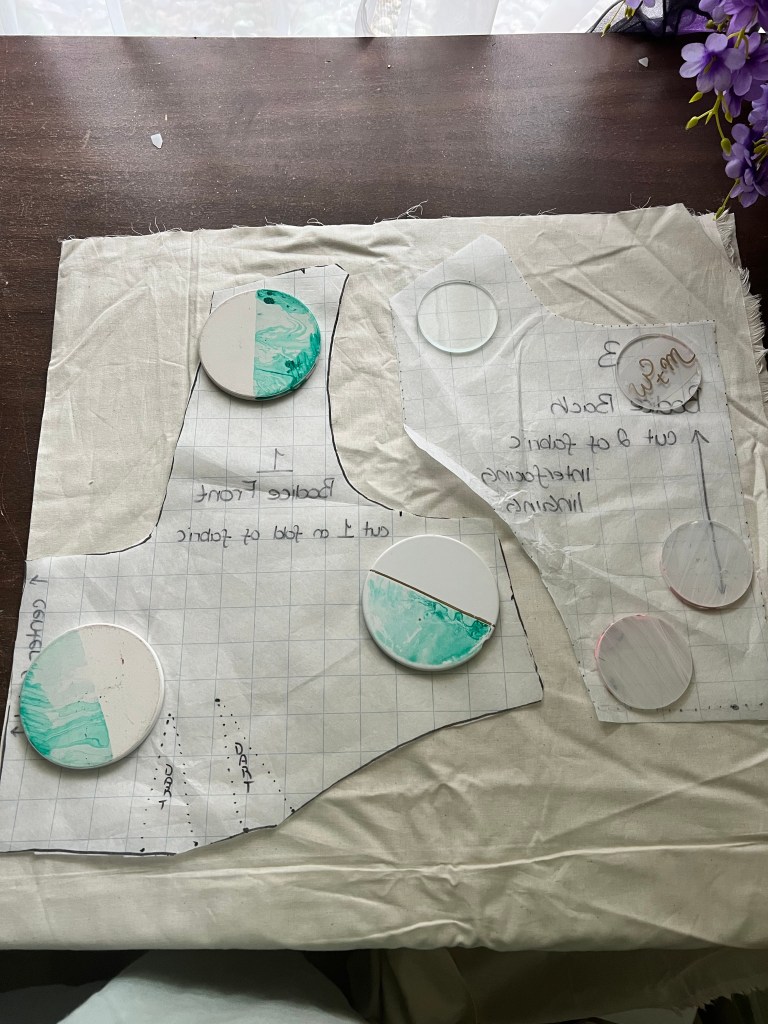
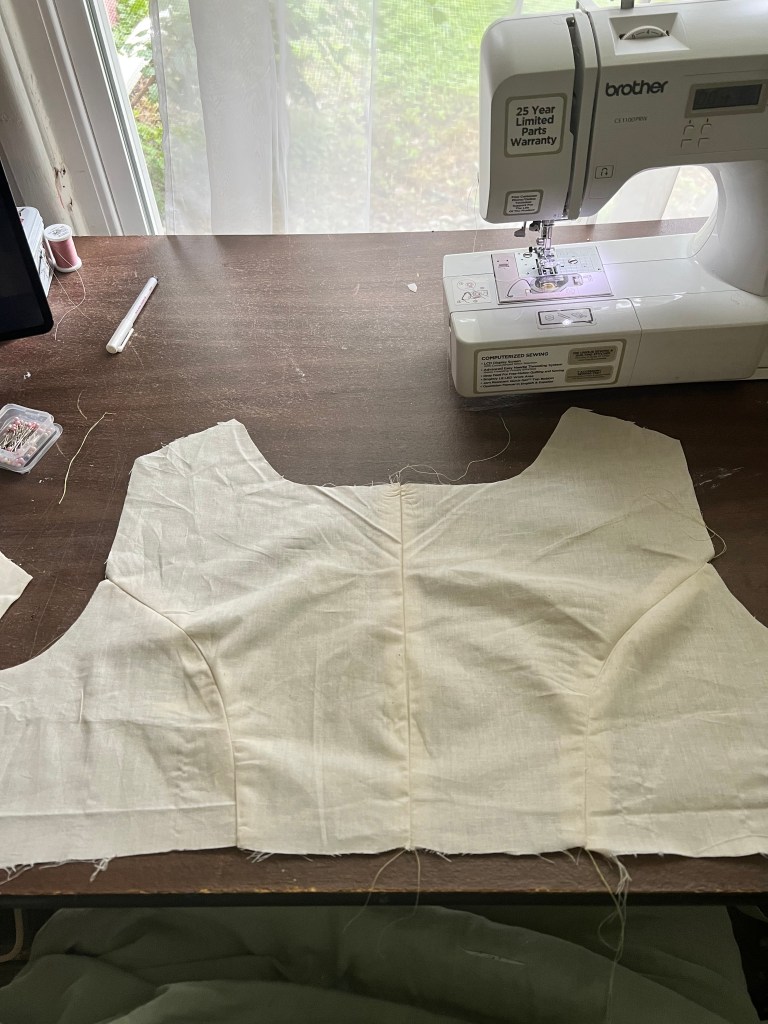
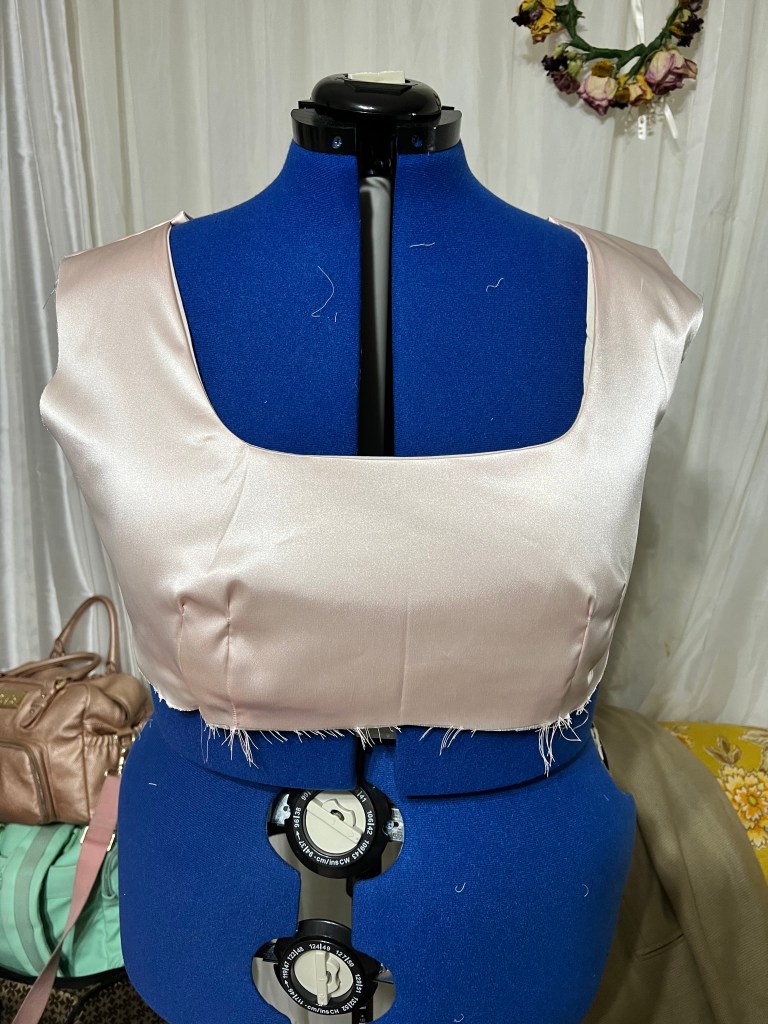
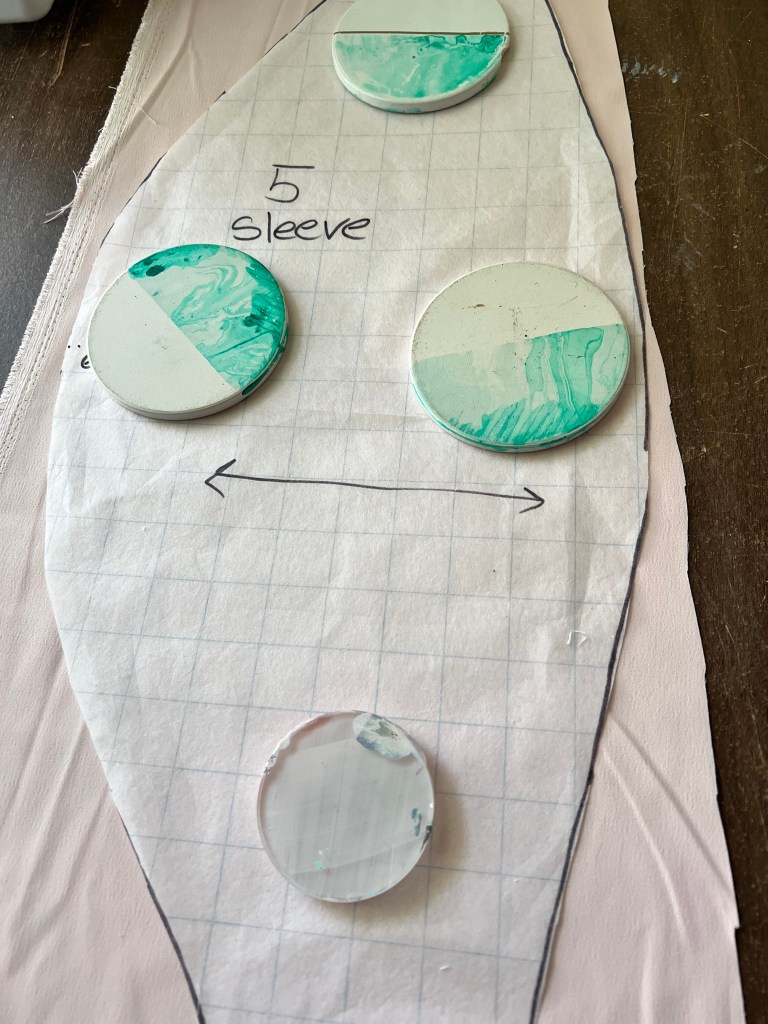
What can I say about this gown? For one, it’s the first actual historical pattern that I have ever worked on, and if you know me, you know that patterns and I never work out. Secondly, this thing has different techniques that I have never heard off PLUS there’s a ton of hand sewing.
So I started the mock up for this gown by Scroops Patterns and Virgil’s Fine Goods two weeks ago. It is being made out of a honey colored linen with a white Muslim lining for the bodice. Haven’t quite decided on the color of the petticoat yet, but I’m thinking of a black one since I kind of need one anyway, and maybe one with a gorgeous African print.
I will admit, the beginning of this project had me STRESSED, but it’s nice to see everything starting to come together. More handstitching on the bodice before I move onto the skirts!
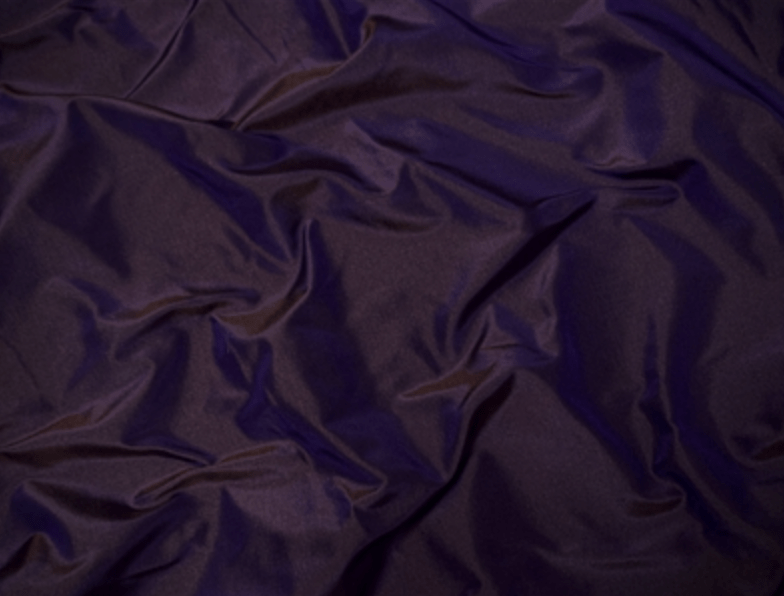
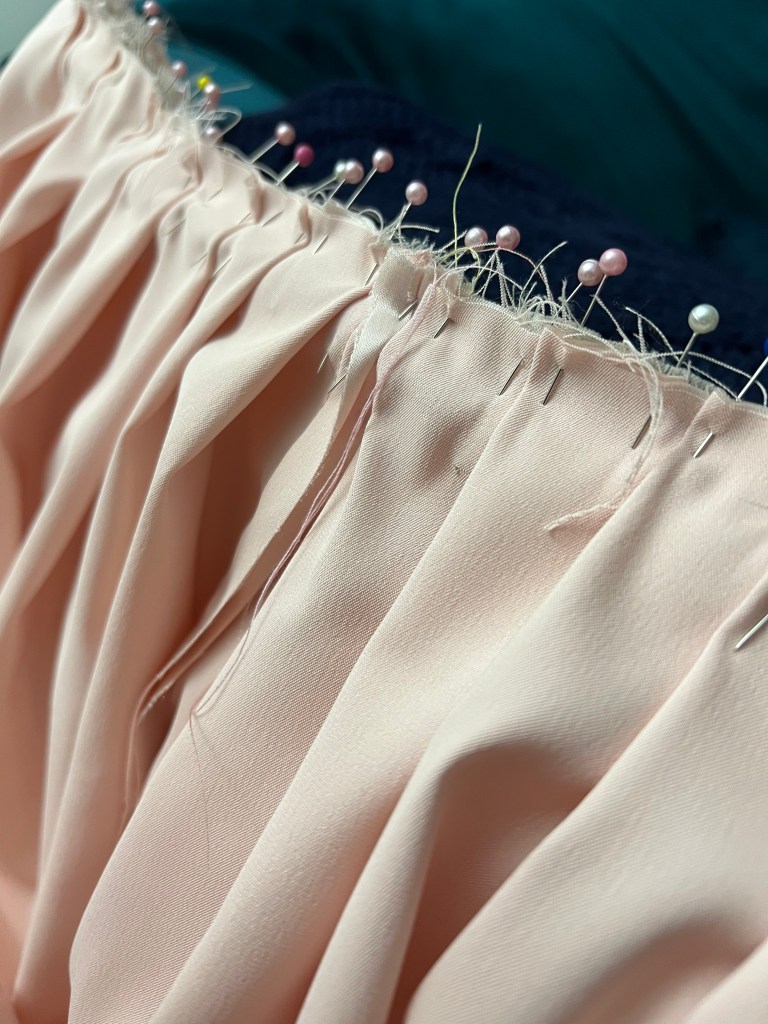
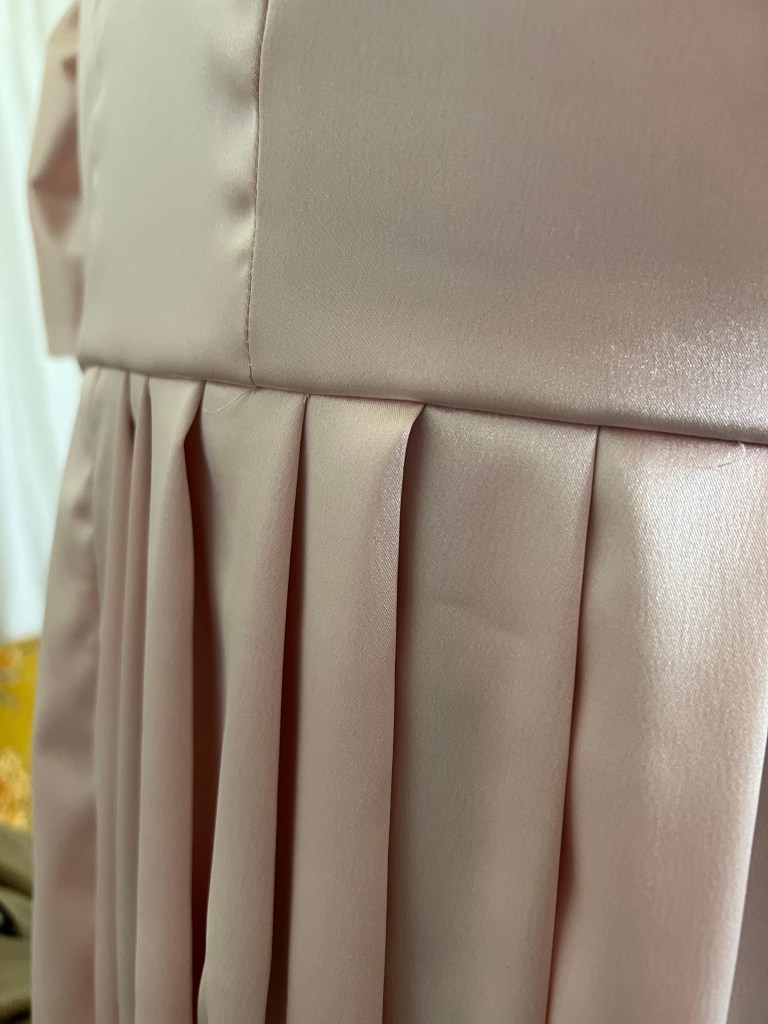
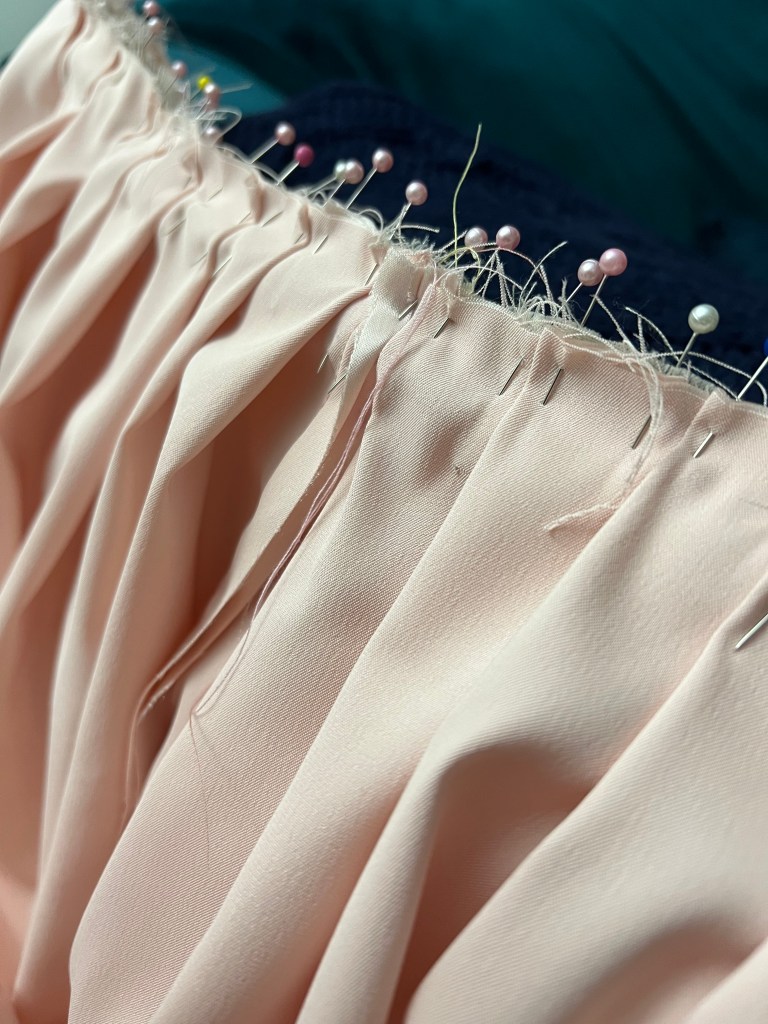
So now with the pleating on the skirts done, I need to baste them down to keep them in place, and then comes the exciting part aka stressful part: attaching the bodice to the skirts! I am so so nervous to do this. But I need to get it done, because I have to turn around and do this all over again with the main fabric. Let me show you! It’s called Bruja by The Silk Baron and it is seriously gorgeous! Perfect for my spooky themed costume meet up coming up in November (let’s hope I can get it done before then though!)
As far as the petticoat, I’m going to do with a simple black one so it can go with the mock up version and real version. May add some decorative ruffle trim, we shall see!
Other than that, I have to get the monthly rewards (wax sealed letters for my patrons done this weekend, along with a wedding tomorrow. Let’s hope the rain from this storm holds off so my couple can get some gorgeous sunset images.
So that’s it for now. Wish me luck in the finishing of this gown!
I did it yall! After a long time of wanting to make my own chemise a la reine, I finally did it! Well, this is not my first one. My husband had one made for me in white as a Mothers Day gift like two years ago. Since one of my friends is doing a spooky/dark themed costumed meetup in November, right after Halloween, I definitely wanted a black one.
So to start with, I had to decide whether I wanted to do it from a pattern or from scratch. I headed to Instagram with a poll, and a majority of people suggested the Laughing Moon Chemise A La Reine Pattern. But then others suggested that it wouldn’t be too terribly hard being that at the base of it, it is just rectangular panels with straps and sleeves, so my chaotic goblin sewing brain decided to give that a try.
First, the fabric!!!! I knew that I wanted it black, but didn’t know exactly which fabric to choose. Apparently cotton voile is popular, but on a random trip to a JoAnn fabrics out of town I went the Linen Look Fabric Solid from JoAnn (the fabric content is 85% viscose and 15% linen, and drapes like a dream).
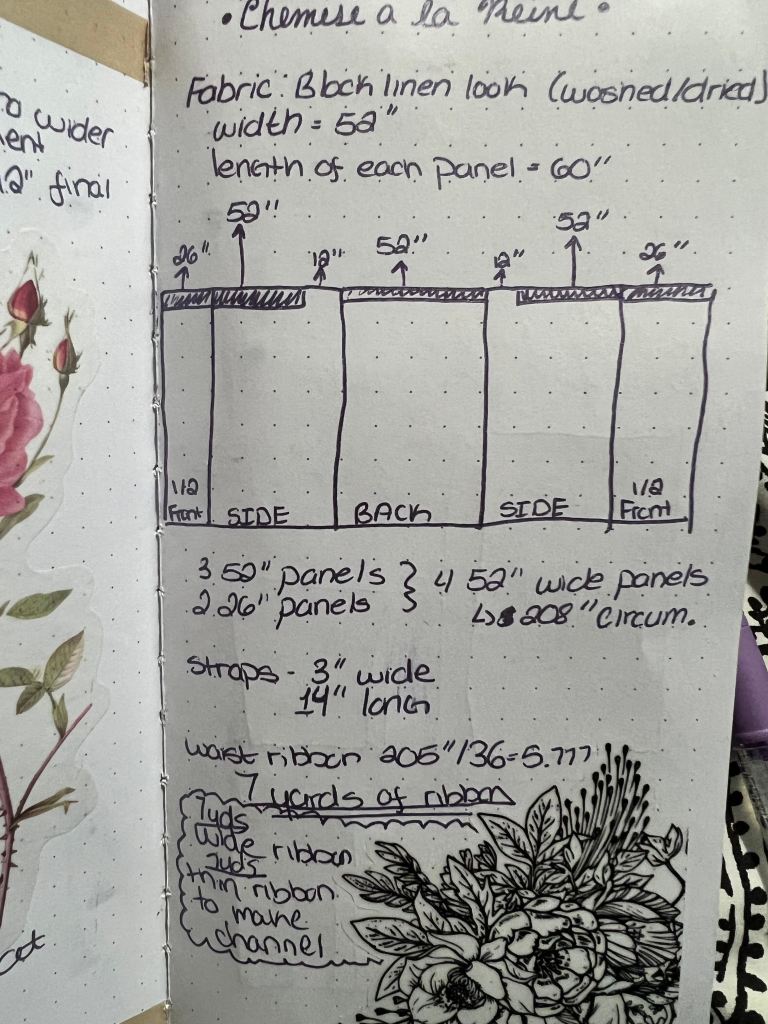
Let’s get in how I went about construction. After doing a lot of online searching, and getting input from friends, I came across the blog post about a simple chemise a la reine from Fresh Frippery’s blog, and decided to go with that. She used 3 panels of 55″ fabric (one back, and two sides). Since I am larger than her and wanted a lot of floor, I went with four panels of 52″ fabric. One back, two sides, and the third panel was cut in half length wise and each one added to the sides, like so:
After sewing the panels together, I then sewed a channel for the ribbon along the top. The squiqly bits shown are where the ribbon was incased, and be sure to leave a 12″ opening (do not put ribbon in the casing) on either side of the back panel for the arms. Then you run the ribbon through each of the channels, gather to high heaven, and sew down at the back two anchor points, and the two side anchor points of the channels. For the front, you don’t achor the ribbon down, as you will use those two ribbons to tie the front of the gown closed. And being that there is a lot of gathered fabric, it closes beautifully once done.
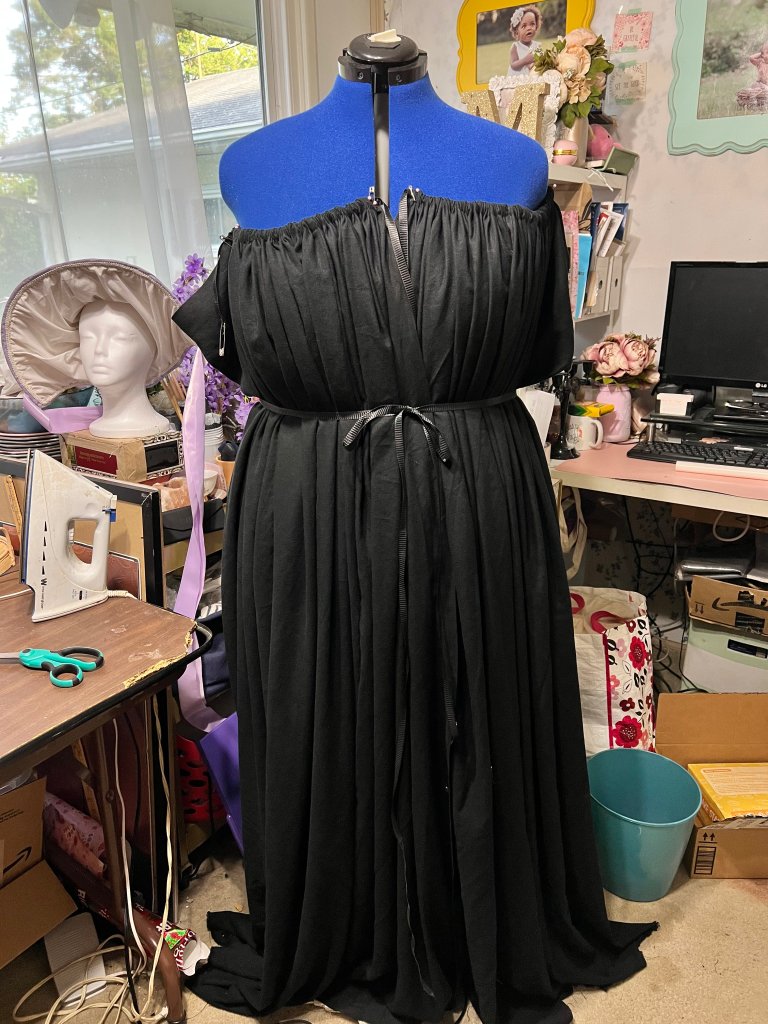
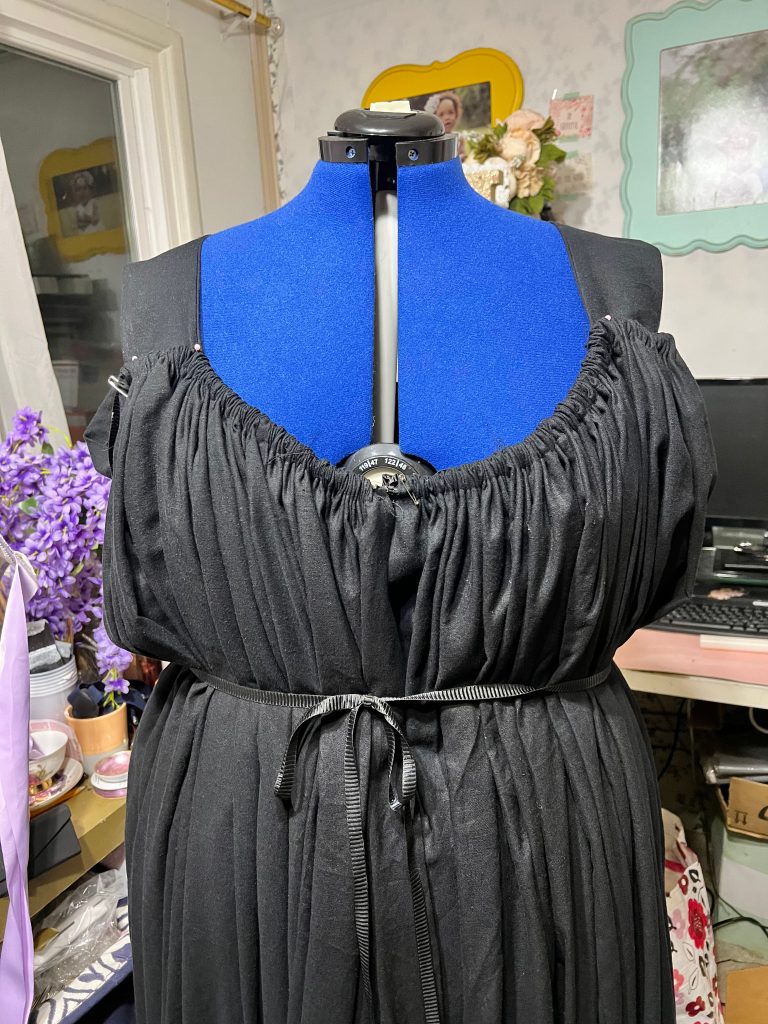
This is what it looks like with everything gathered, those two hanging bits on the sides are where the arms go.
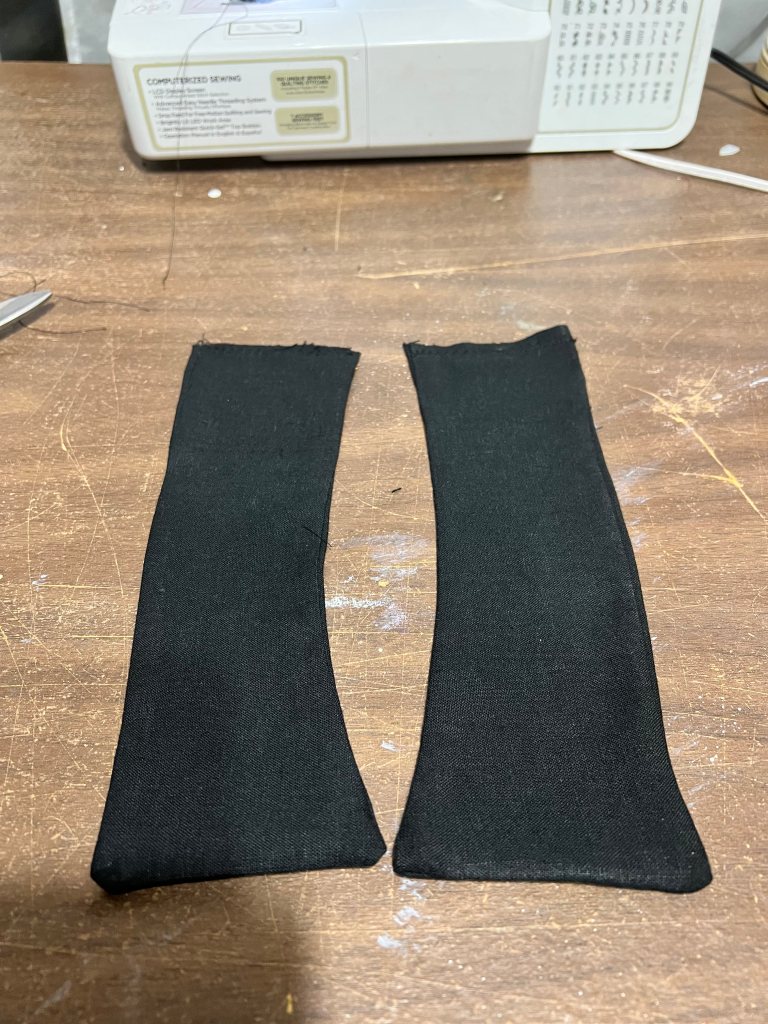
I found that I had to gather the back A LOT for it to not hang, since the weight of the fabric makes it want to drape down naturally. So again, lots and lots of gathering. After gathering and placing on the dress form where it would ideally fall on me, I made the straps. Now these were straightforward, two straps that ended up being about 10 inches in length and three inches in width, with a slightly curved edge at one side. At first, I thought that these would be two short and then I made a second set that was slightly longer, but remember that drape I talked about? I ended up going with the shorter straps.
Now at this point, I flipped the gown inside out and put it back on the dressform, then took a ribbon (as you can see) to tie where the waist band would be. I then marked where that would go. But during the final fitting, I decided that I wouldn’t sew in a channel for a waistband because tying it with the wide ribbon was enough to keep it in place.
Moving forward to my favorite part: THE SLEEVES! I’m kidding! If you know me,you know I hate sleeves and they make me cry. My last two regency gowns, my friend Renee had to come over to help me, because my brain literally locks up when I think about doing sleeves. So of course, I wanted to go with something super simple for me to make. Now, with the chemise a la reine, there are so many paintings of this dress in various styles: fitted sleeves, fitted three quarter sleeves, poofy sleeves, etc. So I decided to go with a poof sleeve with one simple ruffle at the elbow. Definitely not hard. Cue, the panic.
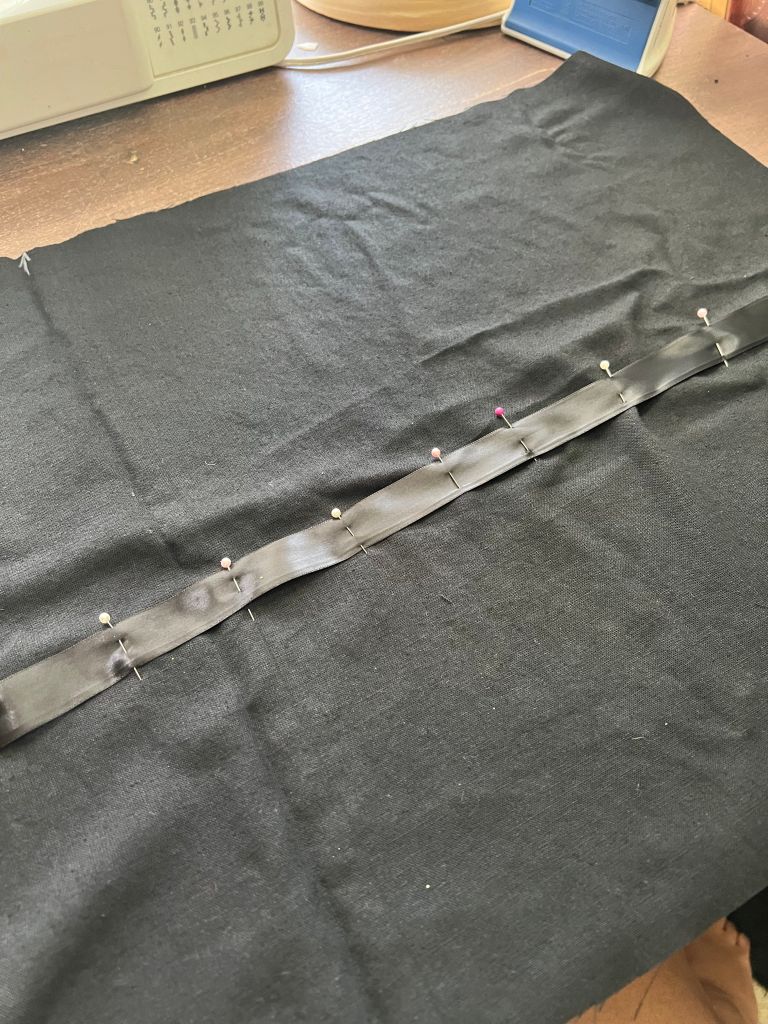
Ribbn casing about to be sewn.
So my good friend Shasta (ScifiCheerGirl on IG) came over to help me! So what she did was make a simple rectangle, and draped it from my shoulders to where the ruffle was. I then sewed a ribbon for the casing on the inside, and finished the top and the bottom of the sleeve. We had to do a little gather along the top of the sleeve to fit it, we then set it, and it worked!
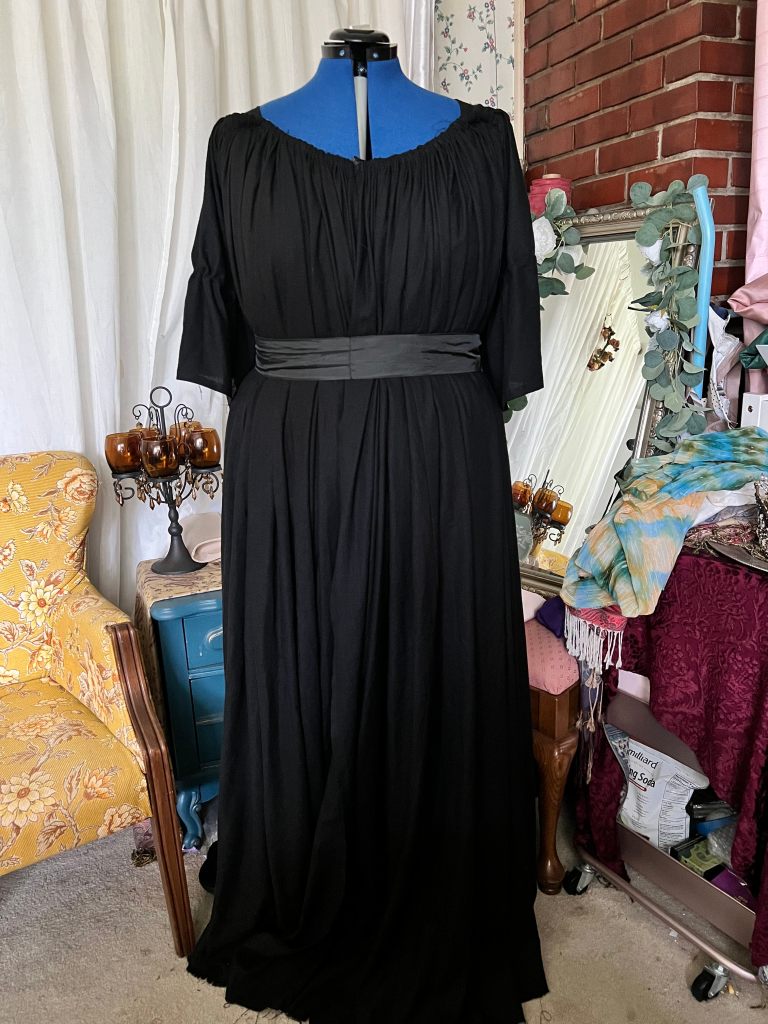
And with all that said, here is the semi-final product! I just got in a wide, deep-purple ribbon for the waist, and of course I still have to hem this beast (205″ of hemming to do!). Introducing…her:
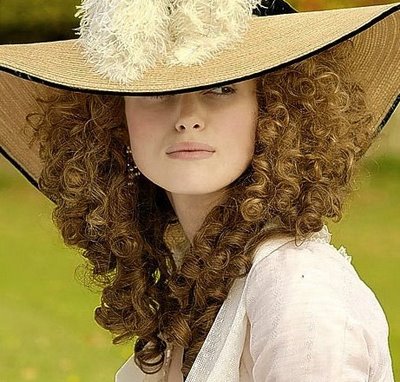
Now all I need is an epic hat like this one!
Now all in all, it took roughly 5-6 hours of work. I would have probably been able to do it all in one day, but again…sleeves, so it took two days. Also, the robe makes for a FANTASTIC vintage looking night robe to flounce around the house in with pretty undergarments.
If you know me, you know that I love to wear a good open cardigan or wrap with a lot of my ensembles. Especially my vintage ensembles. So when I saw this fabric at JoAnn Fabrics, I KNEW it had to come home with me!
2 yards of a lovely buronon cotton velvet in a floral design
So with this fabric, I knew that I could whip up a little open front cardigan within an hour, and that’s what I set to do yesterday! Here is the tutorial from my TikTok Page:
I hope its easy to follow along with, and if you do make your own, I would love to see it! In other news, I woke up today to a new patron supporting my account, so yay for that! Any and all supports means the world, so what does your support go to financially? Well first, remember that this is all a hobby, and nobody is obliged to support. But your support goes into me deep diving into the historical costuming community of the periods that I am obsessed with, it goes to learning materials and patterns, fabrics, and offsets the cost from taking out of my home budget. Hopefully, it can help with some historical themed trips so I can film lost of content for you. So again, thank you from but bottom of my heart that is literted in fabric remnants and pins.
With all that said, I have get into mom mode and get the house cleaned up with the kids are out of school, get some business stuff sorted away, and then start working a new project! A velvet 1950’s swing dress. Stay tuned!
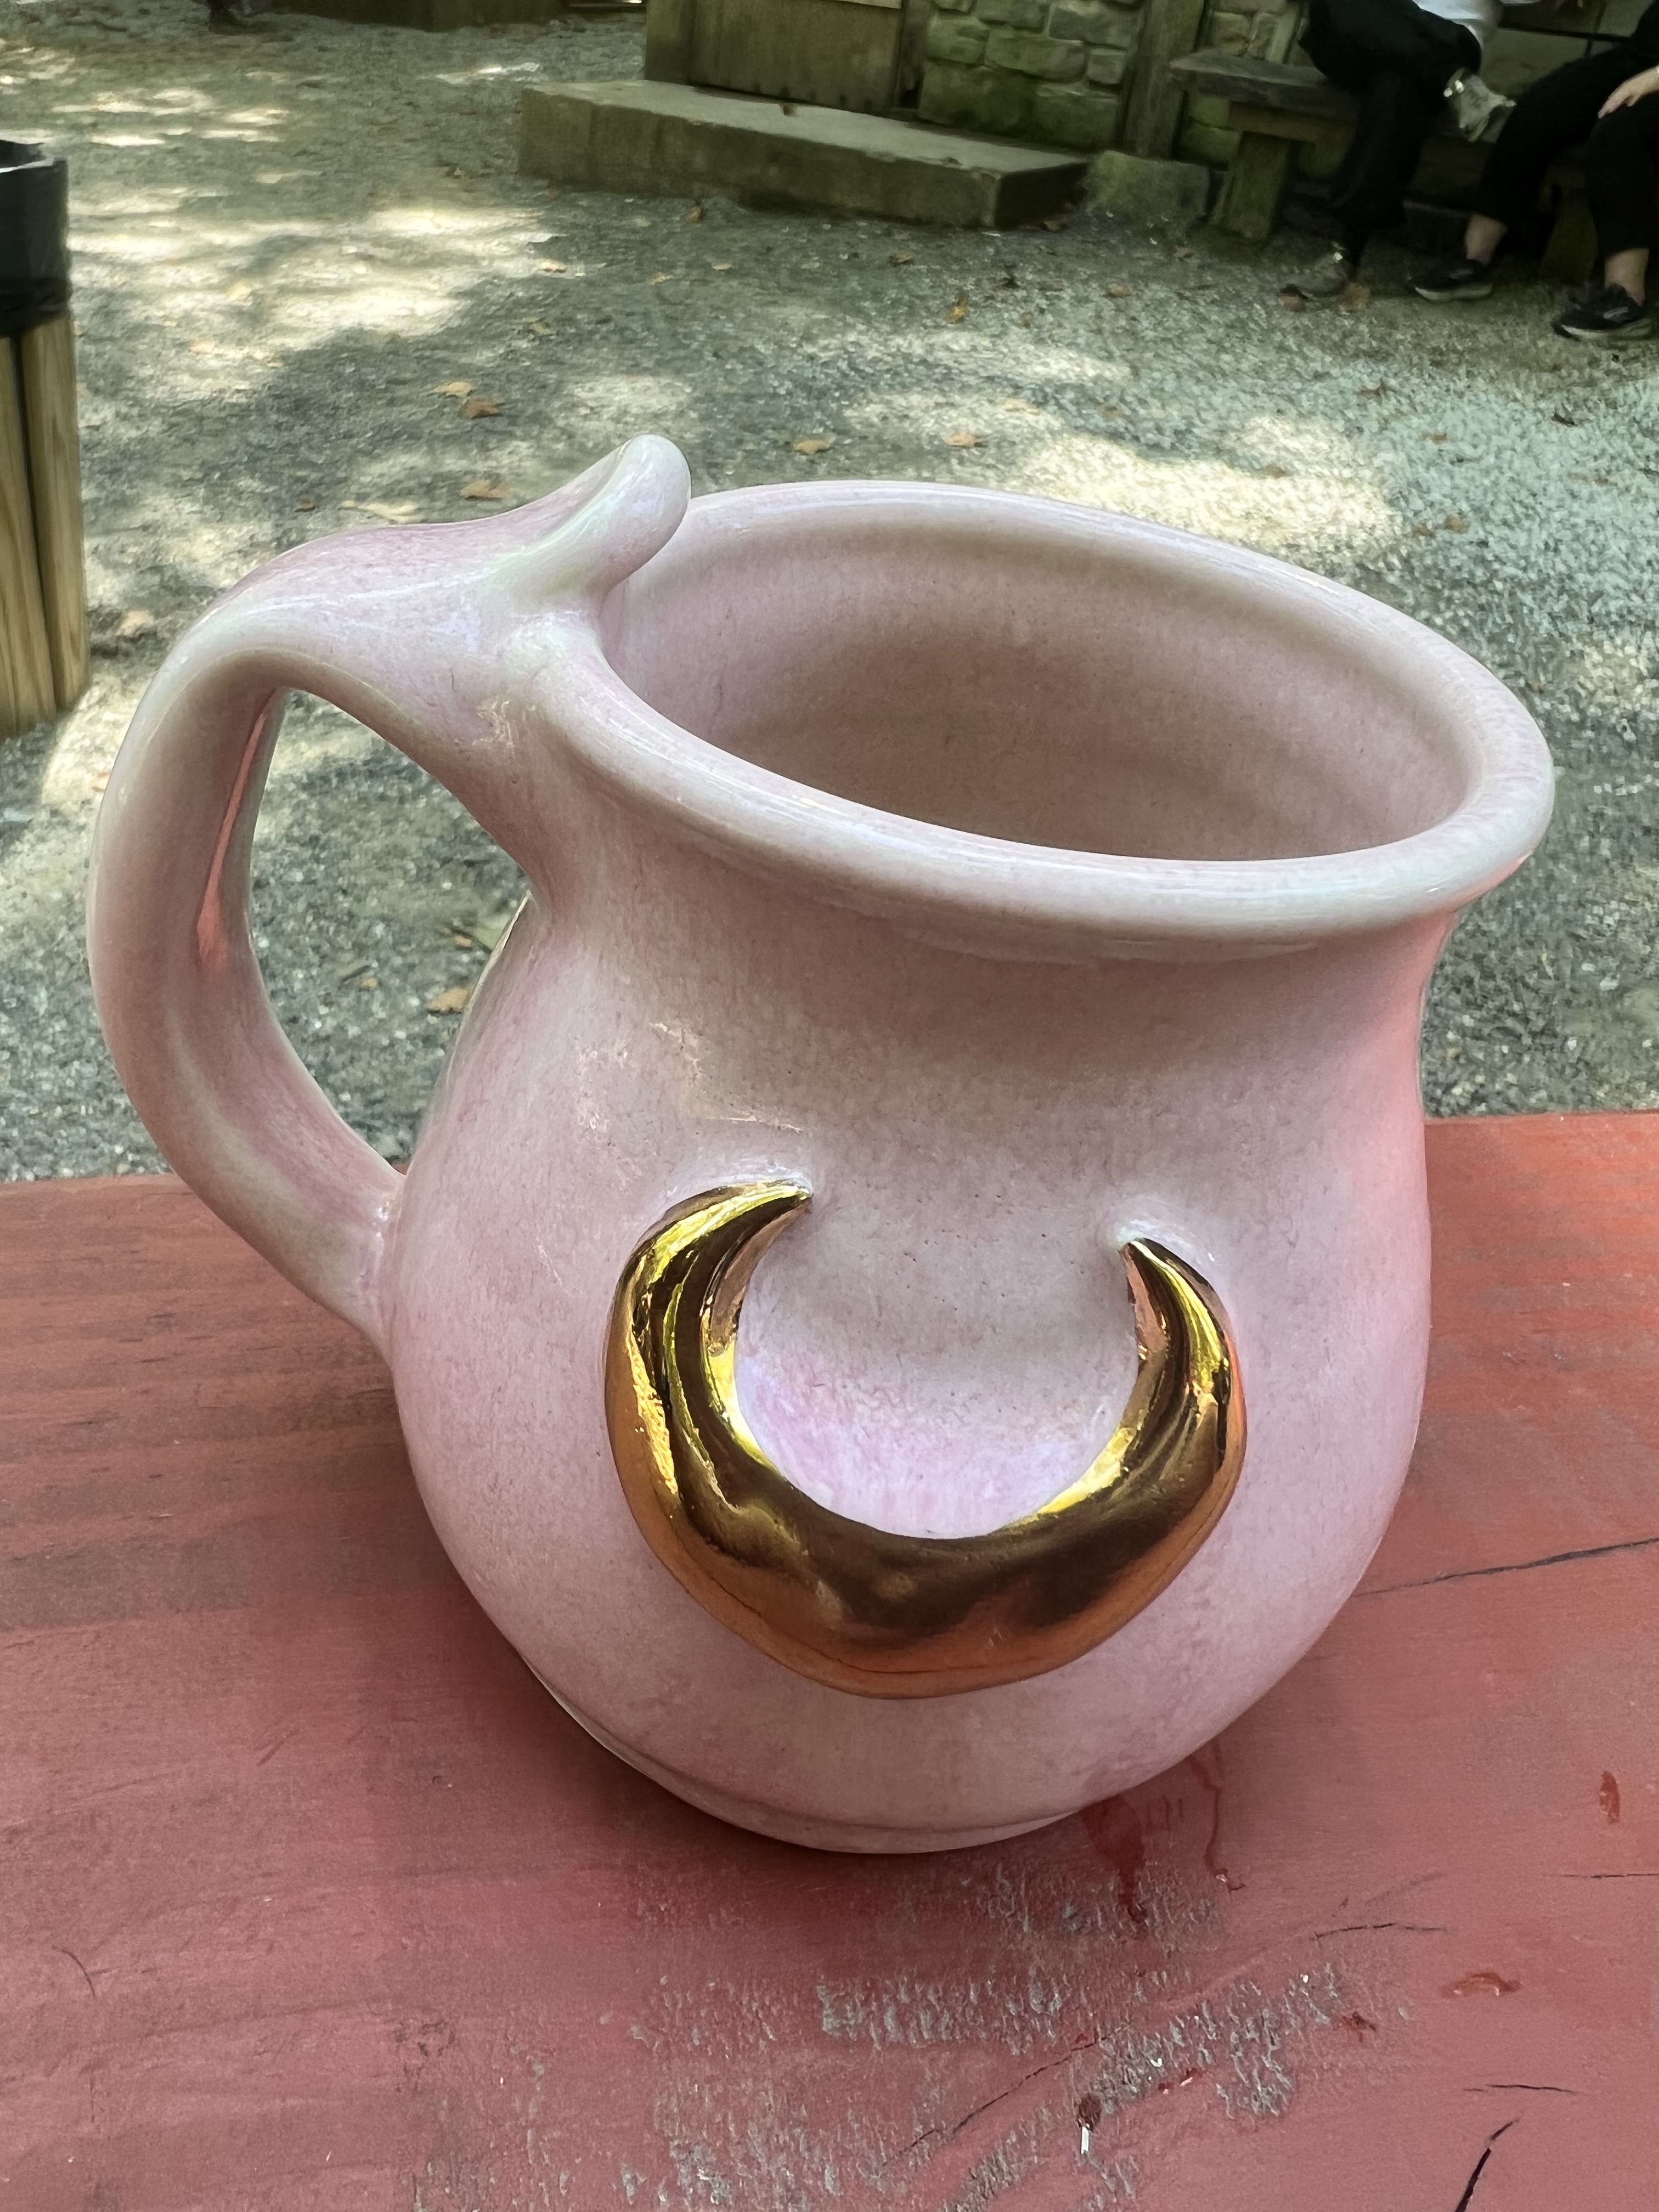
One of the first things I did was head to One Elven pottery to get one of her gorgeous mugs since I forgot mine at home, and within a few short hours of moving within the crowd and having it tied to my side, it broke 😅. I was devastated
we had some yummy food, ran into friends, watched a great rendition of The Little Slippers. And I was even picked to be a participant in a show. In which I immediately panicked when I was told that I would be throwing a shot knife to a man balancing on a ball while he juggles. TALK ABOUT PRESSURE, HUH!!!
We do plan on going again once the weather is a bit cooler, but it was still a fun day. In the meantime, I’m starting another challenge: Vintage October. In which I will wear a vintage ensemble from the 1920s-1950s everyday during the month of October (save for when I’m working or camping). I also have an Amazon wishlist for that to help build up the wardrobe a couple of pieces that can be changed and mixed-matched together: https://a.co/671b5FP So that shall be fun! And no worries, I will still be doing my 28 days of historical dress this February. This time with more Edwardian and 18th century I think!
Today I stopped by the JoAnn Fabrics in Frederick, MD after visiting a friend for her birthday and getting my daughters ears pierced. I fell in love with the zodiac velvet fabric but didn’t get it. I did, however, get some black linen for my upcoming chemise a la reine. I am using the blog post from Fresh Frippery’s blog to make it. Wish me luck!
I’m also in the process of re-launching my Patreon to focus on my historical costuming and such. Some of the tiers will include monthly wax-sealed letters, zoom calls and more. So if you have it in you to contribute, you can do so here.
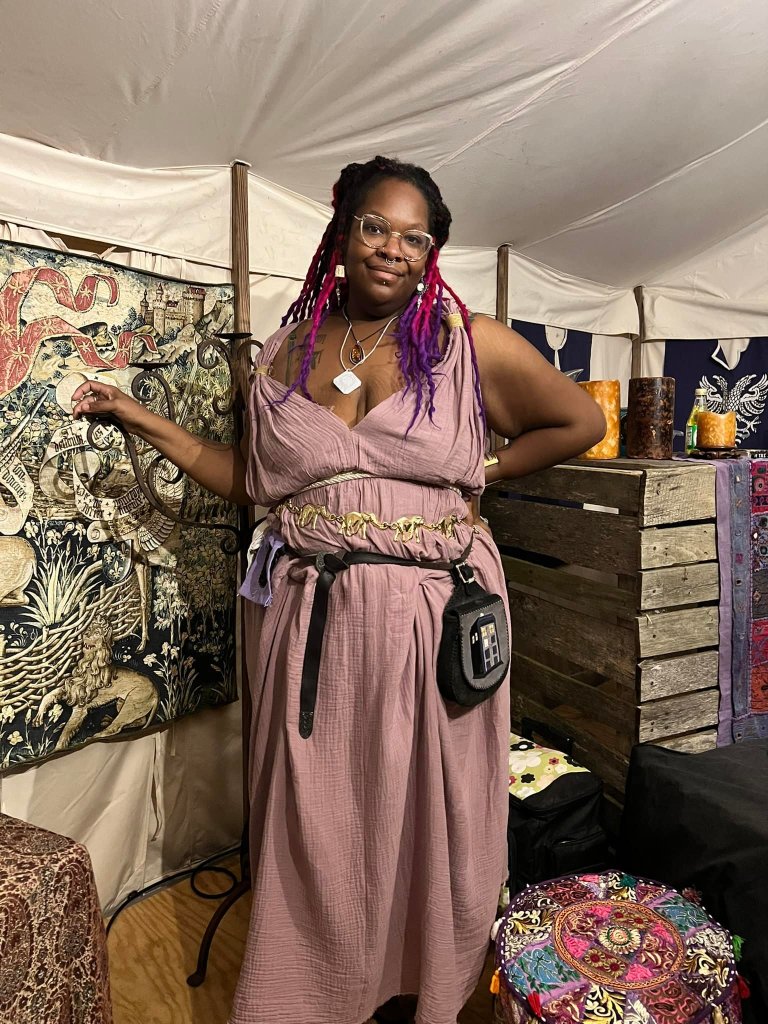
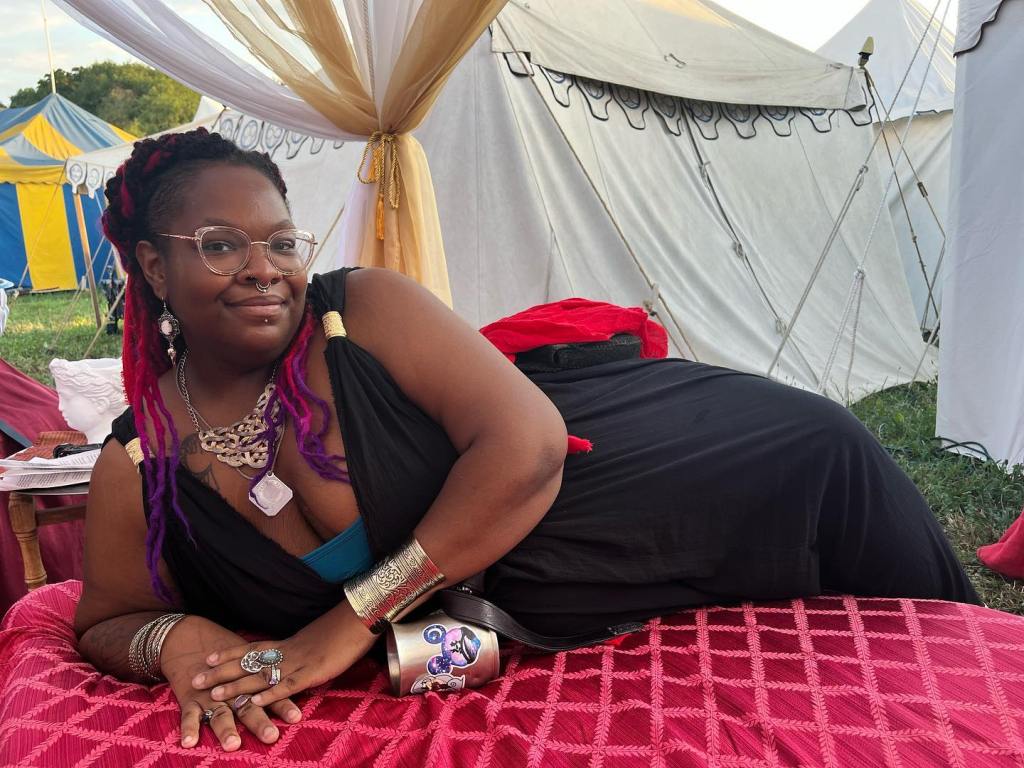
I hope your summer has been a good one everyone! We just got back from Pennsic about a week and a half ago, and I haven’t picked up anything to sew since then. Although, I did fall in love with ancient Roman garb while at Pennsic, and made two new Roman gowns to wear while there, and brought fabric to make more. I brought some cotton gauze, and silk sari’s to make the gowns out of. You can check out a lot of on my Instagram page, but here are a couple of me in said gowns:
Now onto my upcoming projects! In the fall, I have an 18th century picnic in October and a spooky themed costumed meet-up in November, so of course I need two new gowns to attend. I plan on making a black chemise a la reine, and trying my hand at the Angelica Gown by Scroops Patterns
Now for the chemise a la reine, I did a poll on my Instagram asking for pattern recommendations, and I go two answers. The top one being the Laughing Moon chemise a la reine, OR coming in at a close second, it would be to free hand it. Apparently it’s just big rectangles, stragitcally gathered and pinned down, and then add sleeves. I’m going to attempt a free hand mock-up using the instructions from the Chemise A La Reine post from the Fresh Frippery blog.
The second gown I am going to attempt is the Angelica gown. Admittedly, I have been sewing for over 10 years and have made a ton of costumes. But I tend not to use patterns, and take a lot of shortcuts. So besides the two regency gowns that I made a few weeks back, this is going to be a big undertaking for me. Thankfully my friend Shasta said she will help me, since she has already made two of these gowns and was a product tester for the pattern. In keeping with the spooky theme, I feel that I found THE PERFECT fabric from The Silk Baron. It’s a silk taffeta, and the name of the color is Hex. I am in LOVE.
For the chemise a la reine, I think I am going to go with a black cotton voile. For the Angelica gown, I am thinking either linen or possibly faux dupioni or tafetta. What do you think? I anticipate I will be making a lot of mistakes!
So that’s it for now. Besides these two gowns, I have to figure out what we as a family are doing for Halloween. Last year, we went as The Ghostbusters. So we shall see! Stay tuned for the next blog post, which undoubtedly be me saying that I hate this costuming hobby as I attempt the next two gowns
And I am not ready, in no way shape or form. I am absolutely freaking out, much more than I have in previous years. You see, Covid made everyone take a break in 2020, so Pennsic was cancelled. There was an un-official Pennsic like event at the same area last year, but we opted to stay home. Now with the world opening up, still masking, testing, getting vaccinated and boosted, we are heading home after 2 long years. I am so excited , yet so nervous.
First, lets start with the fact that Max outgrew a good 90% off his garb, and Charlotte outgrew 99.9% of hers. So I was left with a challenge. Sew 2 pieces of garb for them a day for Pennsic starting on 7/5 and pushing through. Thankfully I pushed out 4 simple t-tunics for my son on the first day, and that set the pace of everything. It also helped having a list of what I needed to make.
For my son, he needed at least 10 tunics; a mix of classic t-tunics, and roman style tunics; as well as pajamas, shower clothes, and other things. Charlotte needed about t tunics/tunic dresses as well. I used A LOT of linen these past two weeks. And for my Wesley, he needs a long length roman tunic made of a heavier weight linen to keep him warm while I work the KWC Bacchanal Party.
I’ll have a post soon with some images, but in the mean time check out my Instagram and you can see what I have been working on and what I’ve been up to there!
A few weeks ago,I duetted the trailer from Mr. Malcom’s list on tiktok, and said how i was probably going to make a new gown just for the movie. Well, the official account for the film politely requested to see the gown when it was done, so off i went to making a new regency gown.
This go round took my a little under three days. It helped that I already had the pattern pieces cut out from the 5 day regency dress that i did. a large portion of time for prepping for sewing is cutting the pattern pieces/fabric because of my back issues. so it helped with having them already cut out
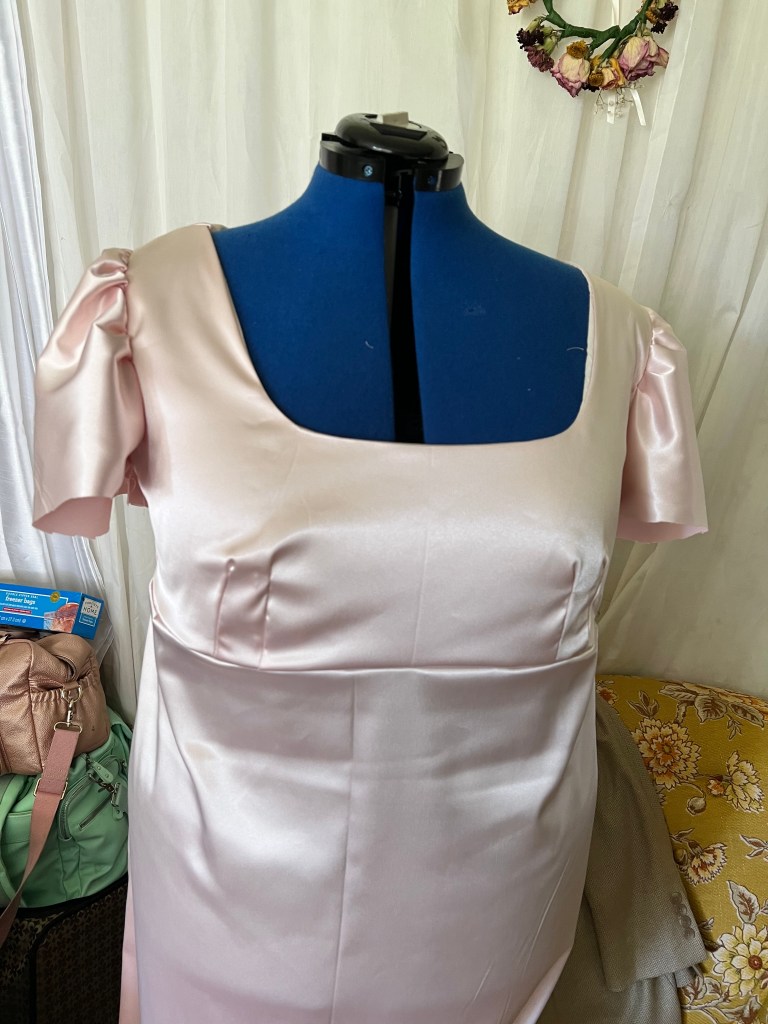
Look at those princess seams!
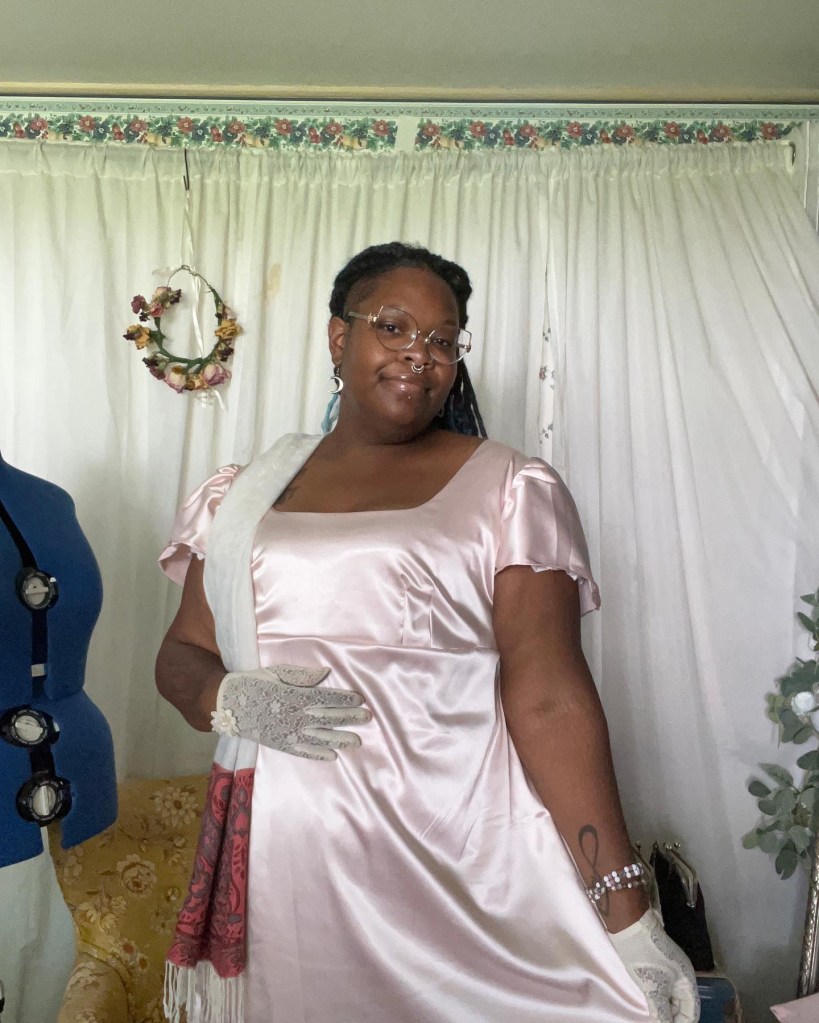
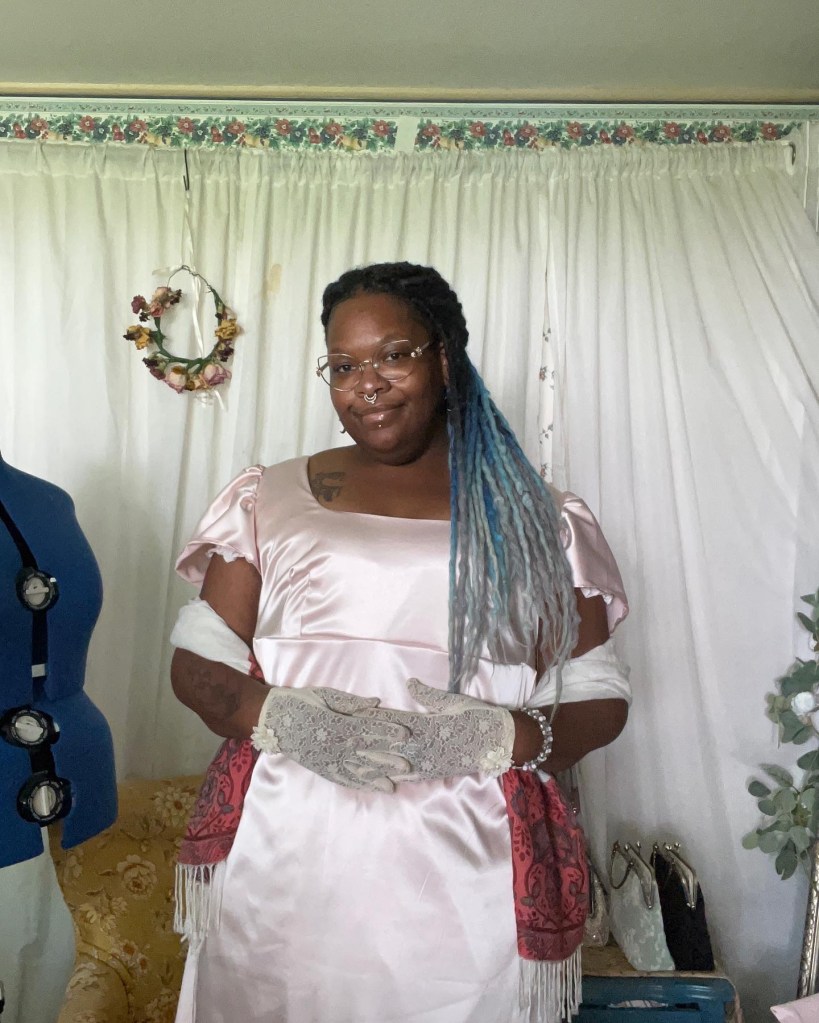
I originally wanted a champagne colored gown, but could only find a blush pink satin at JoAnn Fabrics, so I made do.
Yes, I do have a serger. Am I terrified of that thing? Also yes.
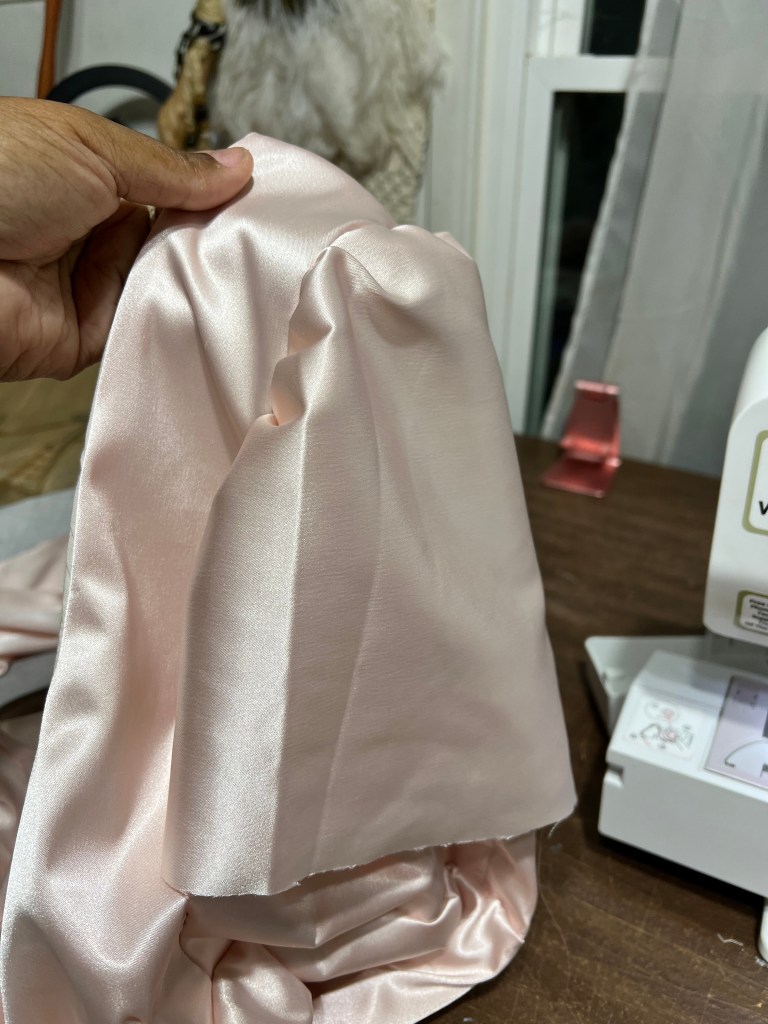
I did have a minor freakout with the sleeves. Who am I kidding? it was a major freak out. i swear sleeves are my worst enemy. It took me 2 attempts, but i finally conquered them and…. STILL DID THEM WRONG. i forgot to gather the bottom edging of the cap sleeve. so i left it and just went with a flutter sleeve
So here is the final dress in all of her glory, and I cannot wait to wear it to see Mr. Malcoms List.
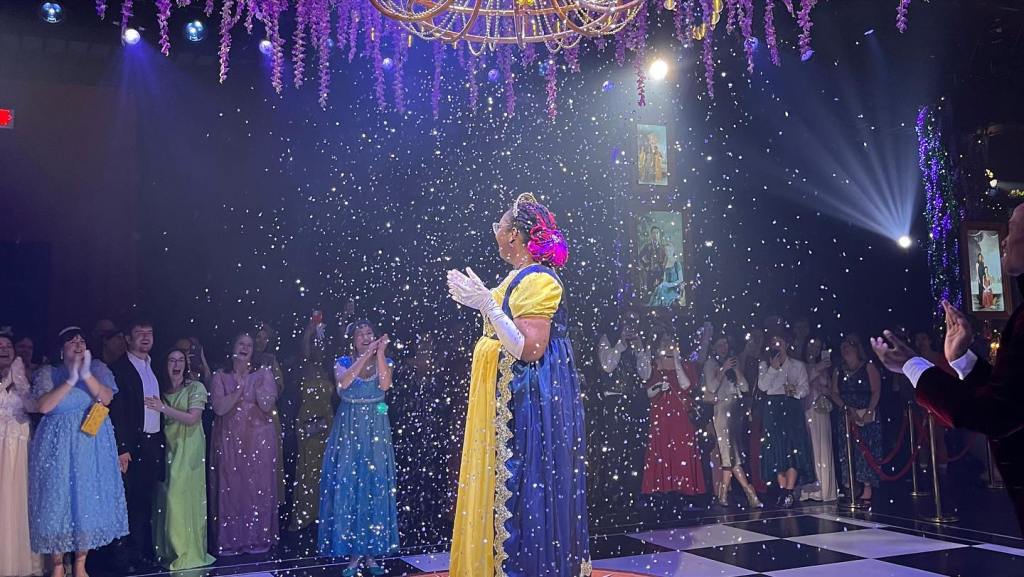
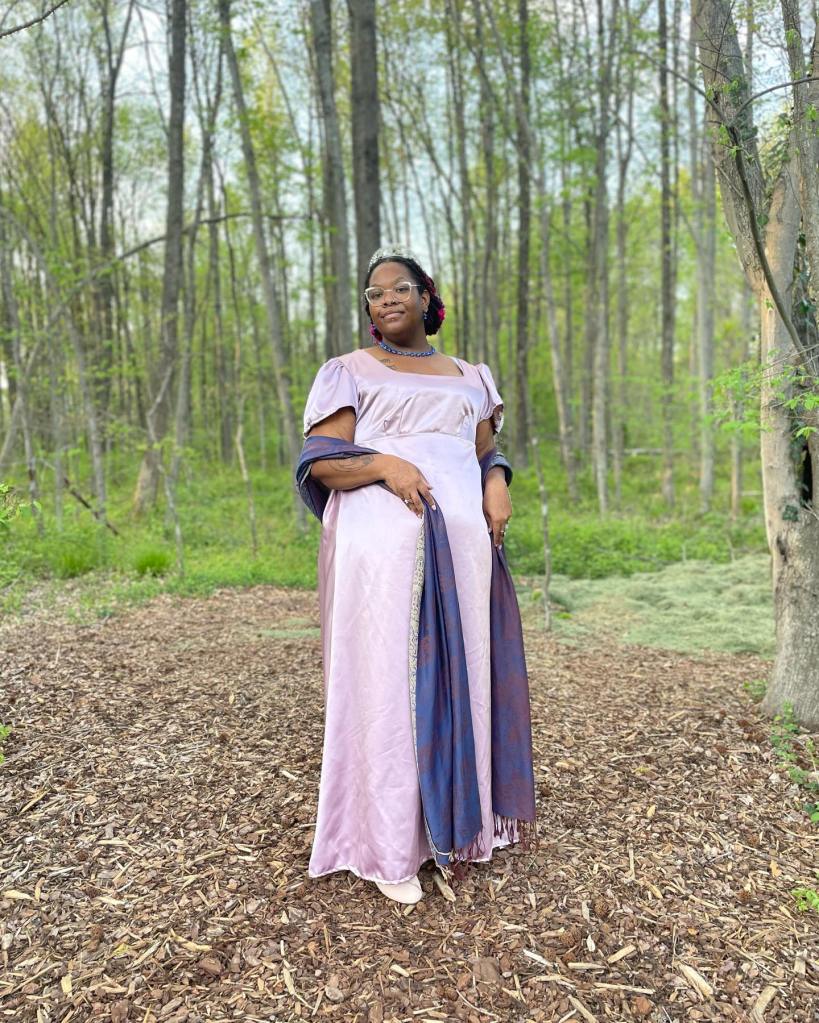
Yes, you heard that right. I made a regency gown in five days. My friend Jenny-Rose invited me to her Regency lawn party which took place almost two weeks ago, and it was so much fun. When I got the invite, I was set on wearing the blue and gold regency ensemble that I wore to the Bridgerton Ball (the ball in which I was declared the diamond of the evening!!!). But me being me, I wanted to wear something new, and I had 4 2/3 yards of this gorgeous lavender satin sitting in my fabric bin, so I knew what had to be done!
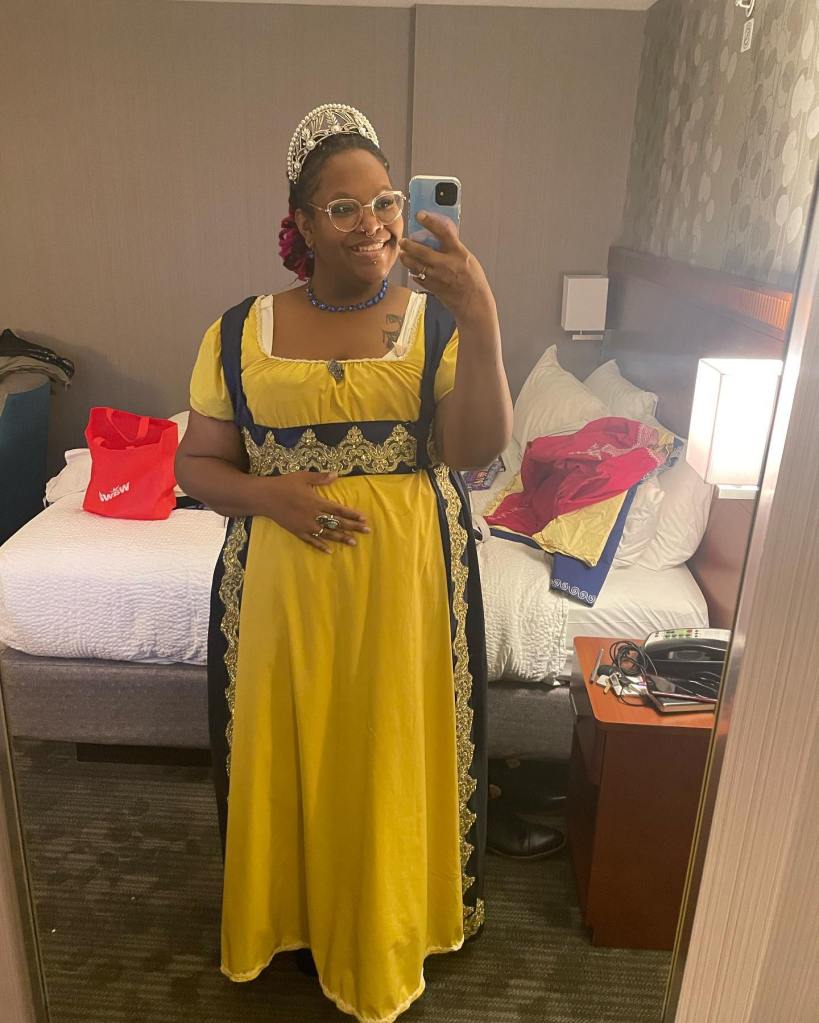
But before that, here is me in my blue and gold regency gown and open robe at the Bridgerton Ball:
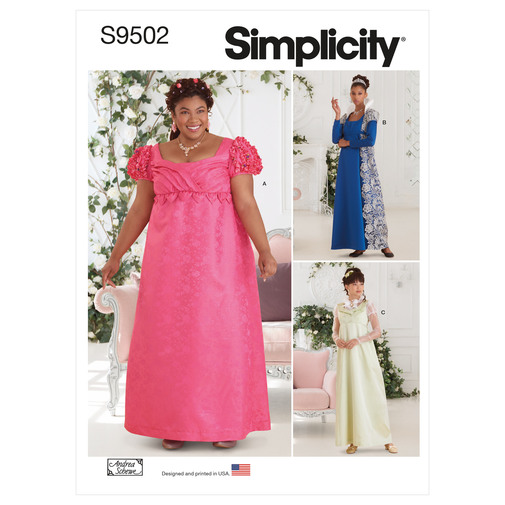
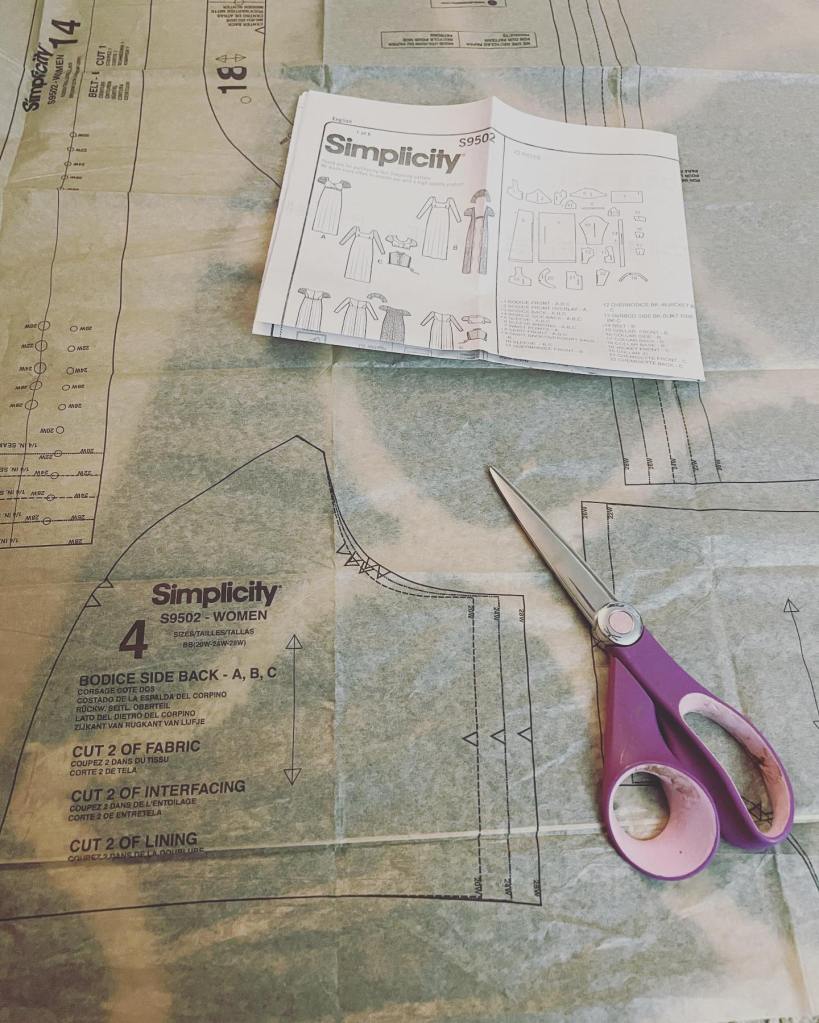
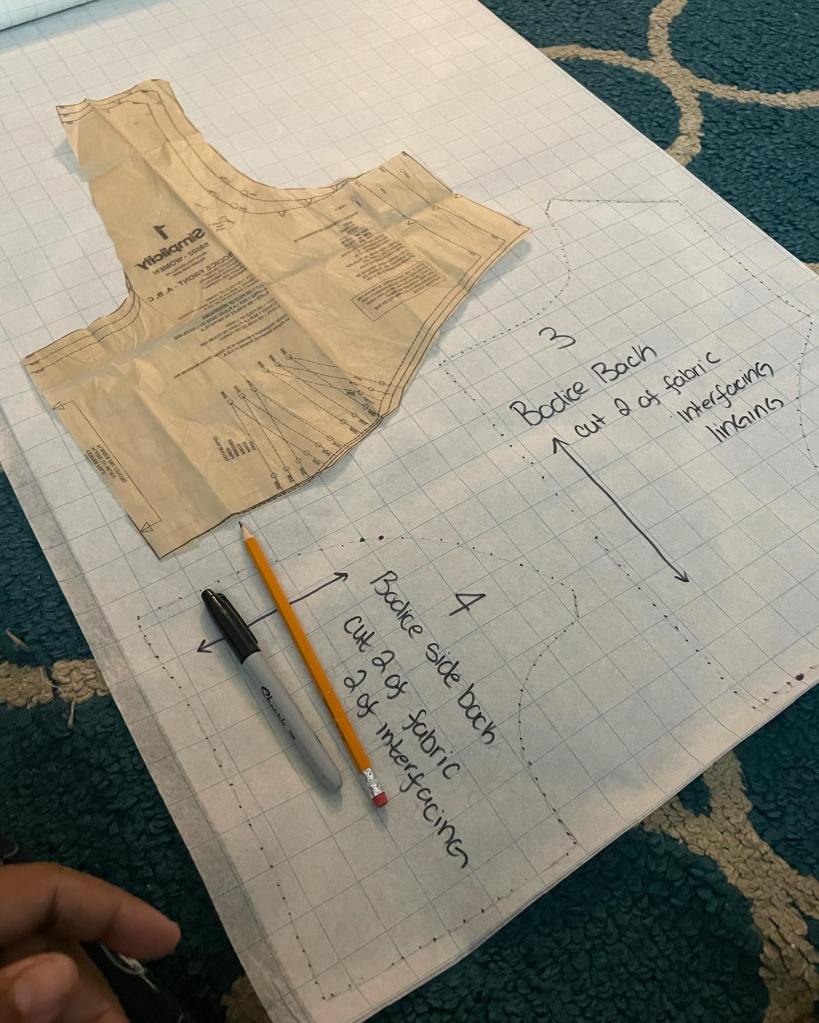
I used Simplicity pattern 9502 to get the pieces of the gown so I wouldn’t have to draft a new pattern, however I did not follow the instructions at all, haha.
I can say though, that the final product fit me perfectly without any adjustments. Based on my measurements, I was a size 24 in the pattern.
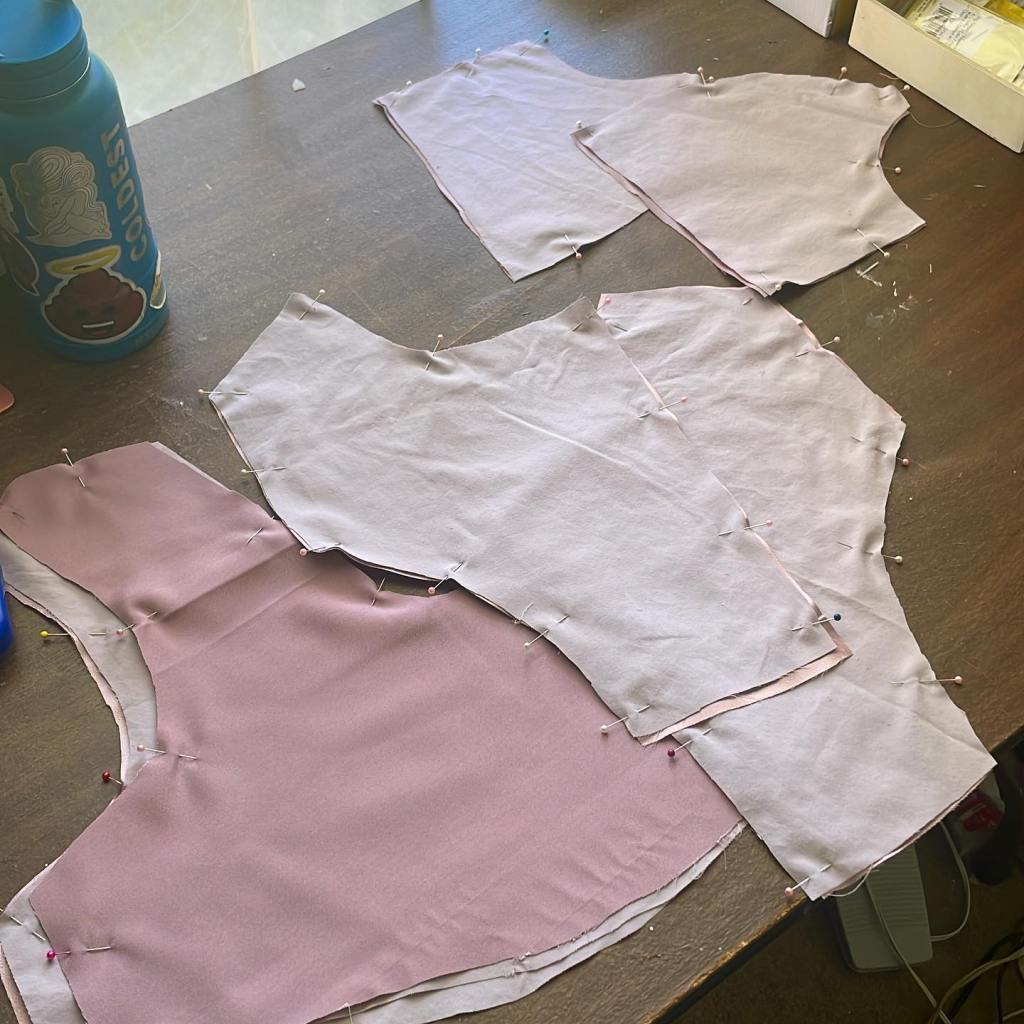
Now, sewing together the pieces for the bodice was fairly easy, again I did this without following the instructions of the pattern. But if you know me, you know me and sleeves have a long standing history of not liking each other, so my friend Renee came over to help me with them. In the end, I went with cap sleeves that were gathered at the top of the sleeve and the bottom.
So enough of me talking, let’s take a look at the gown!
I have been in a sewing tizzy, and thank goodness for it since I have the Bridgerton Queens Ball coming up this weekend. I finally finished my open robe that I will be wearing over my gown, and finished tacking down the trim. Approximately 15 feet of trim that I had to tack down TWICE since it was so wide. But it is done and I am so glad!!! I absolutely cannot wait for the event.
This was filmed BEFORE I tacked down the trim, but this is the overall look.
In the future, I really need to do a better job at logging how many hours I put into each project, but for this one I will say that drafting the bodice pattern for the open gown and tacking down the trim was the most tedious. But now I have a base bodice pattern that fits perfectly and that I can use for future projects (one of which I am about to work on for a Regency picnic next month), so that’s a good thing!
The next project I have planned is another regency gown made out of a gorgeous lilac colored satin, and I am looking forward to that. So spring like!
Also, here’s a video of a blazer that I converted into a regency era spencer jacket: